Giallo Siena marble, photographed as it is worked
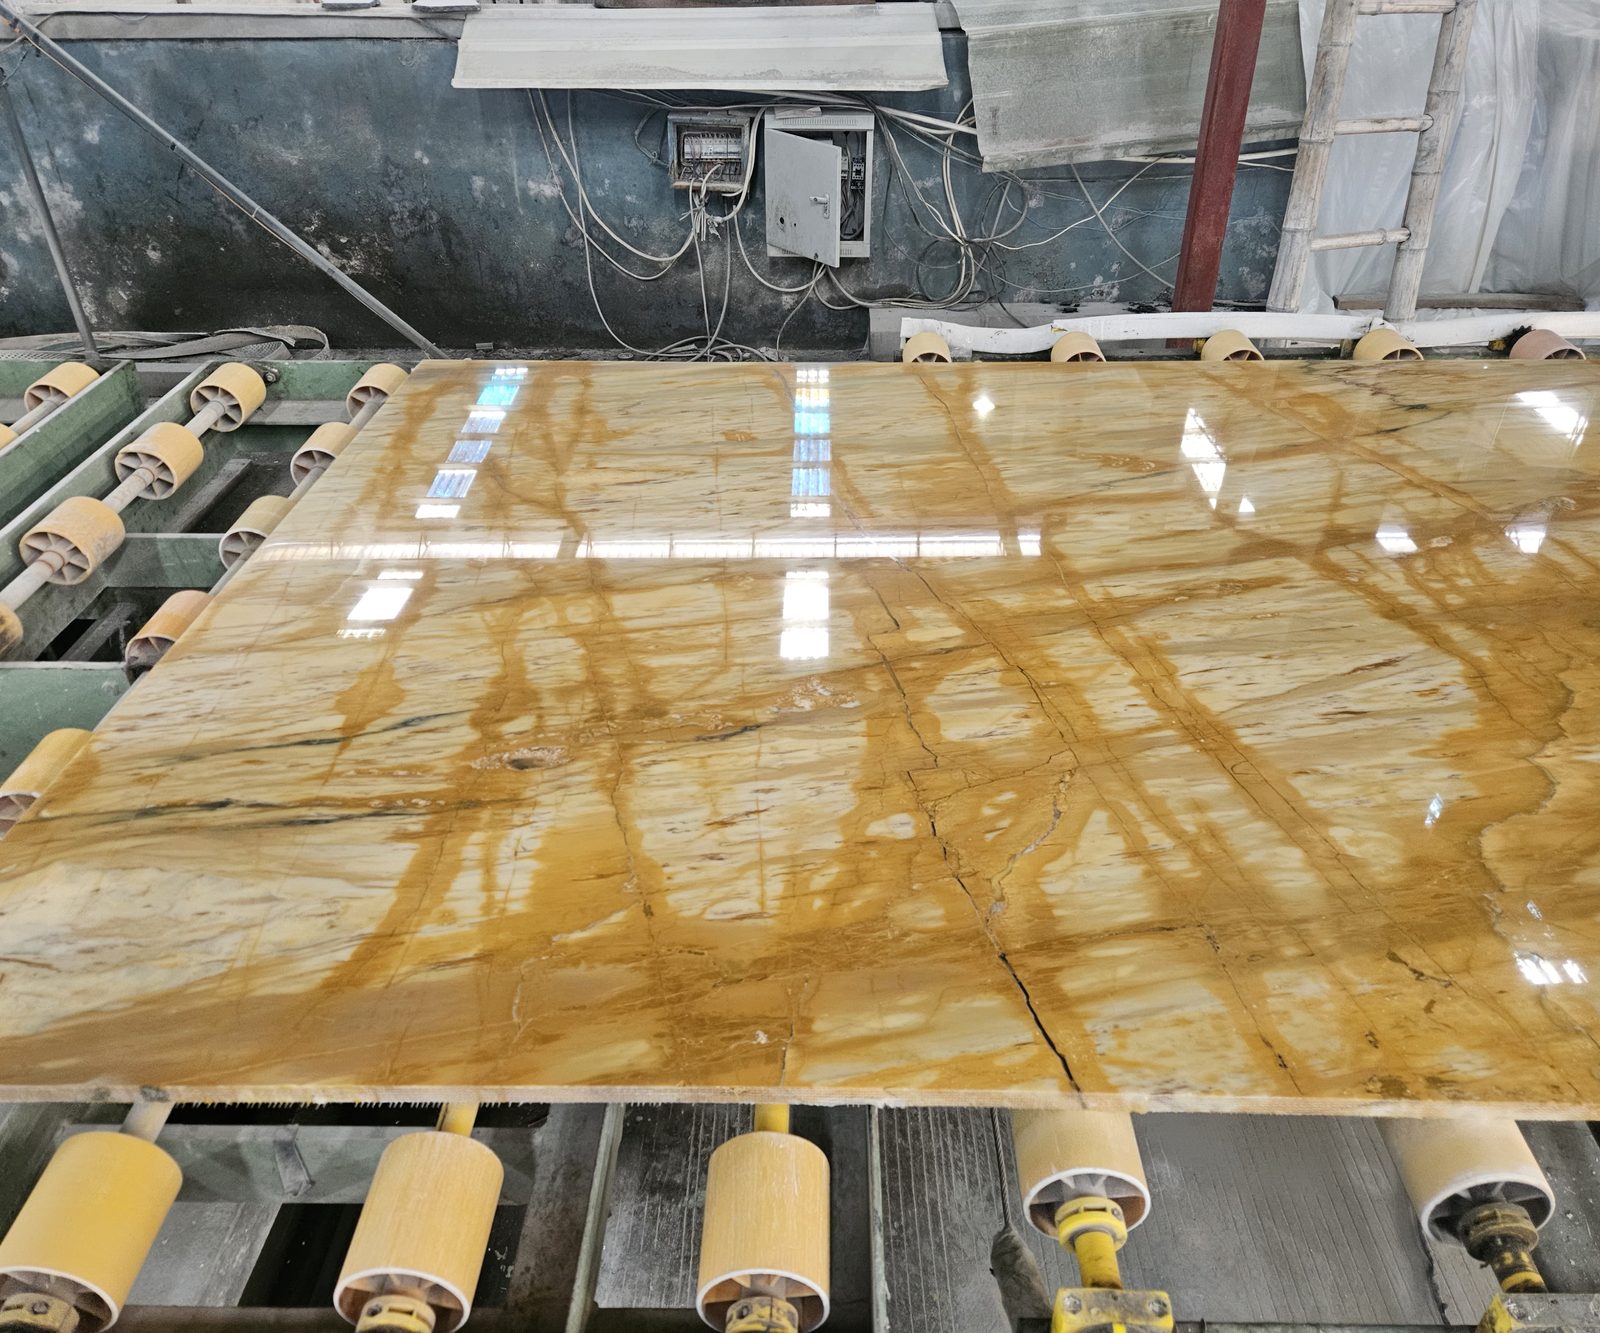
These are our own photographs, taken in our own workshop, of Giallo Siena marble being turned from a block into a packed bundle. There is no stock library here and no illustration: every picture below was shot on the day, in the order the work happened. It is the shortest honest account of what we do to the stone between the block and your site.
The workshop, running
Three films from the workshop, shot on the day the photographs above were taken. The sawing film shows the block being opened; the second shows the finished surface under a hand; the third shows the slab travelling the polishing line. They are muted on purpose - the machinery is the subject.
 1 minute
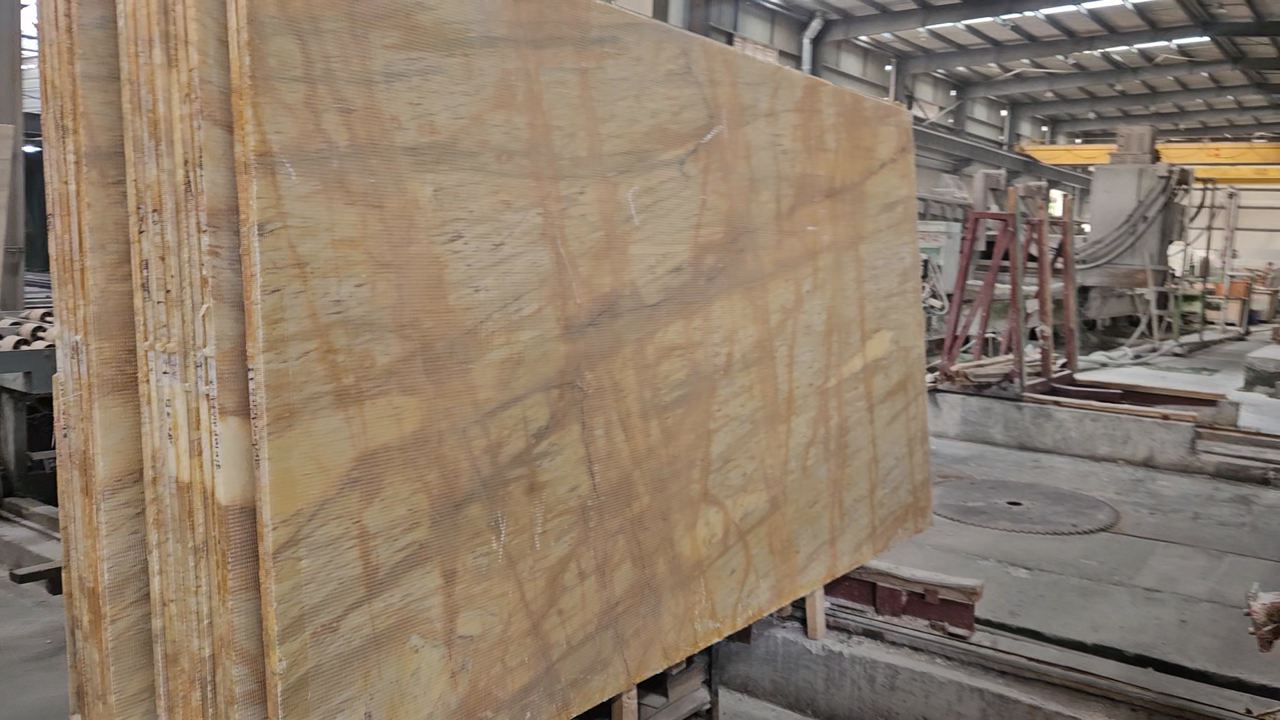
The block being opened
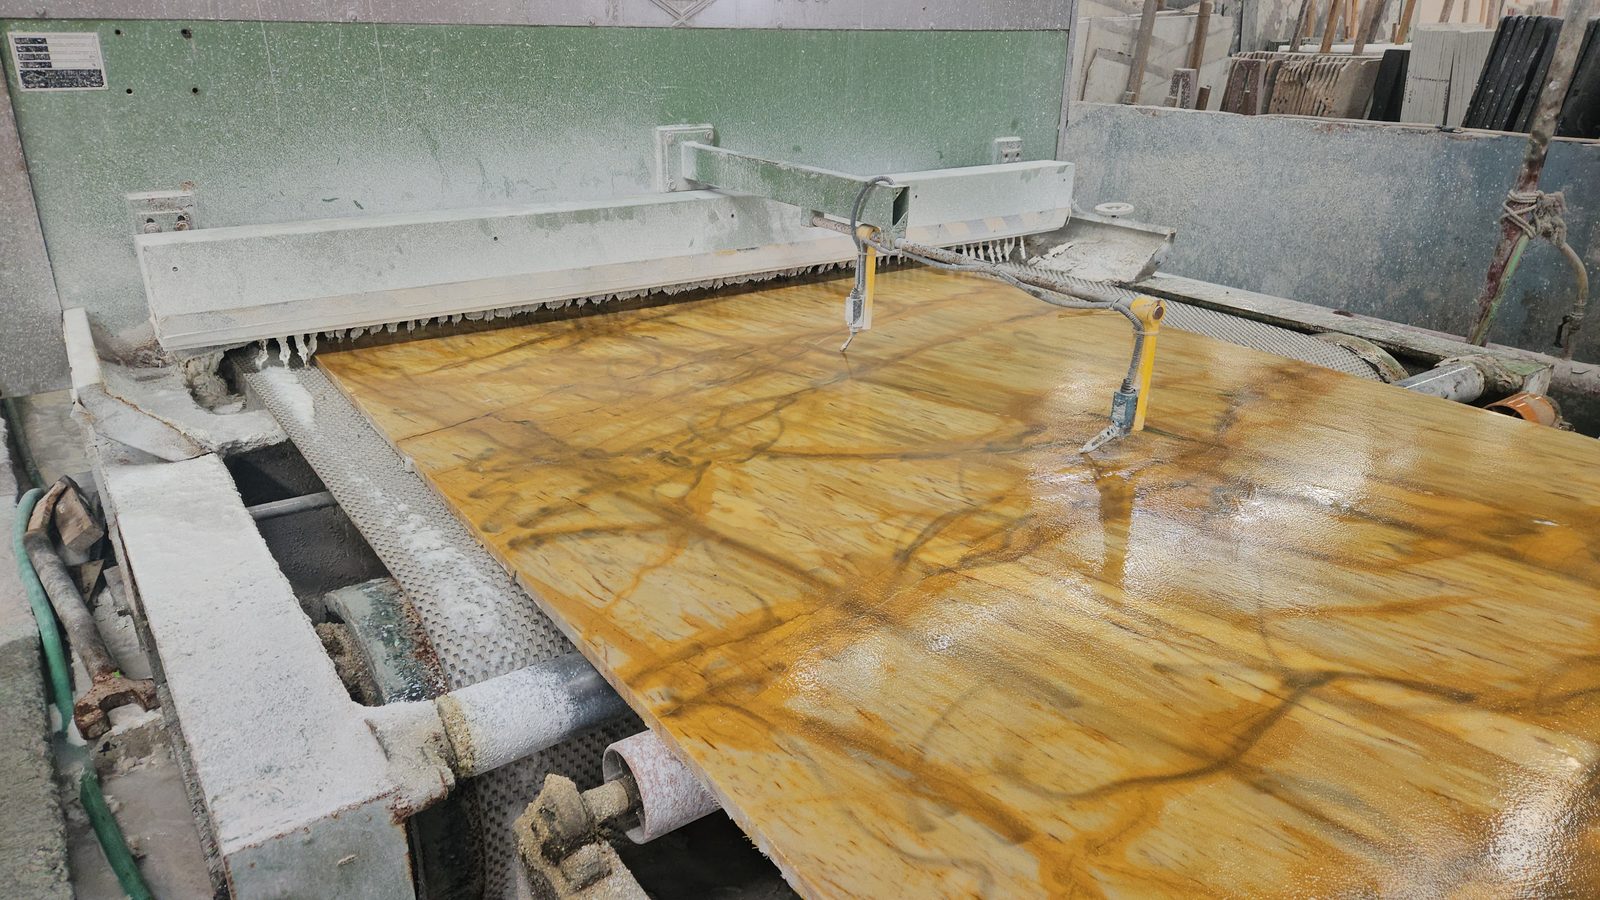
The gang saw takes the block into slabs. The blade runs the length of the block, so every slab comes off the same cut plane.
Open the film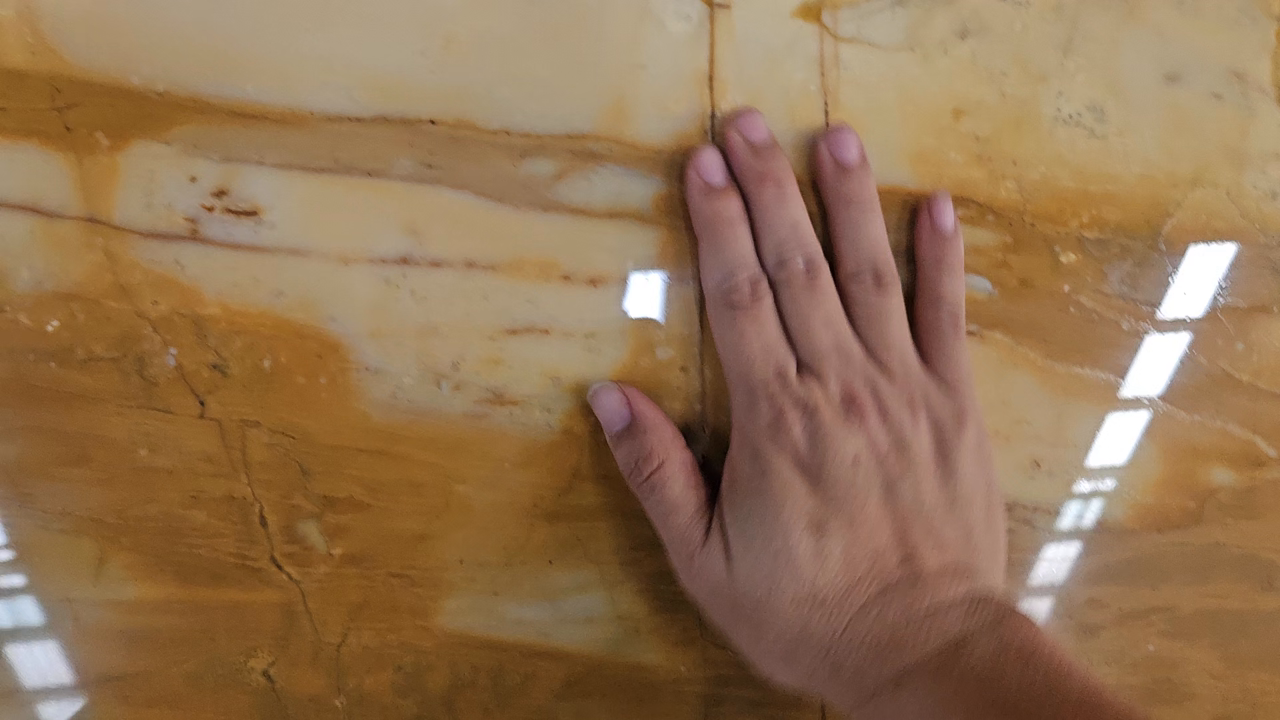 1 minute
A hand on the finished surface
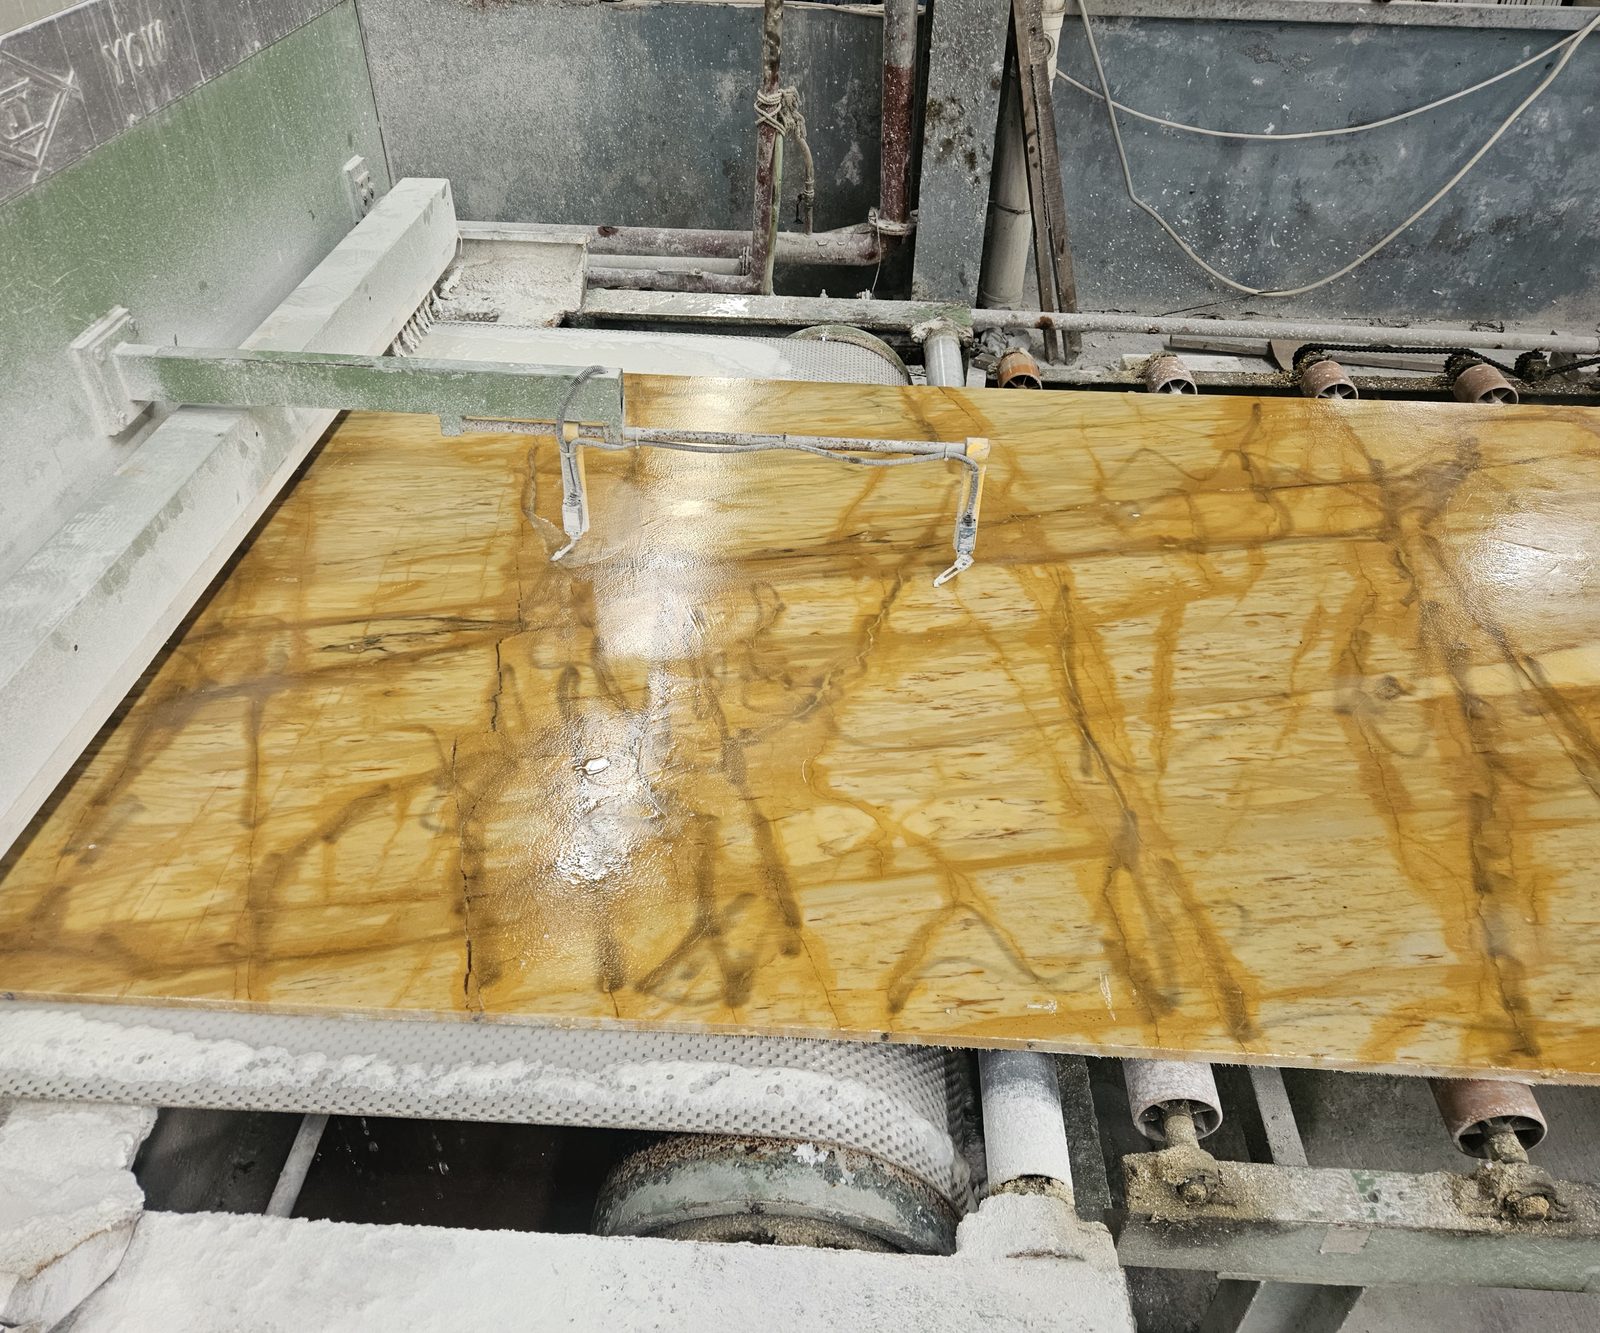
The polished face of Giallo Siena marble, with the brown network running through the golden ground. The hand is the scale reference a photograph of a slab cannot give.
Open the film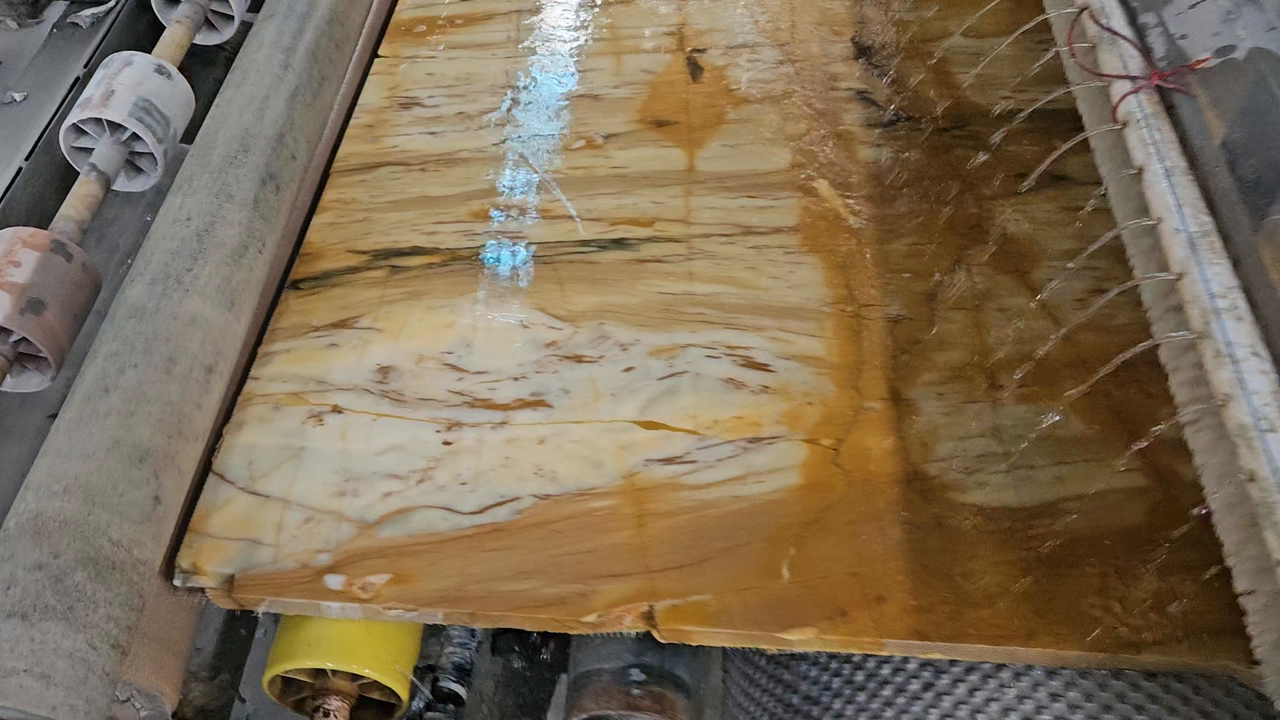 2 minutes
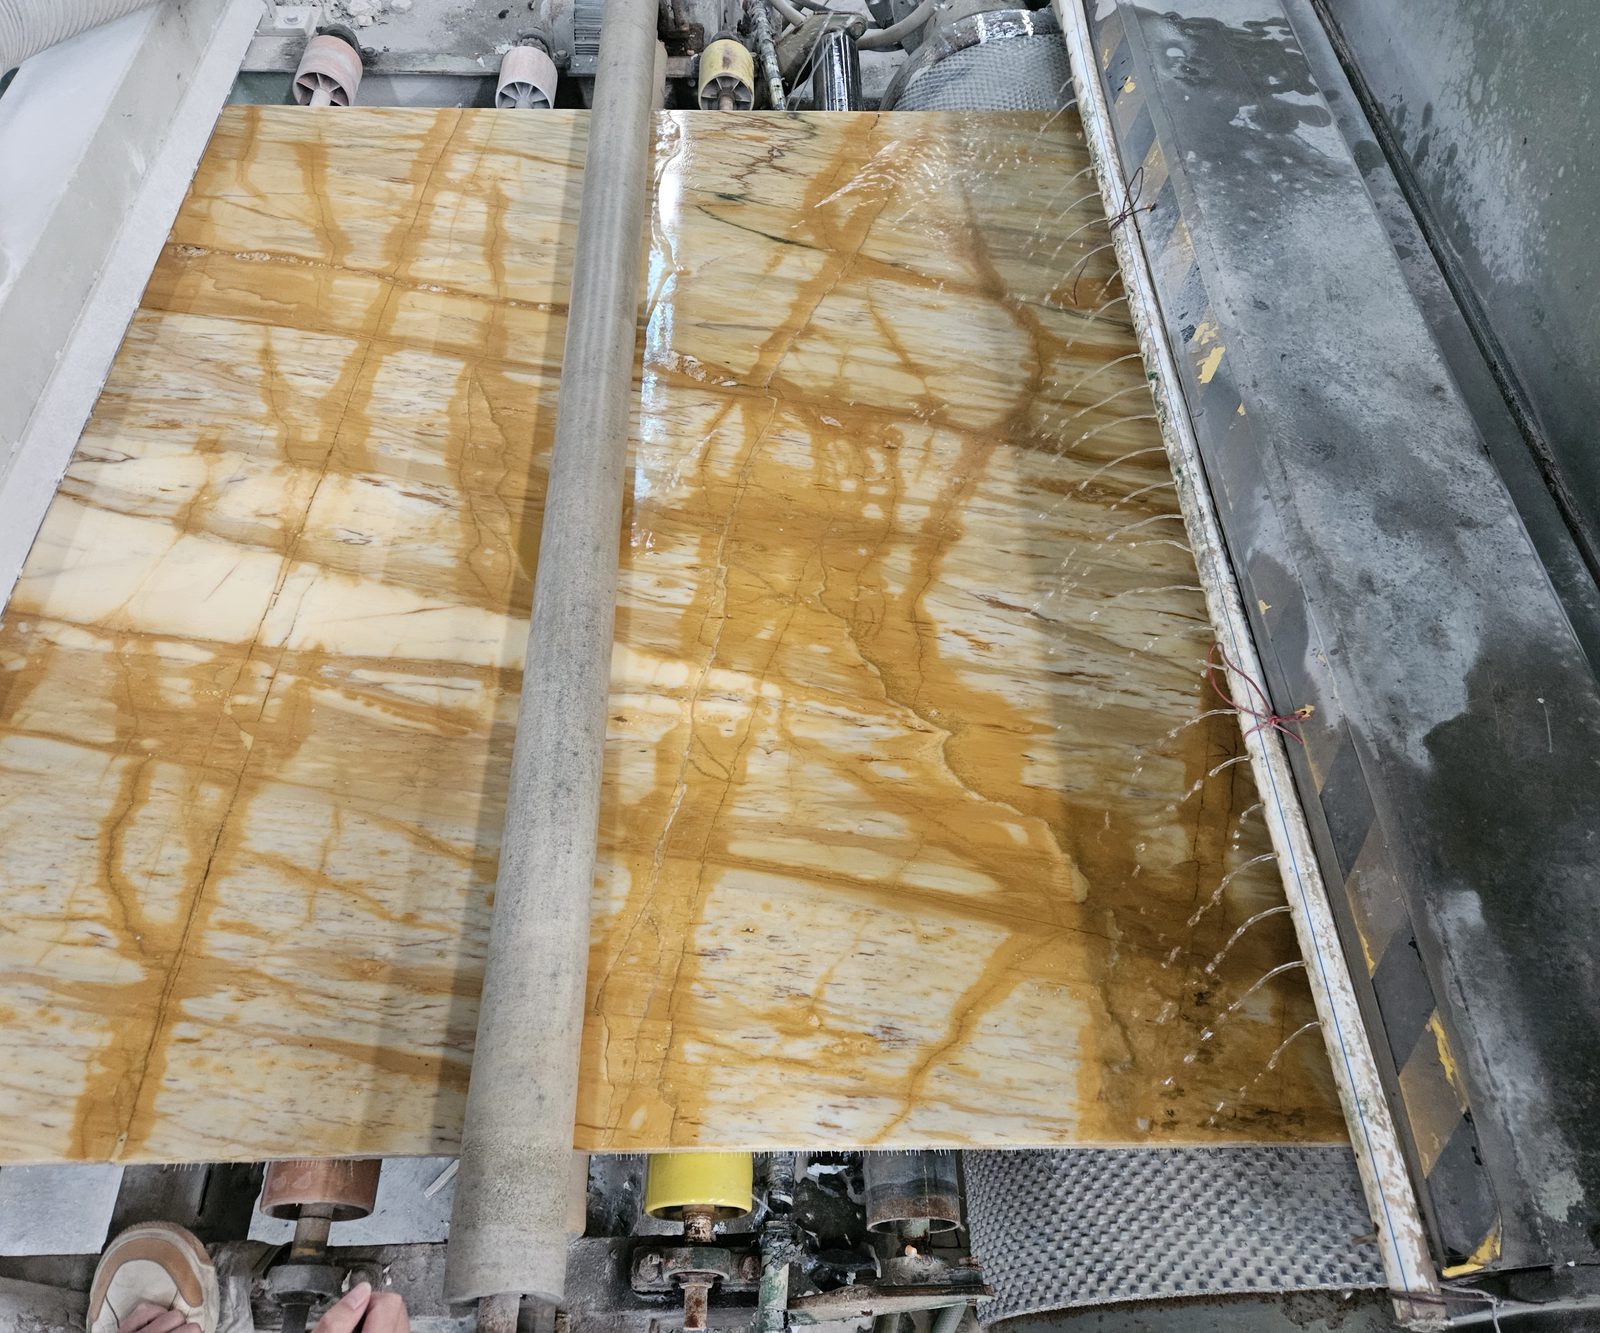
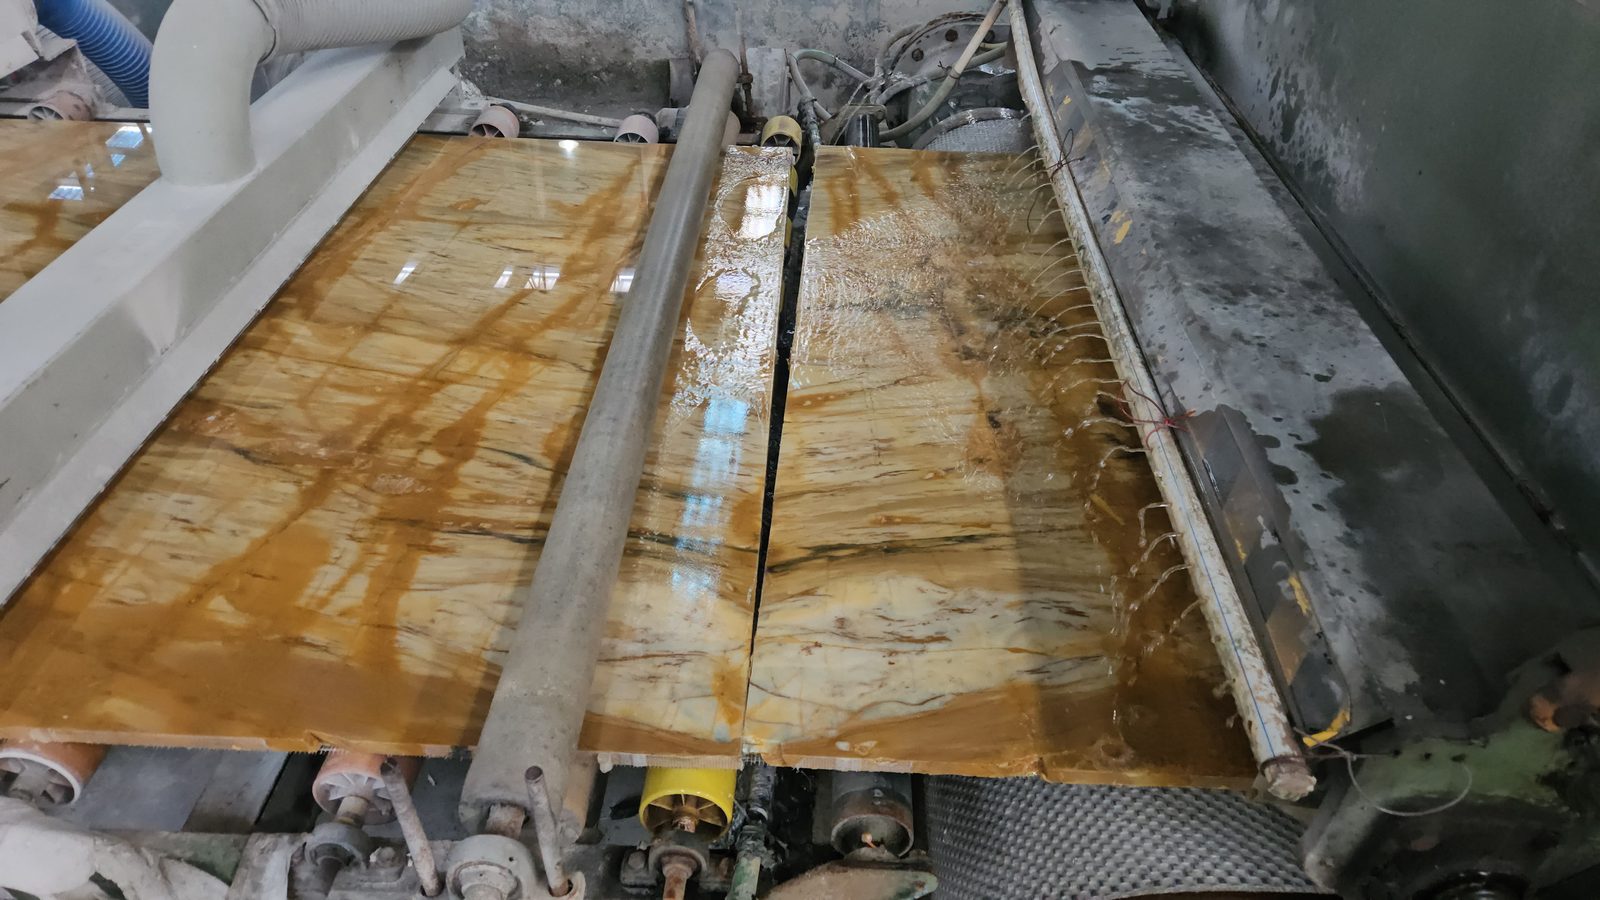
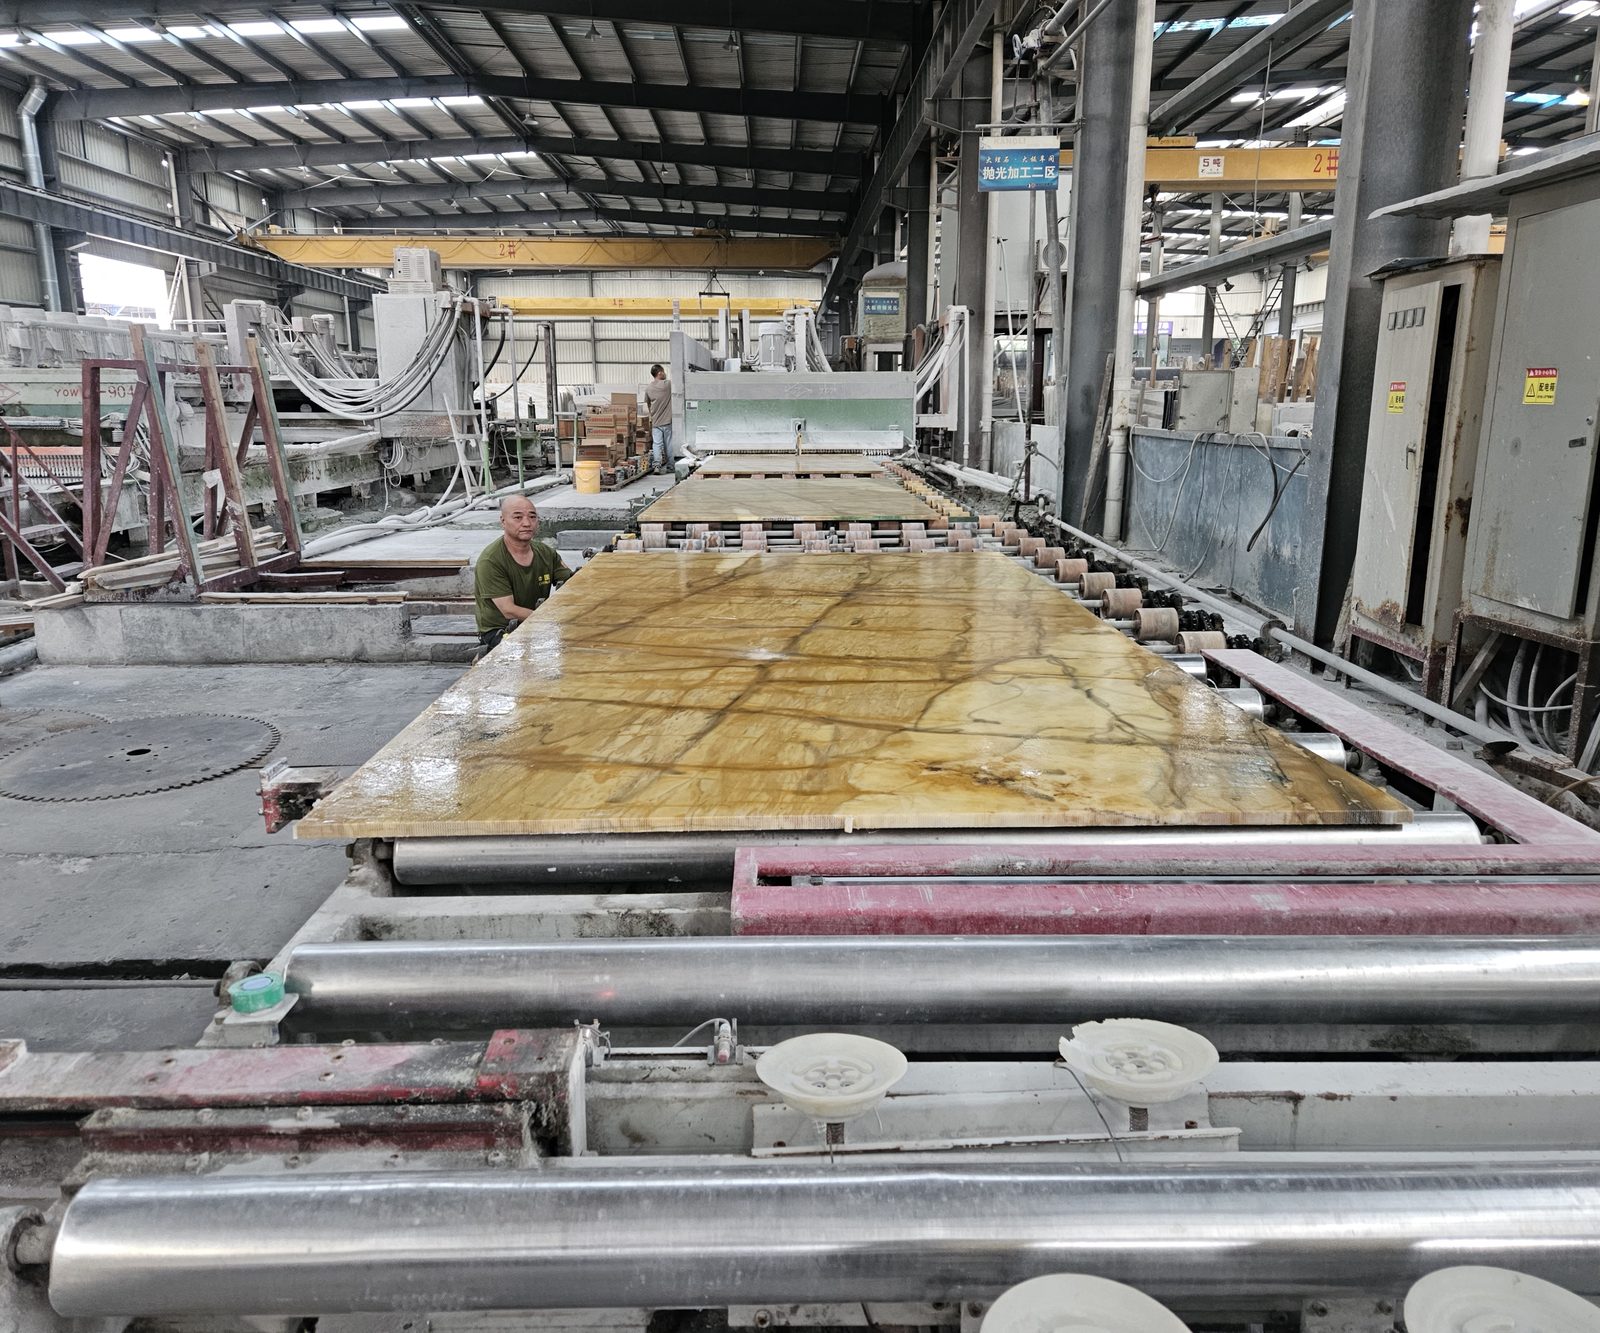
The slab on the polishing line
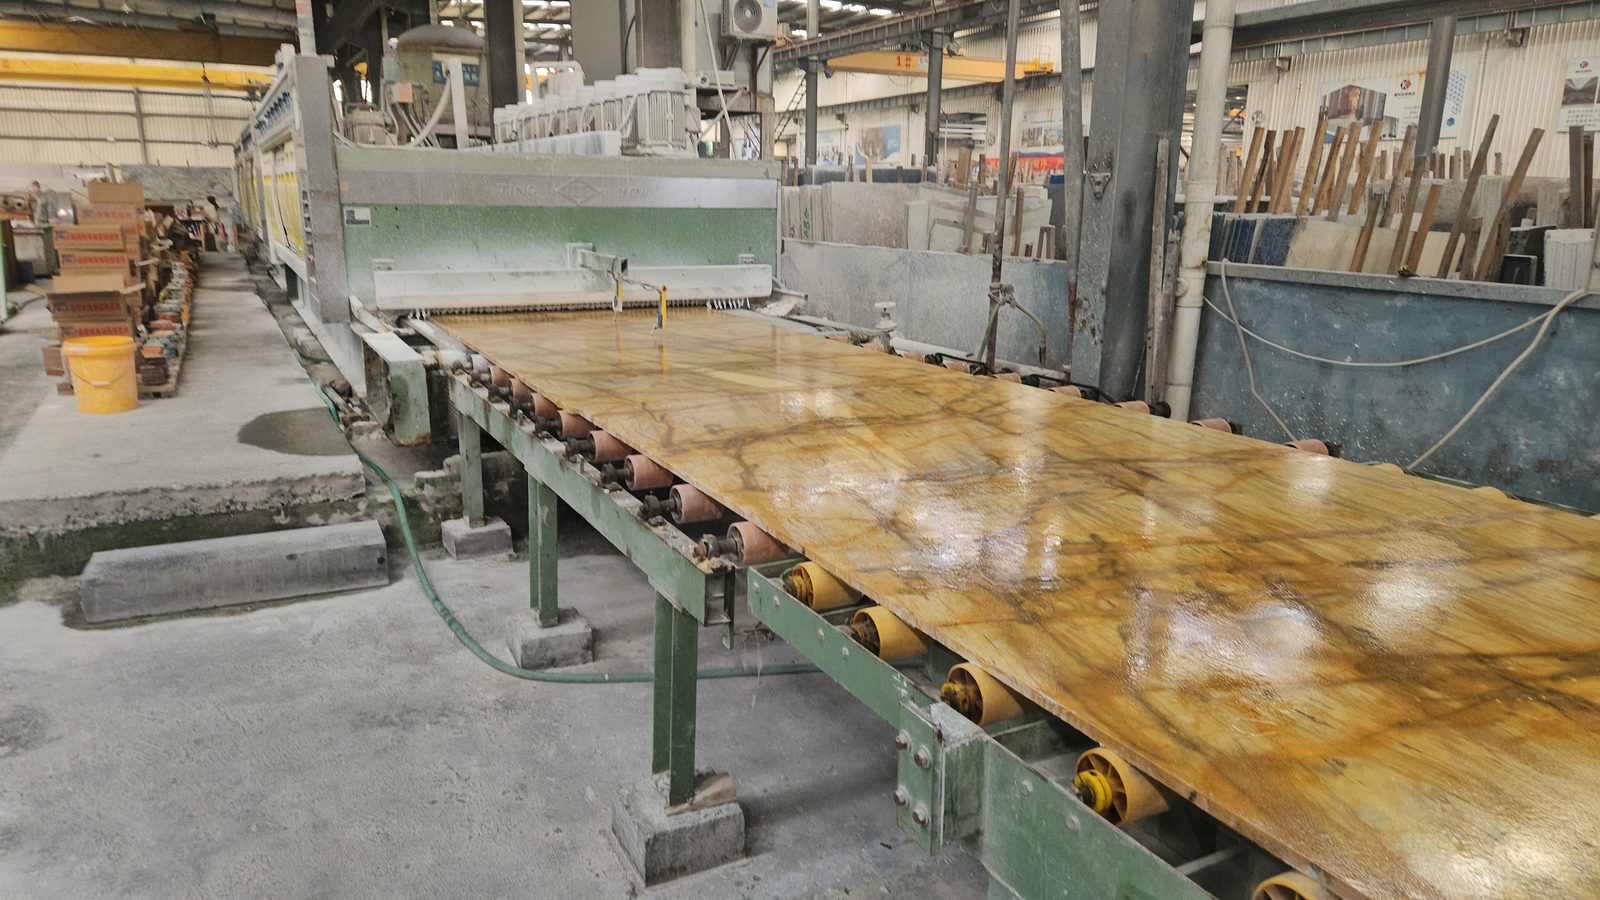
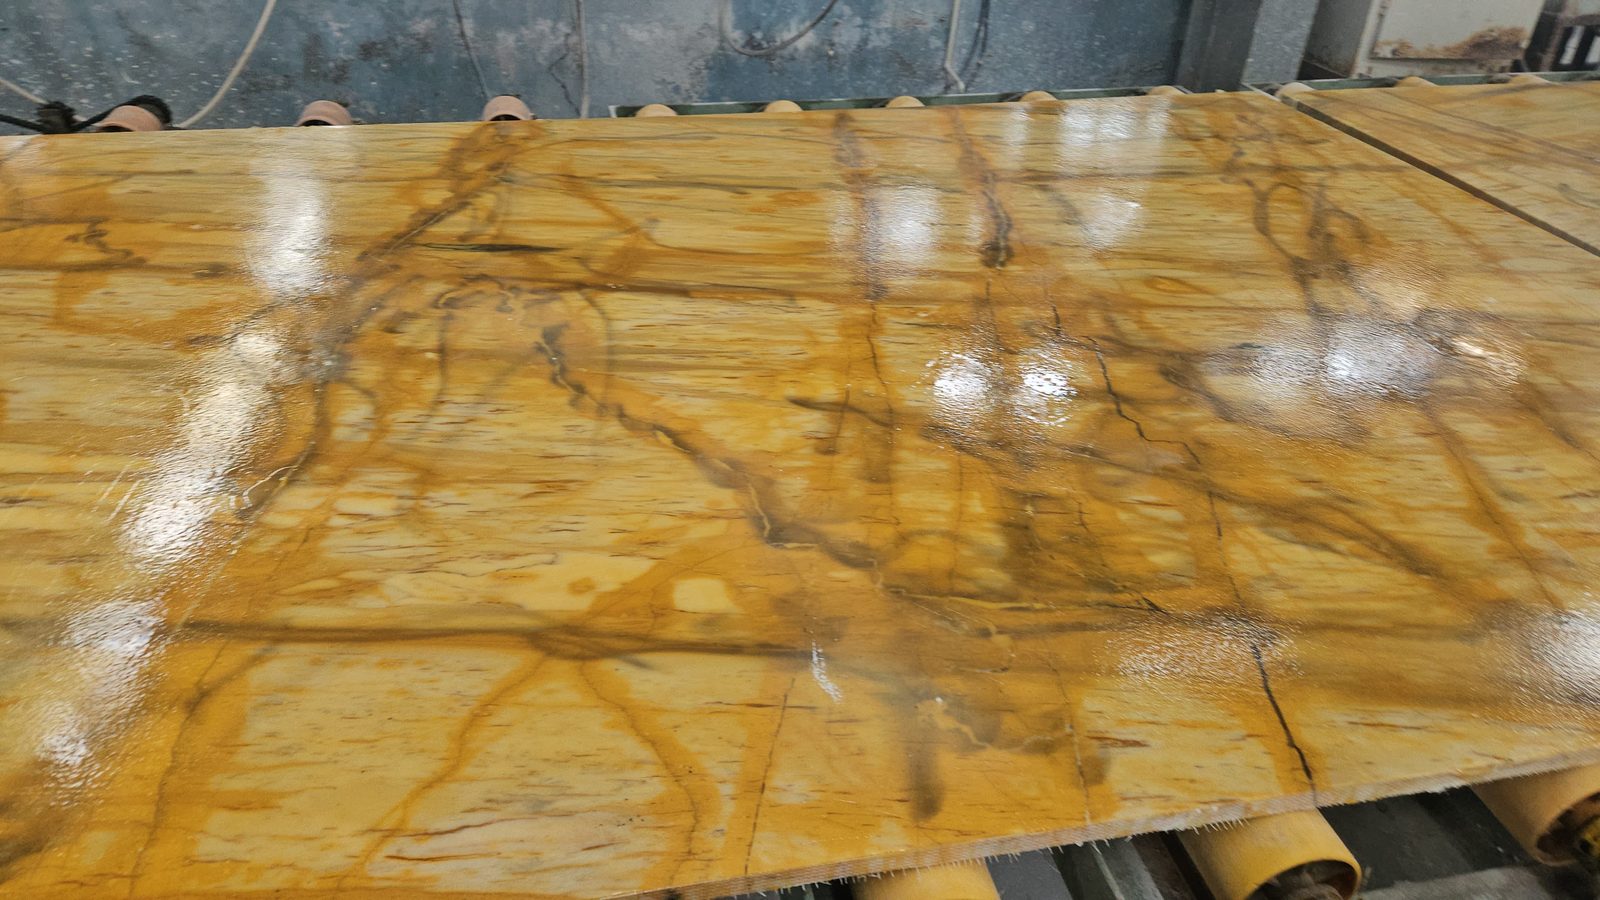
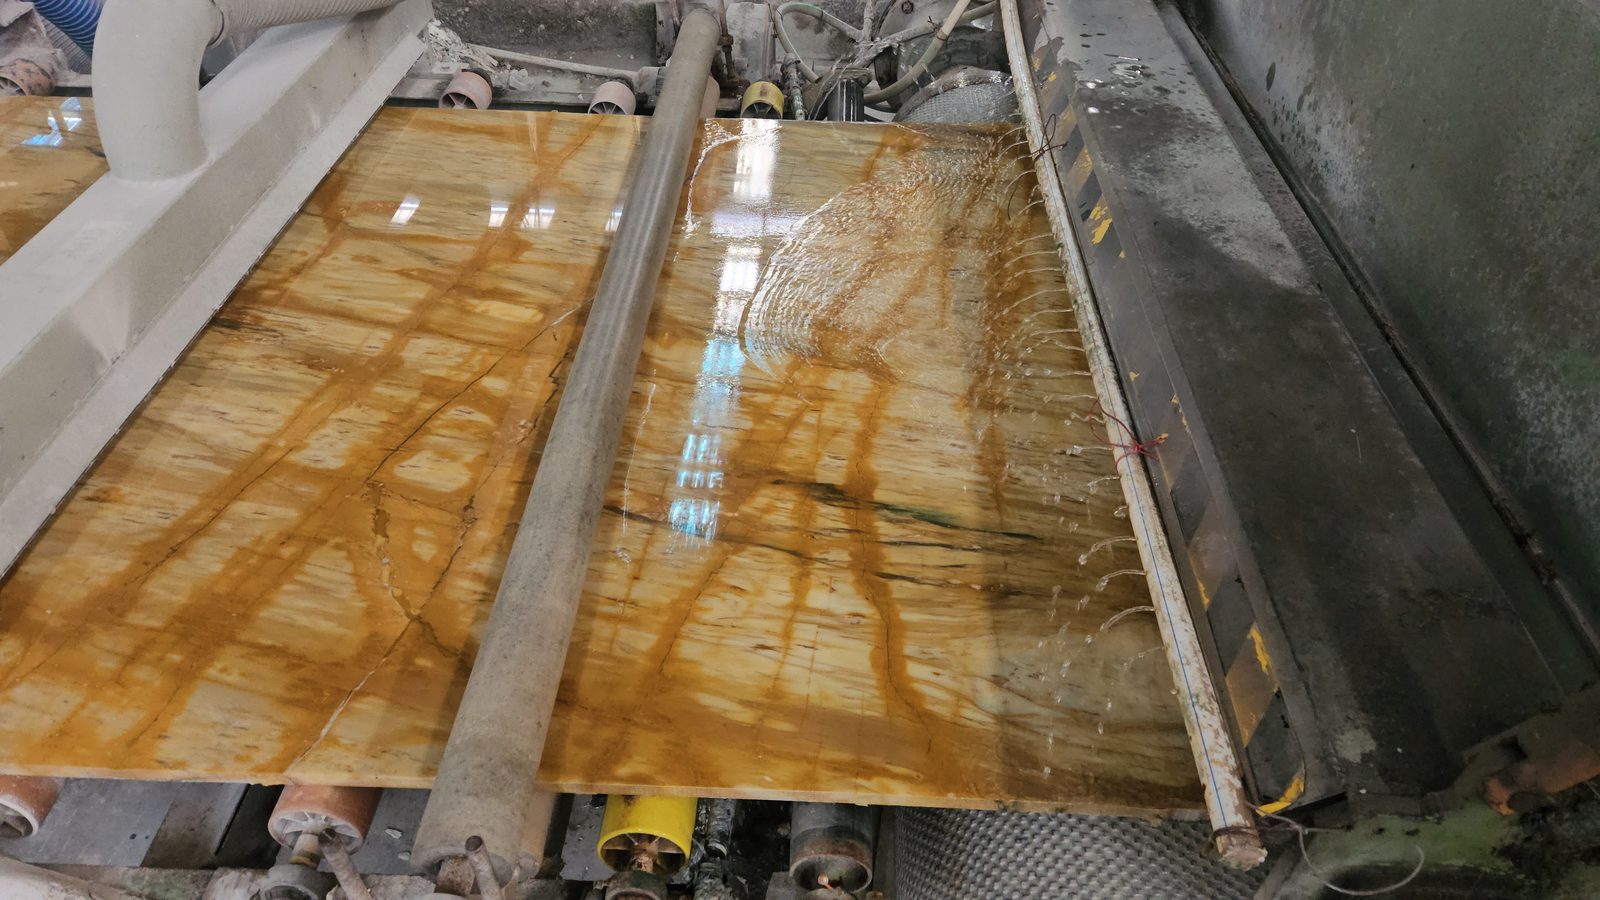
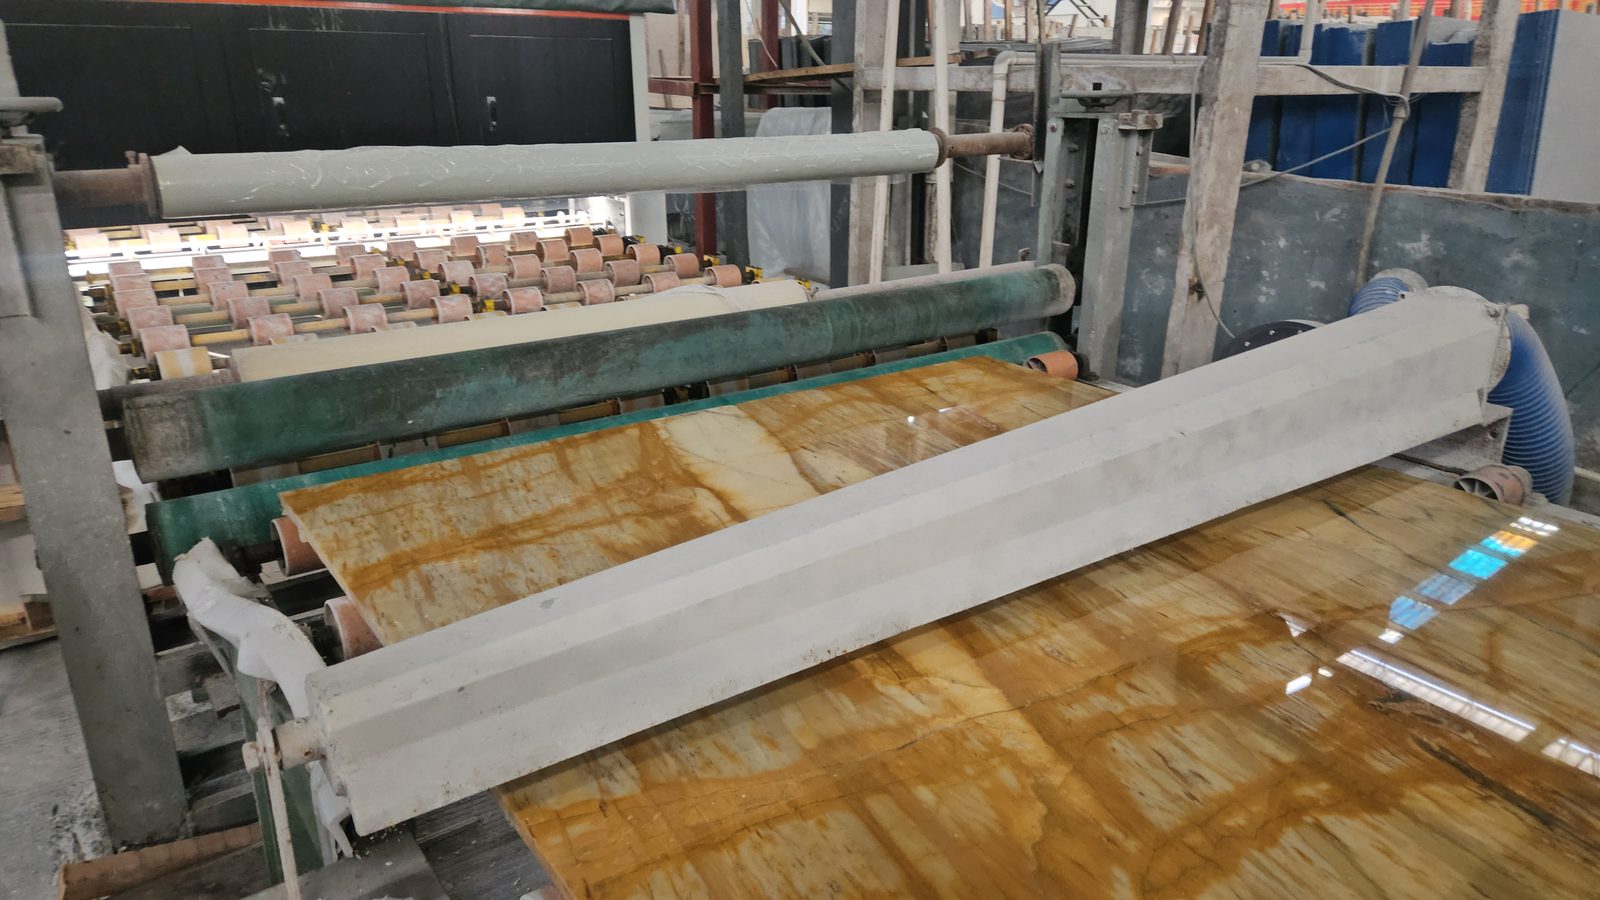
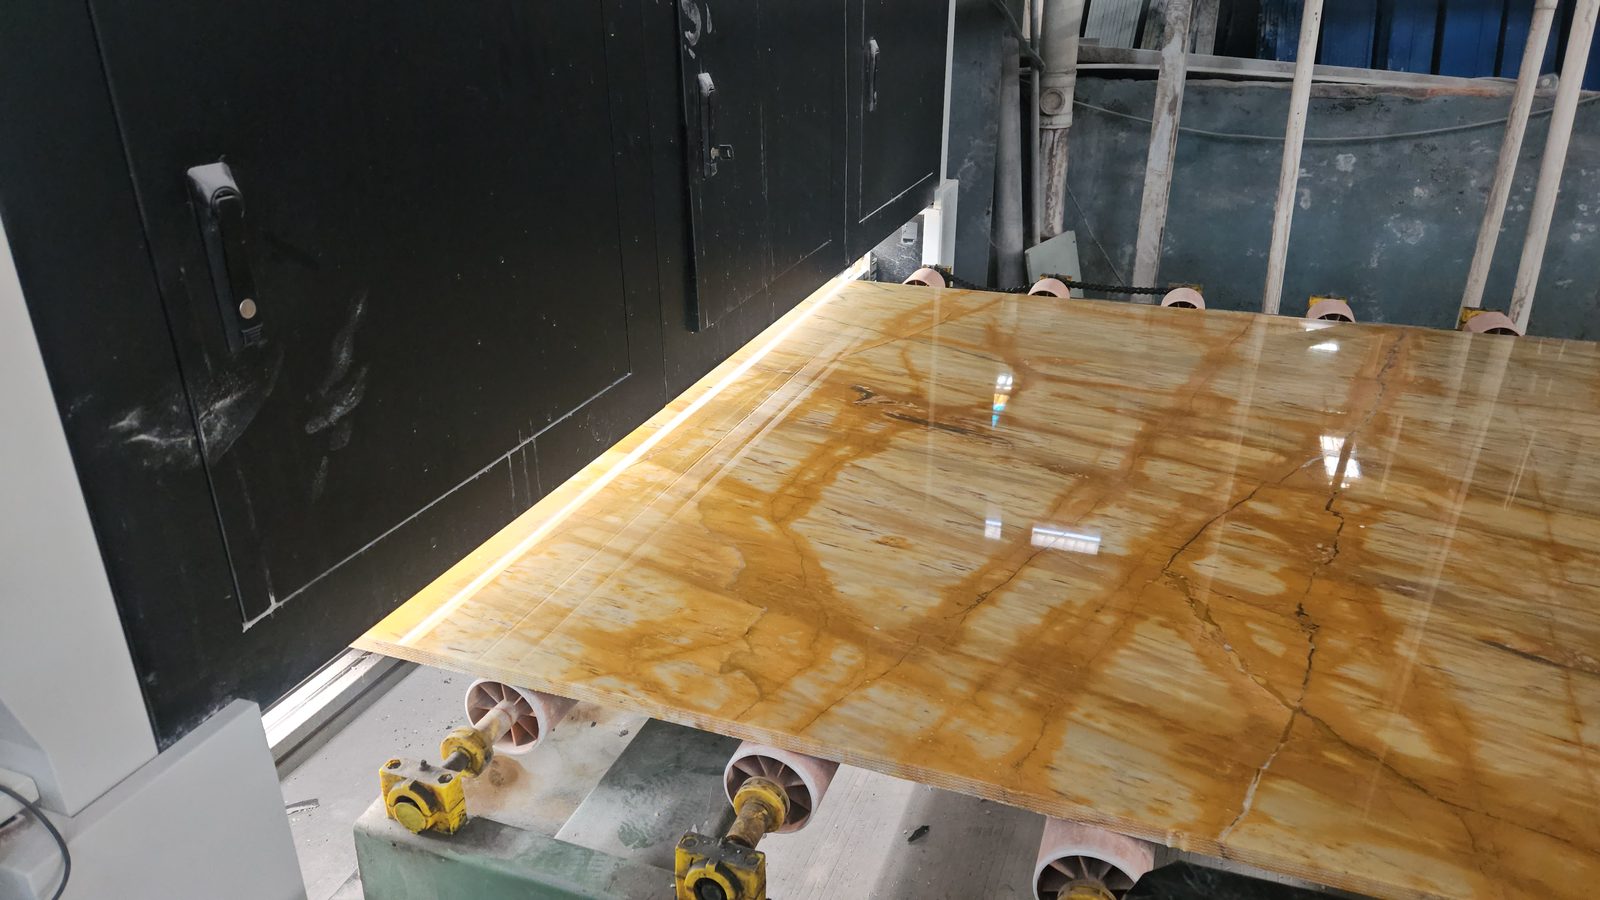
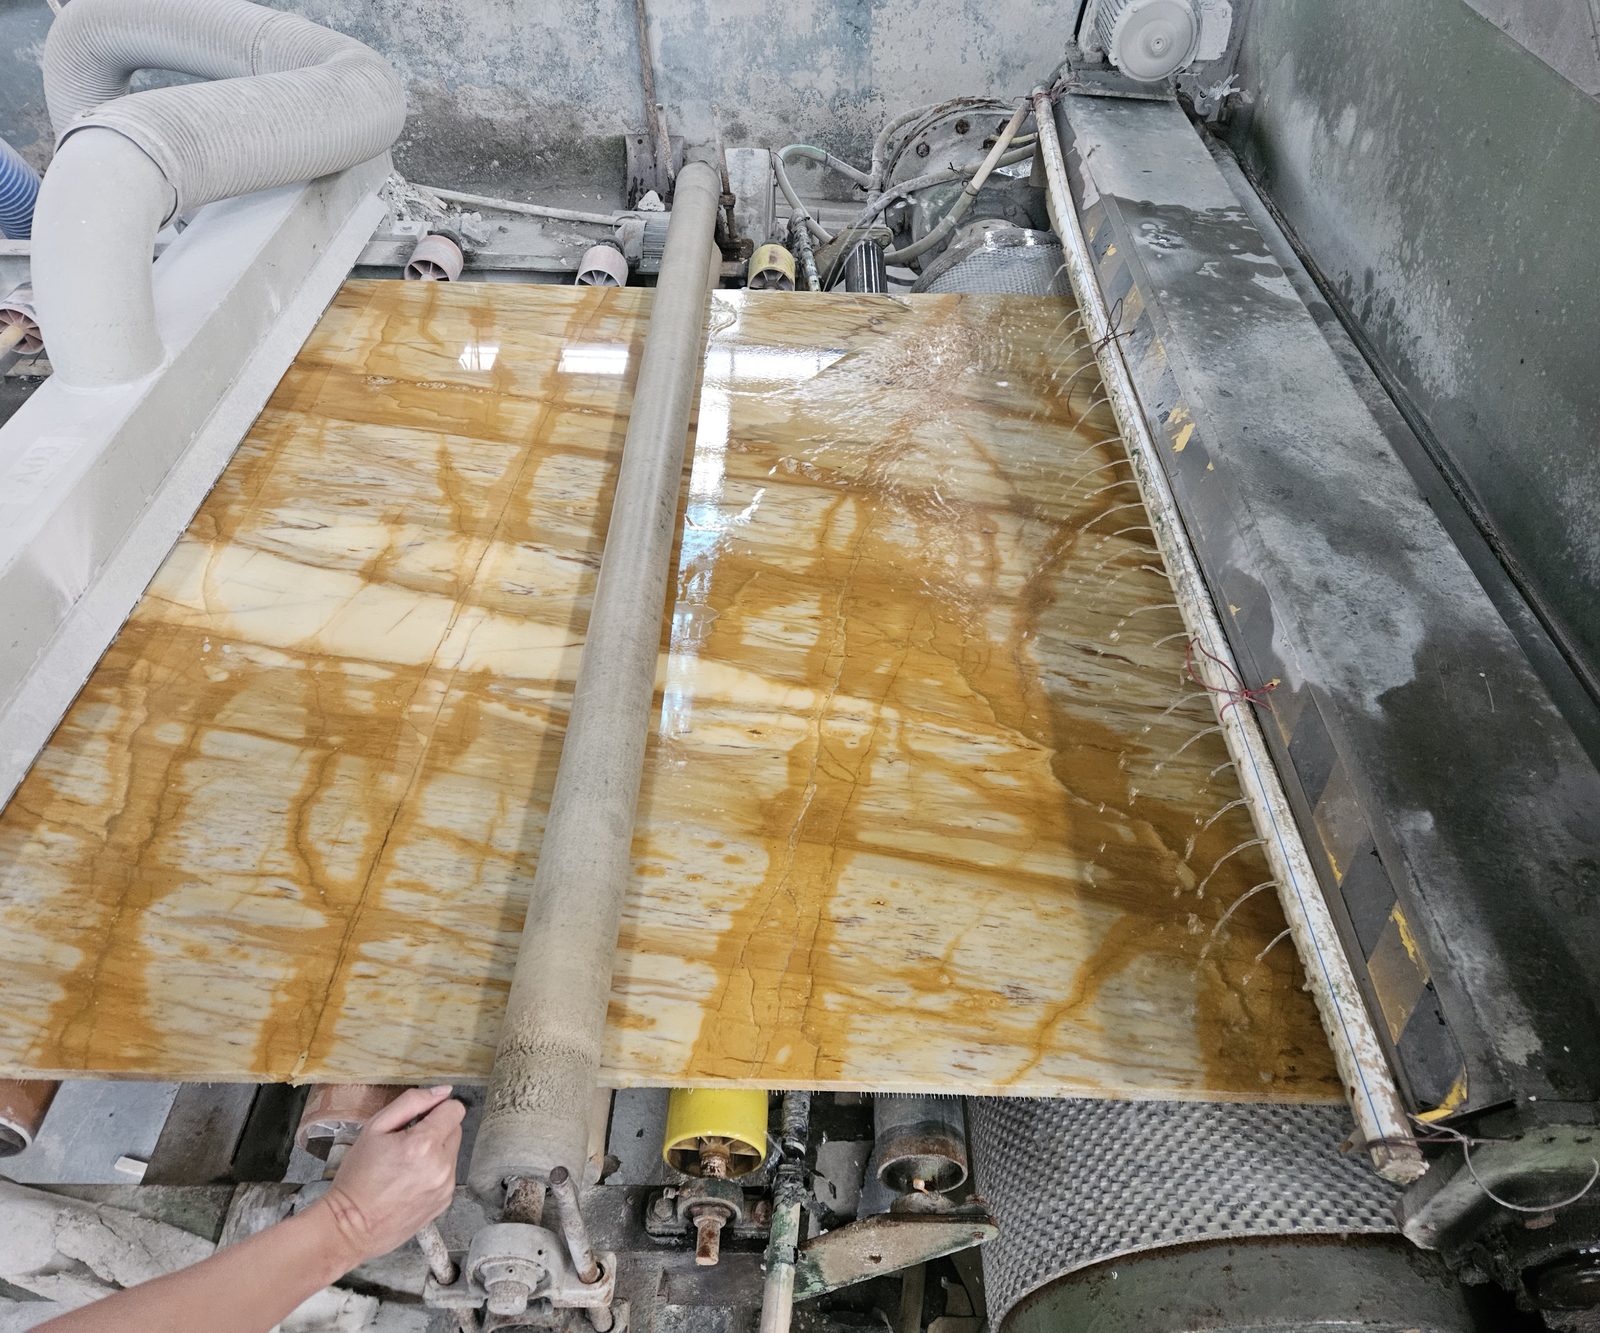
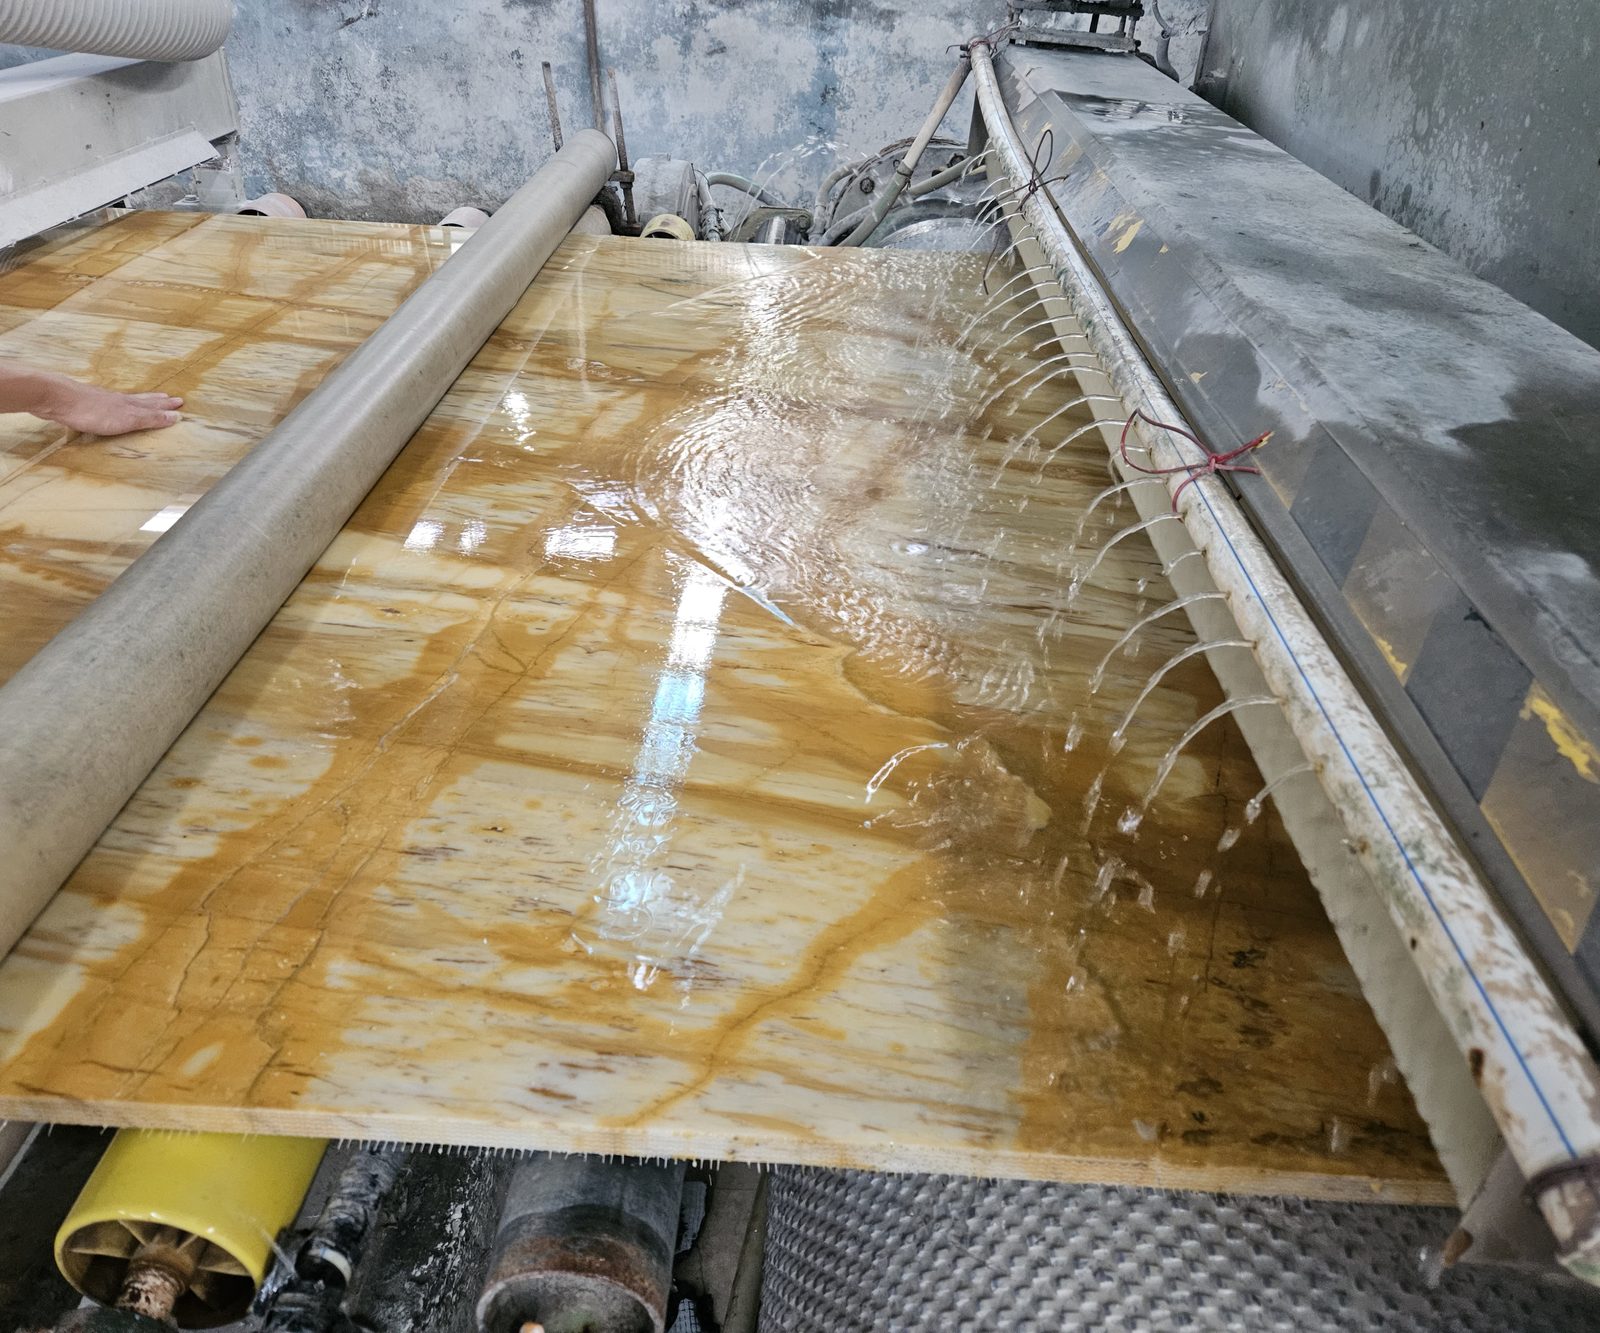
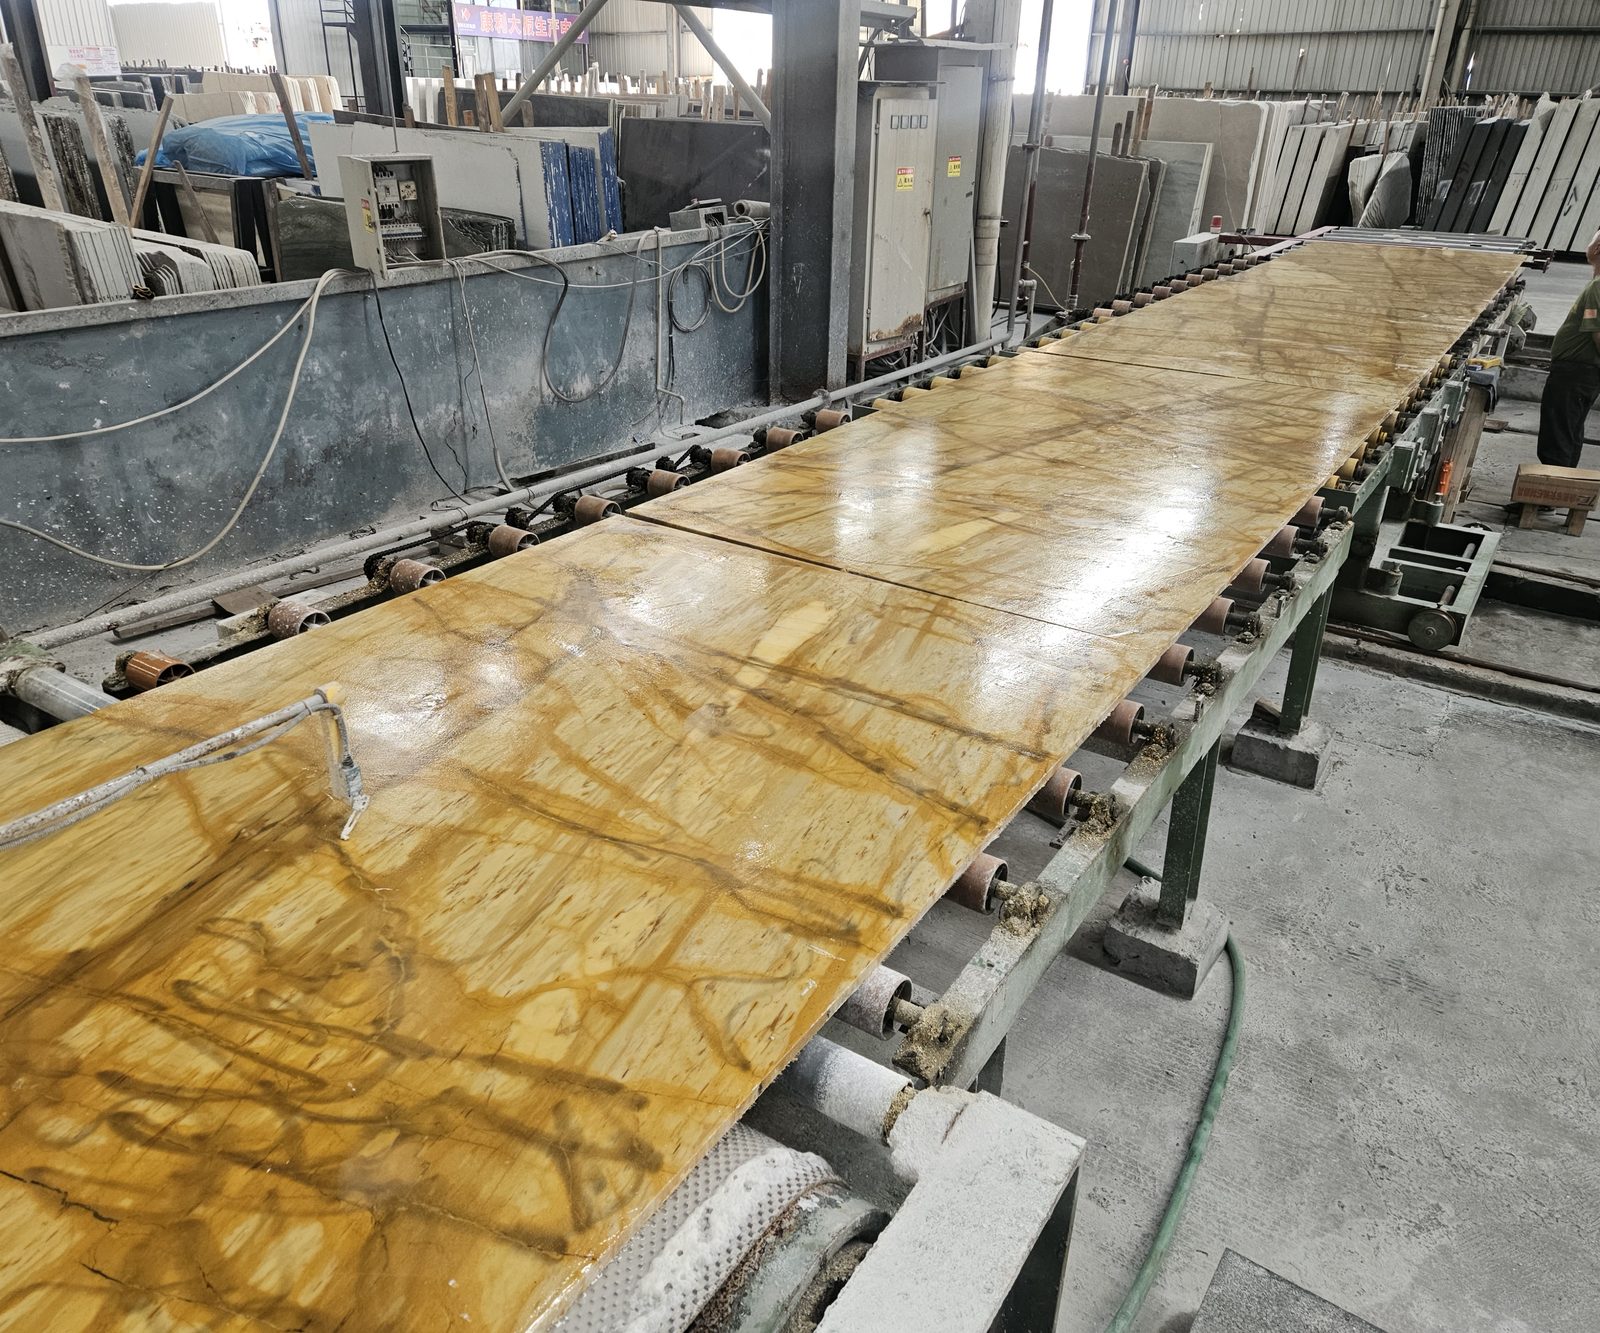
The slab travelling the line after grinding, before the final polish. This is where the surface stops being sawn and starts being a finish.
Open the filmSeven stages, photographed as they happen
The block
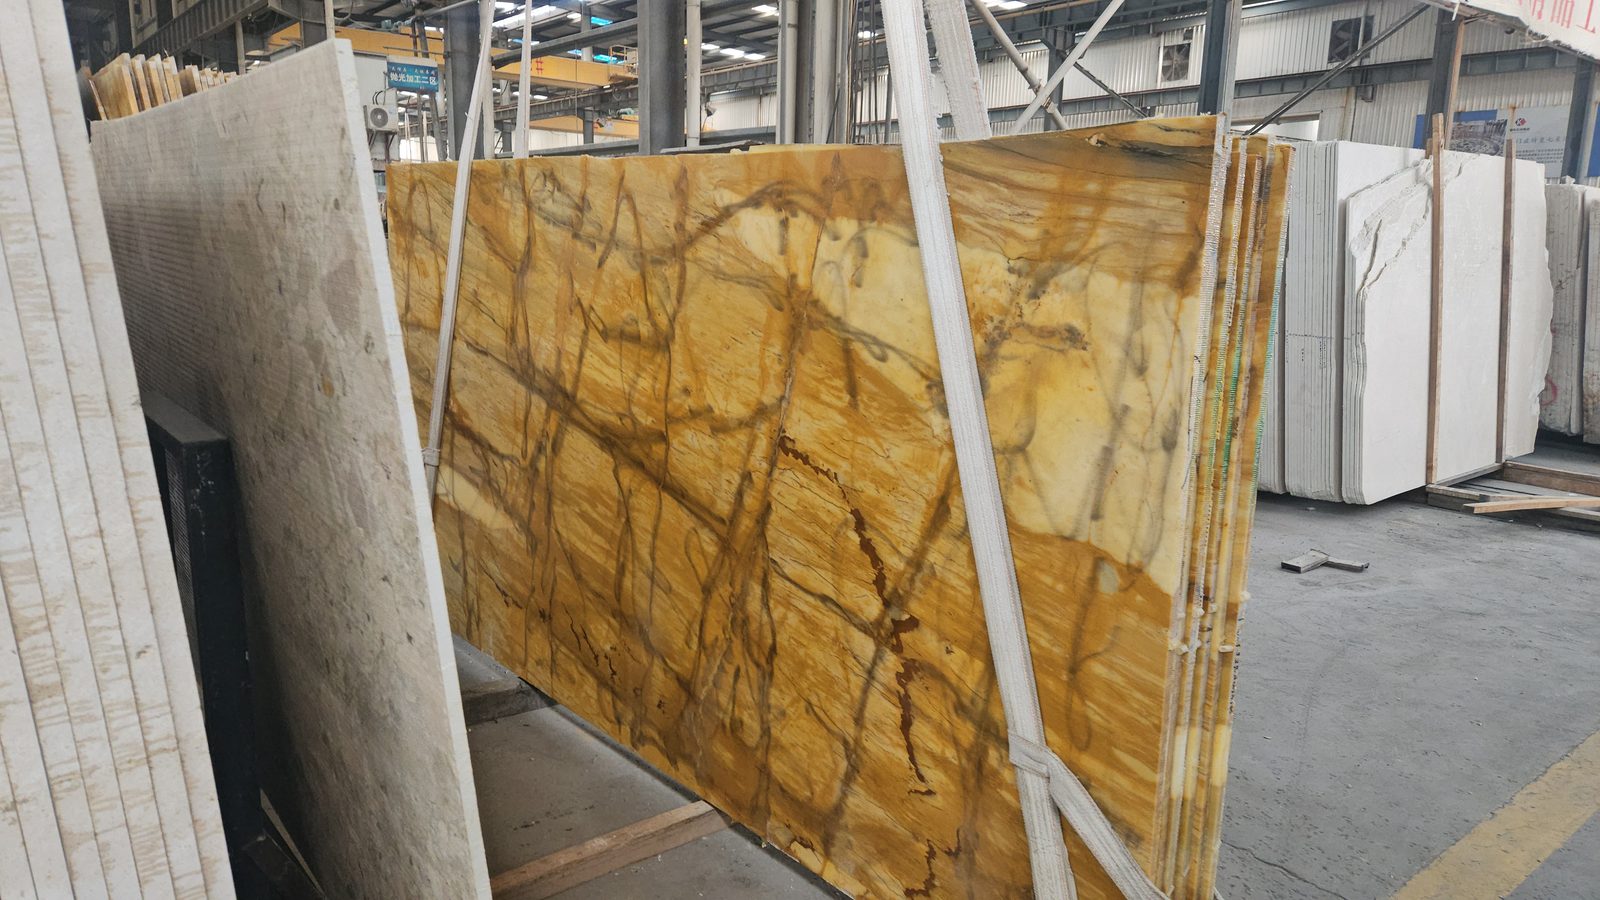
A Giallo Siena block arrives at our workshop as a single piece of stone several tonnes in weight, cut from the Sovicille district where this material is quarried. It is stood on edge in the yard because that is the only way a block can be handled - and because a block cut from the bed shows its own bedding, which is what decides where the figure runs.
Cutting it into slabs
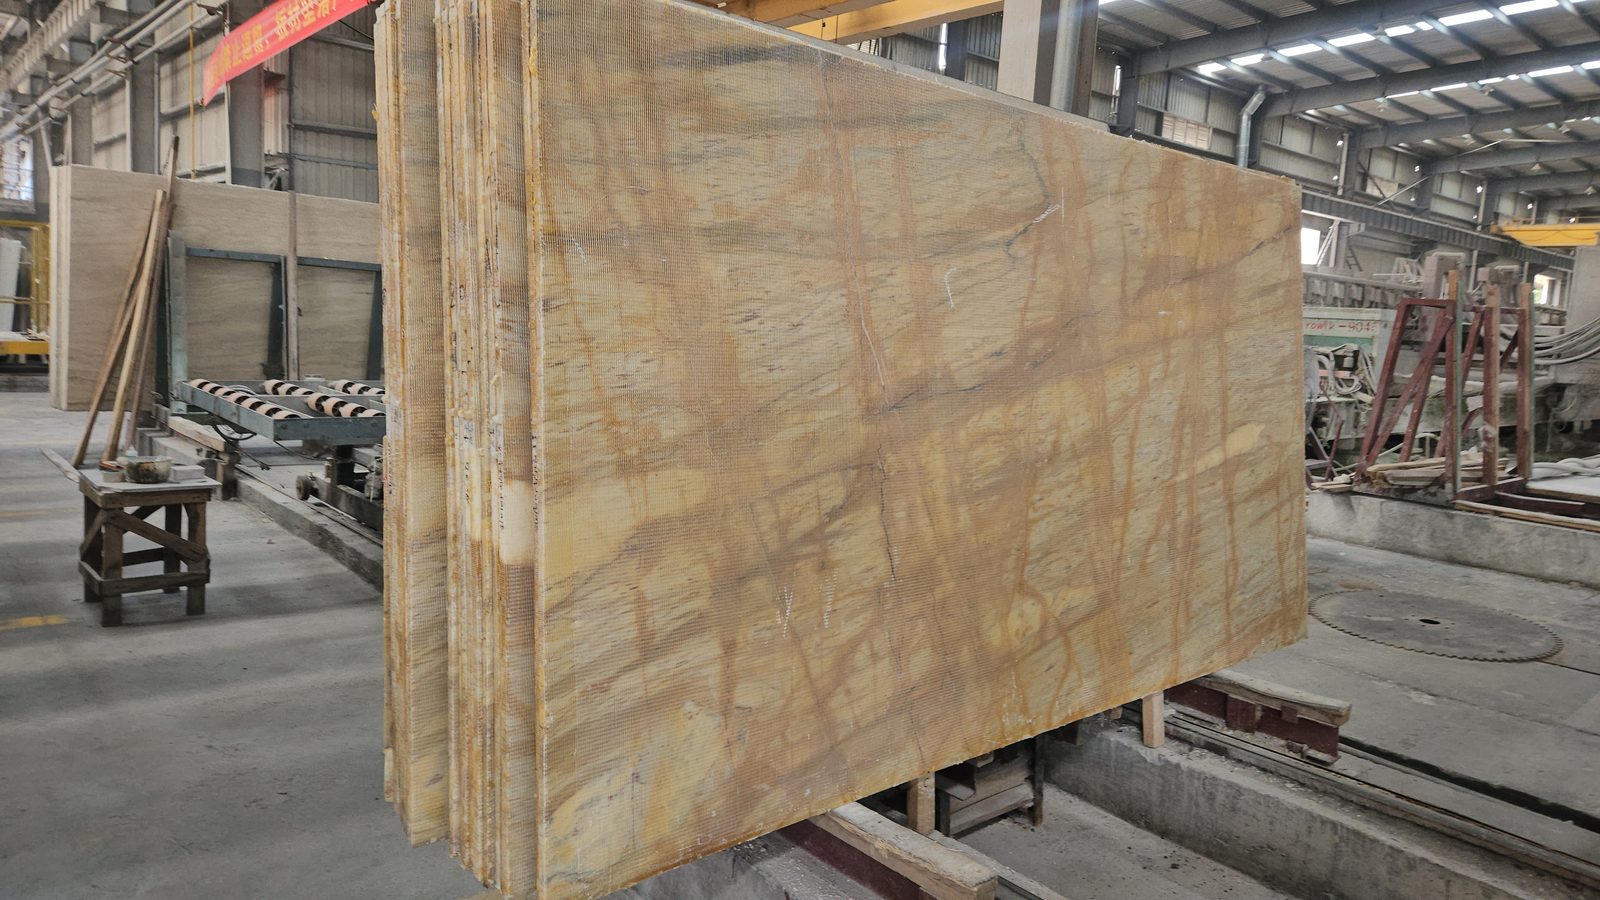
The gang saw takes the block into slabs. A diamond blade runs the length of the block, so the cut is a single plane through the whole height of the stone. Every slab in a job comes out of the same block or the same batch, because slabs from one block match and slabs from two do not - this is why the availability page asks for a batch rather than for a colour.

Locating the figure
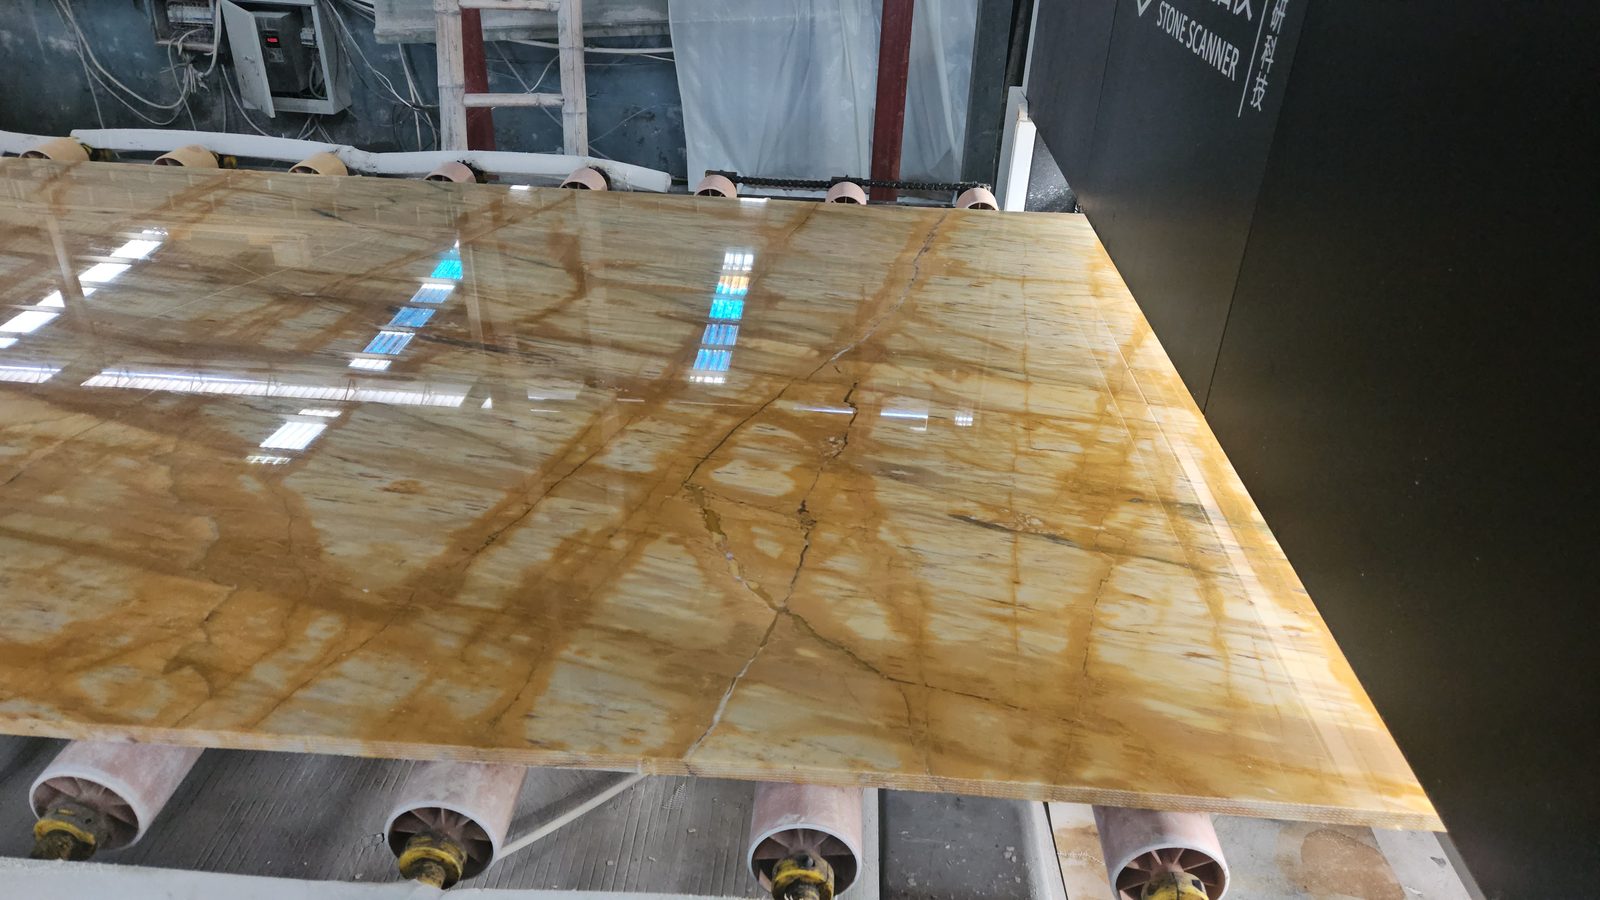
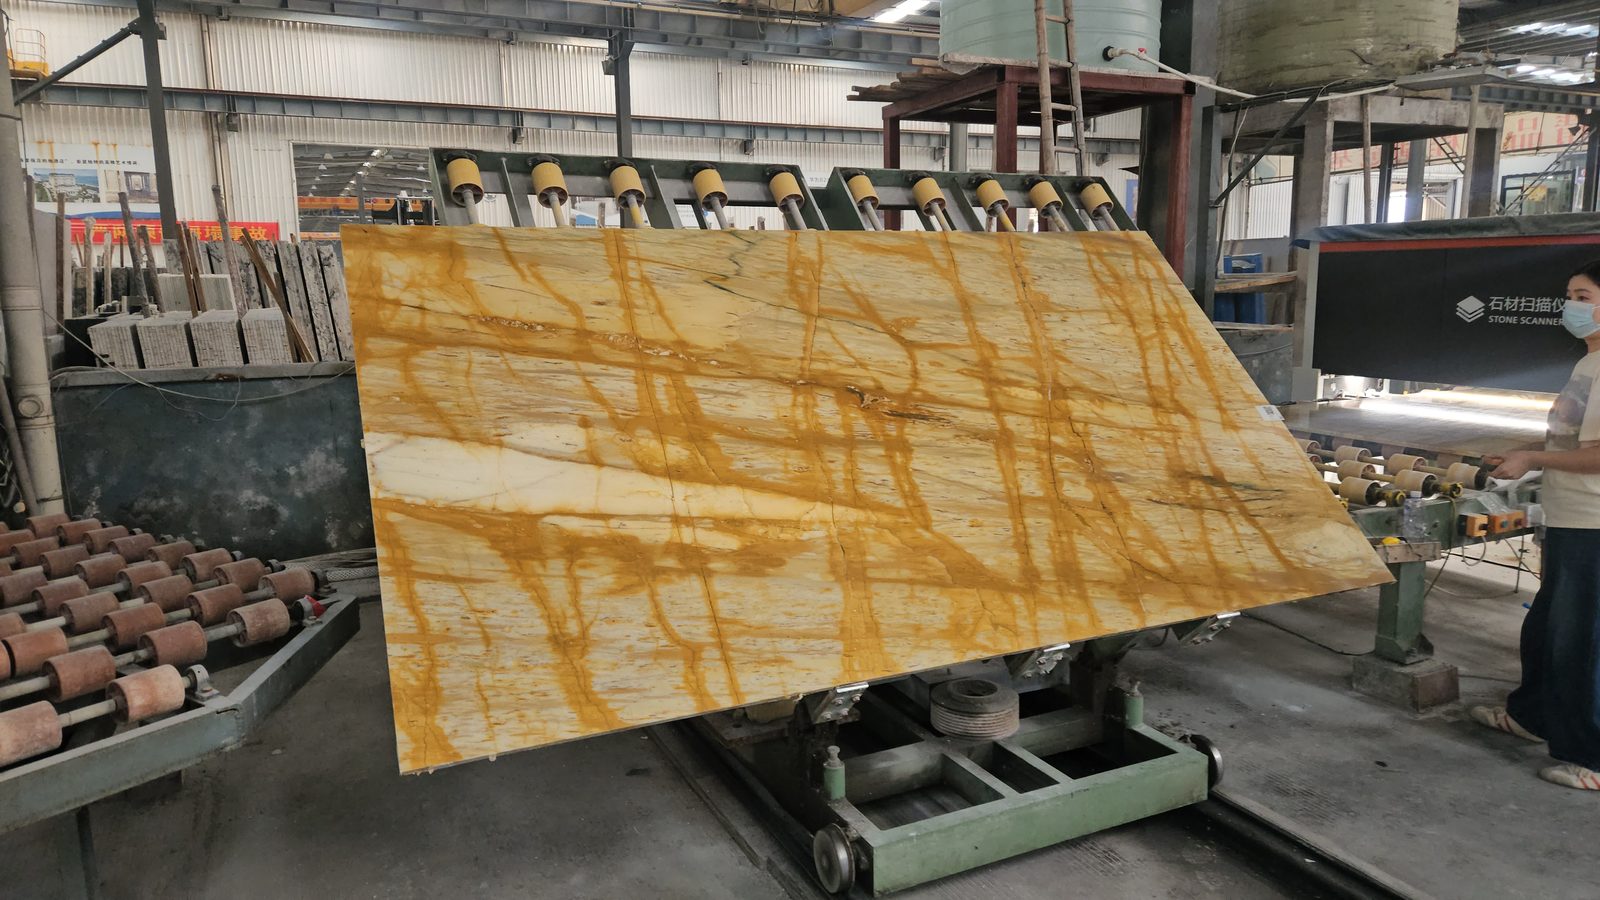
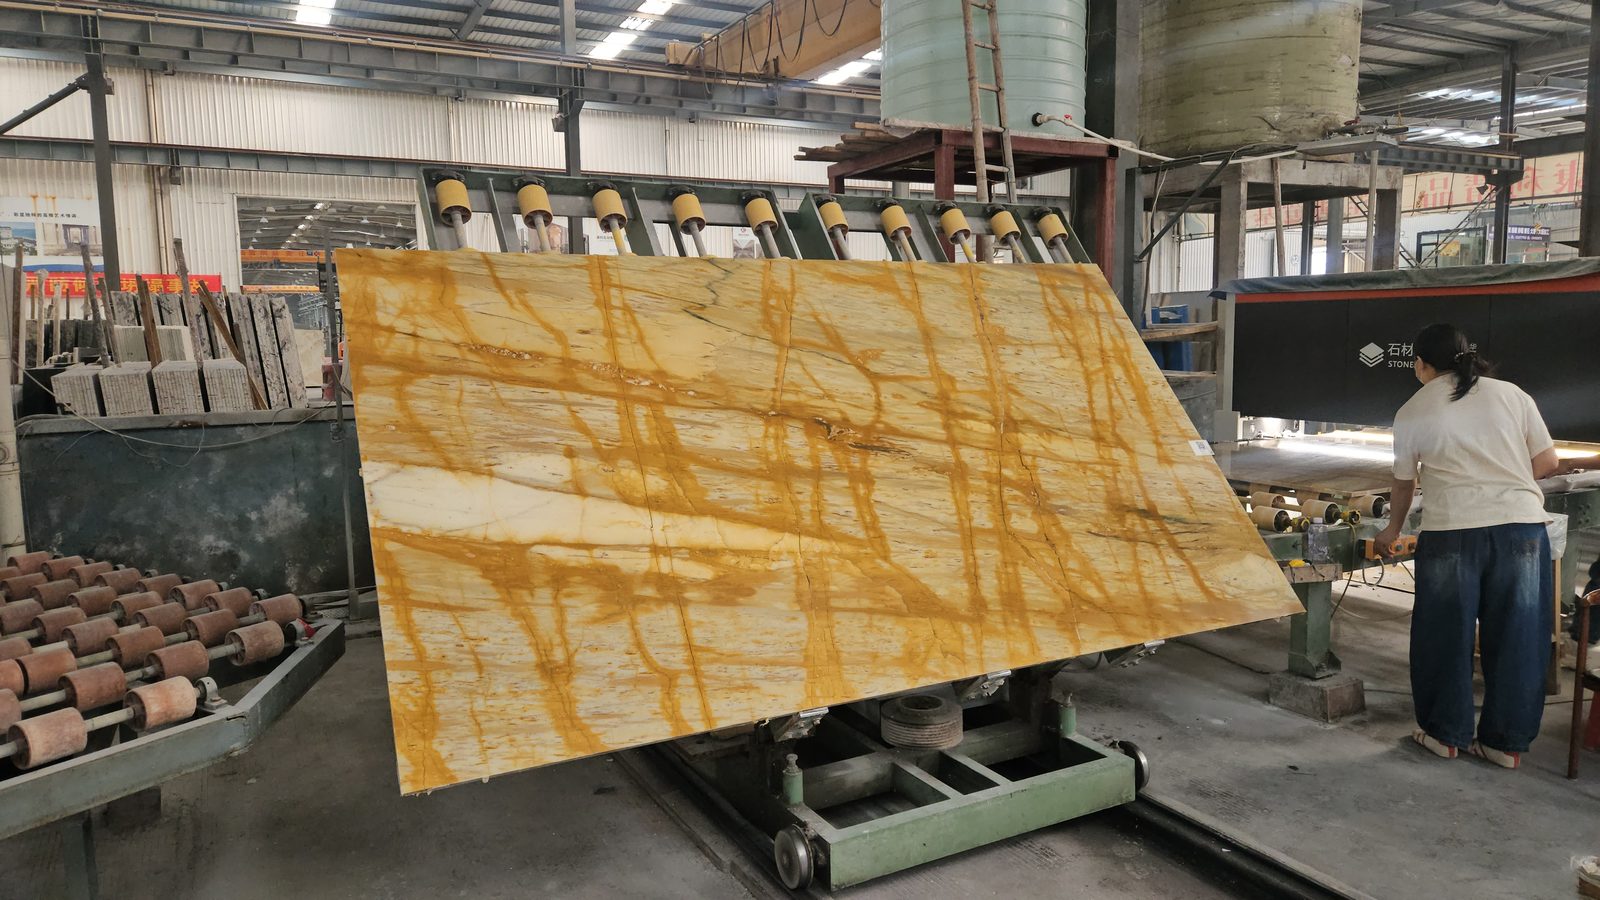
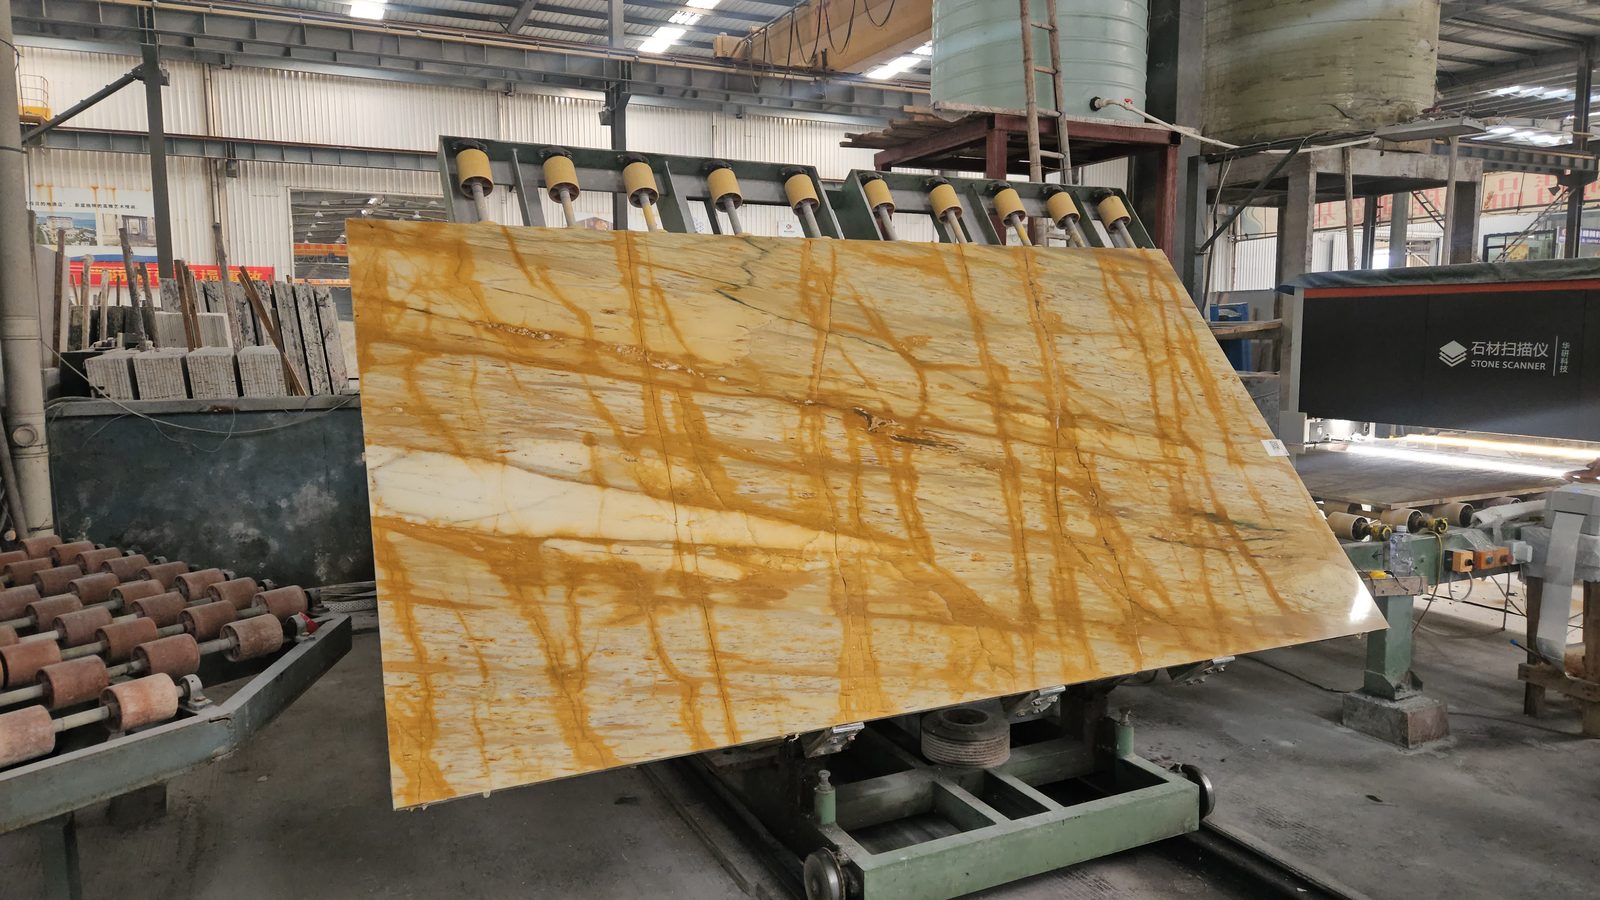
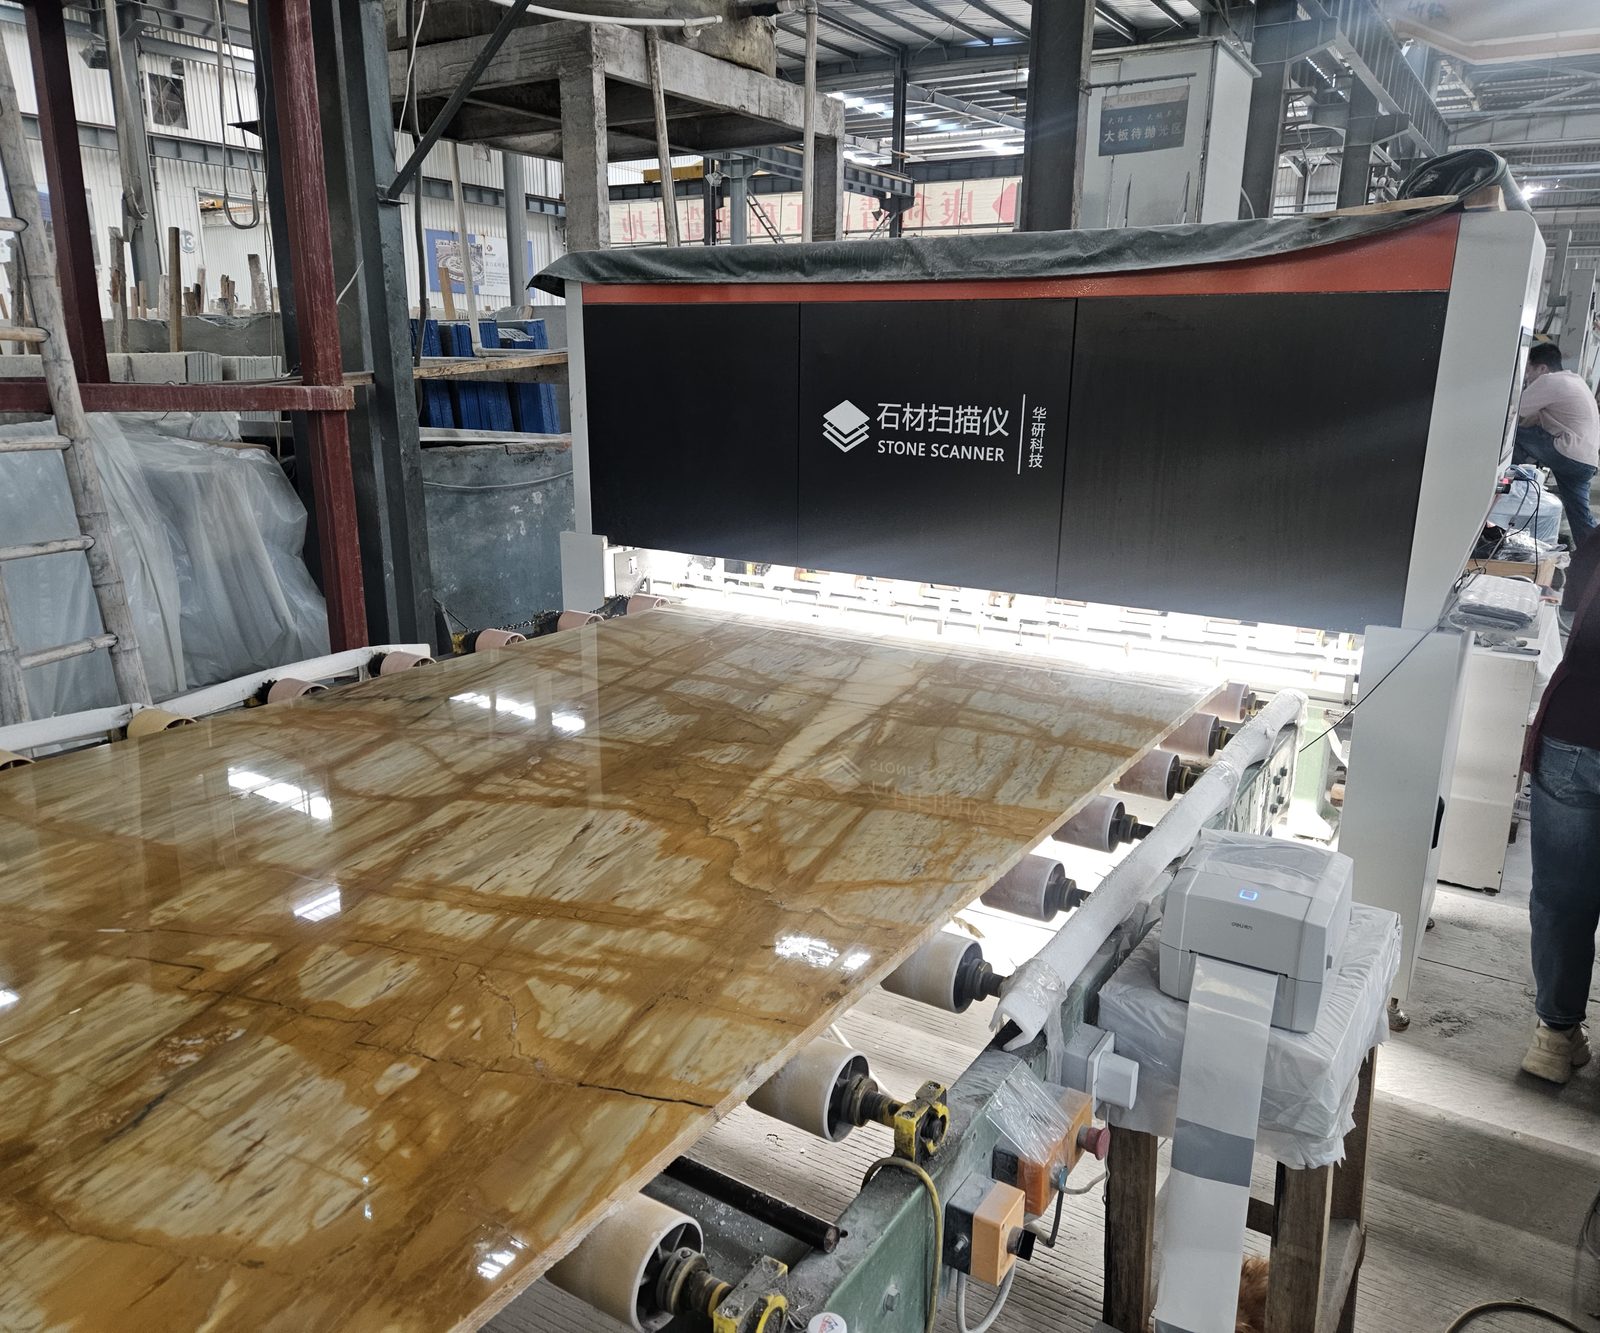
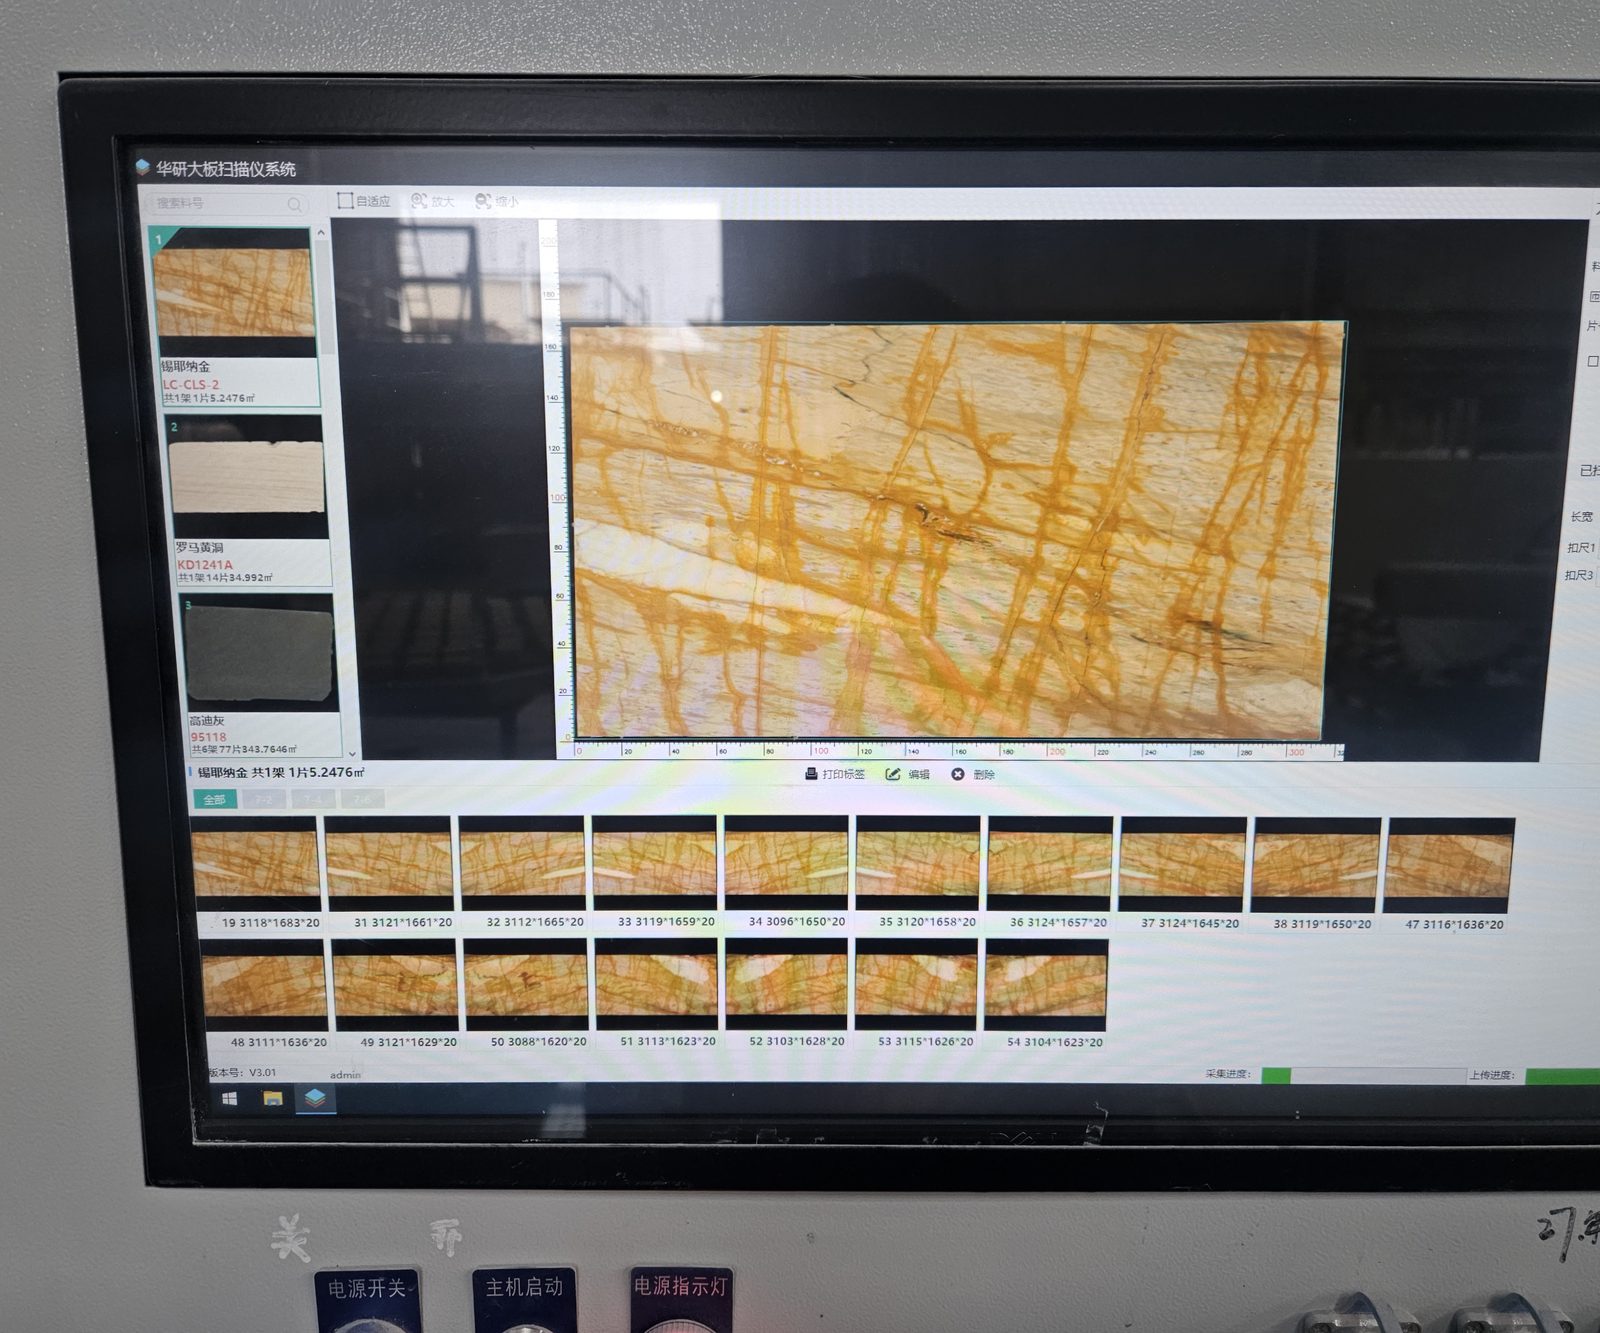
Each slab is scanned before it is cut, so that the veining and the movement of the stone are mapped against the slab rather than found by eye. The scan is what lets a fabricator place a piece where the figure is wanted - a bookmatched pair, a run of veining across a floor - instead of taking what the slab happens to offer.
Finishing the edge
The edge is cut after the face, never before it. The arris is the first thing a hand touches on a counter, so it is the last thing to be cut and the only part of the slab that is shaped rather than merely exposed.
Polishing and grinding
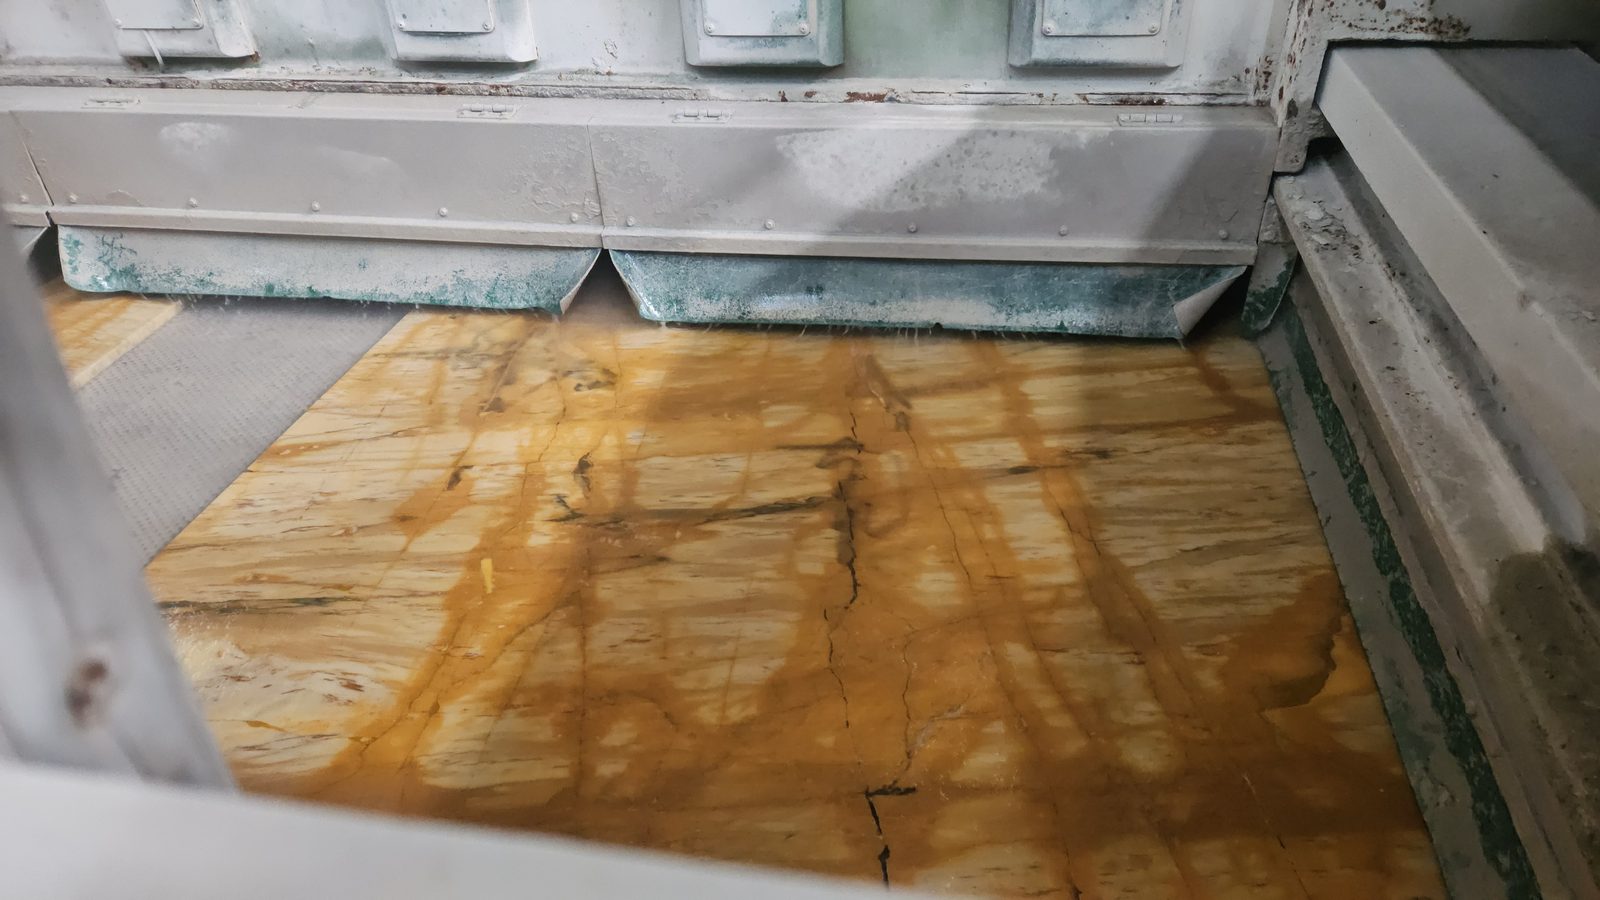
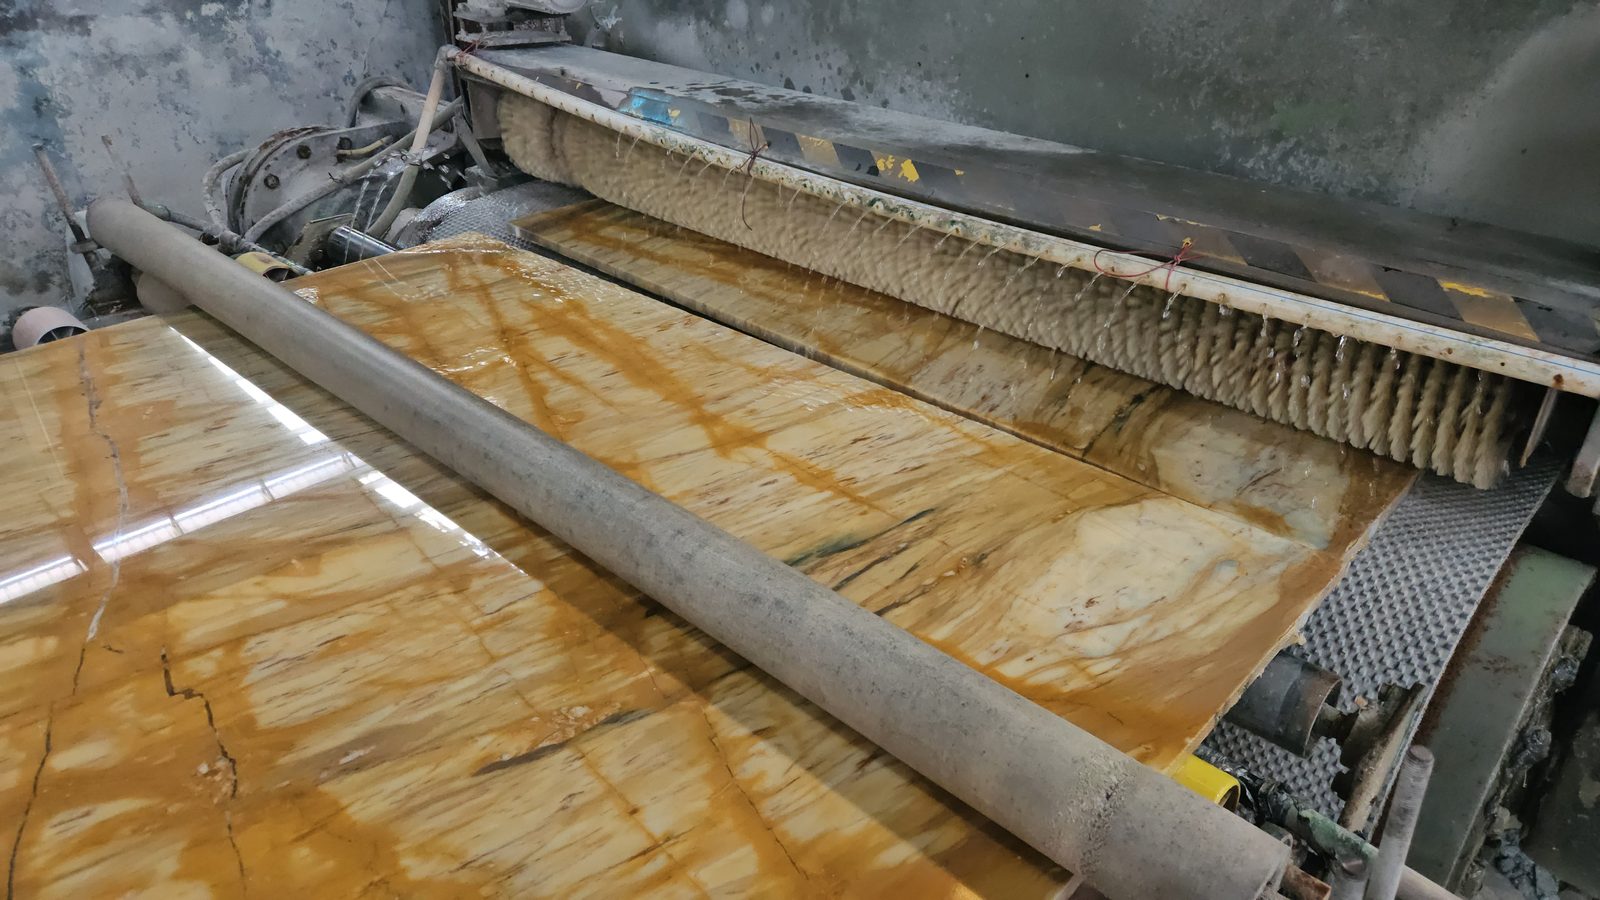
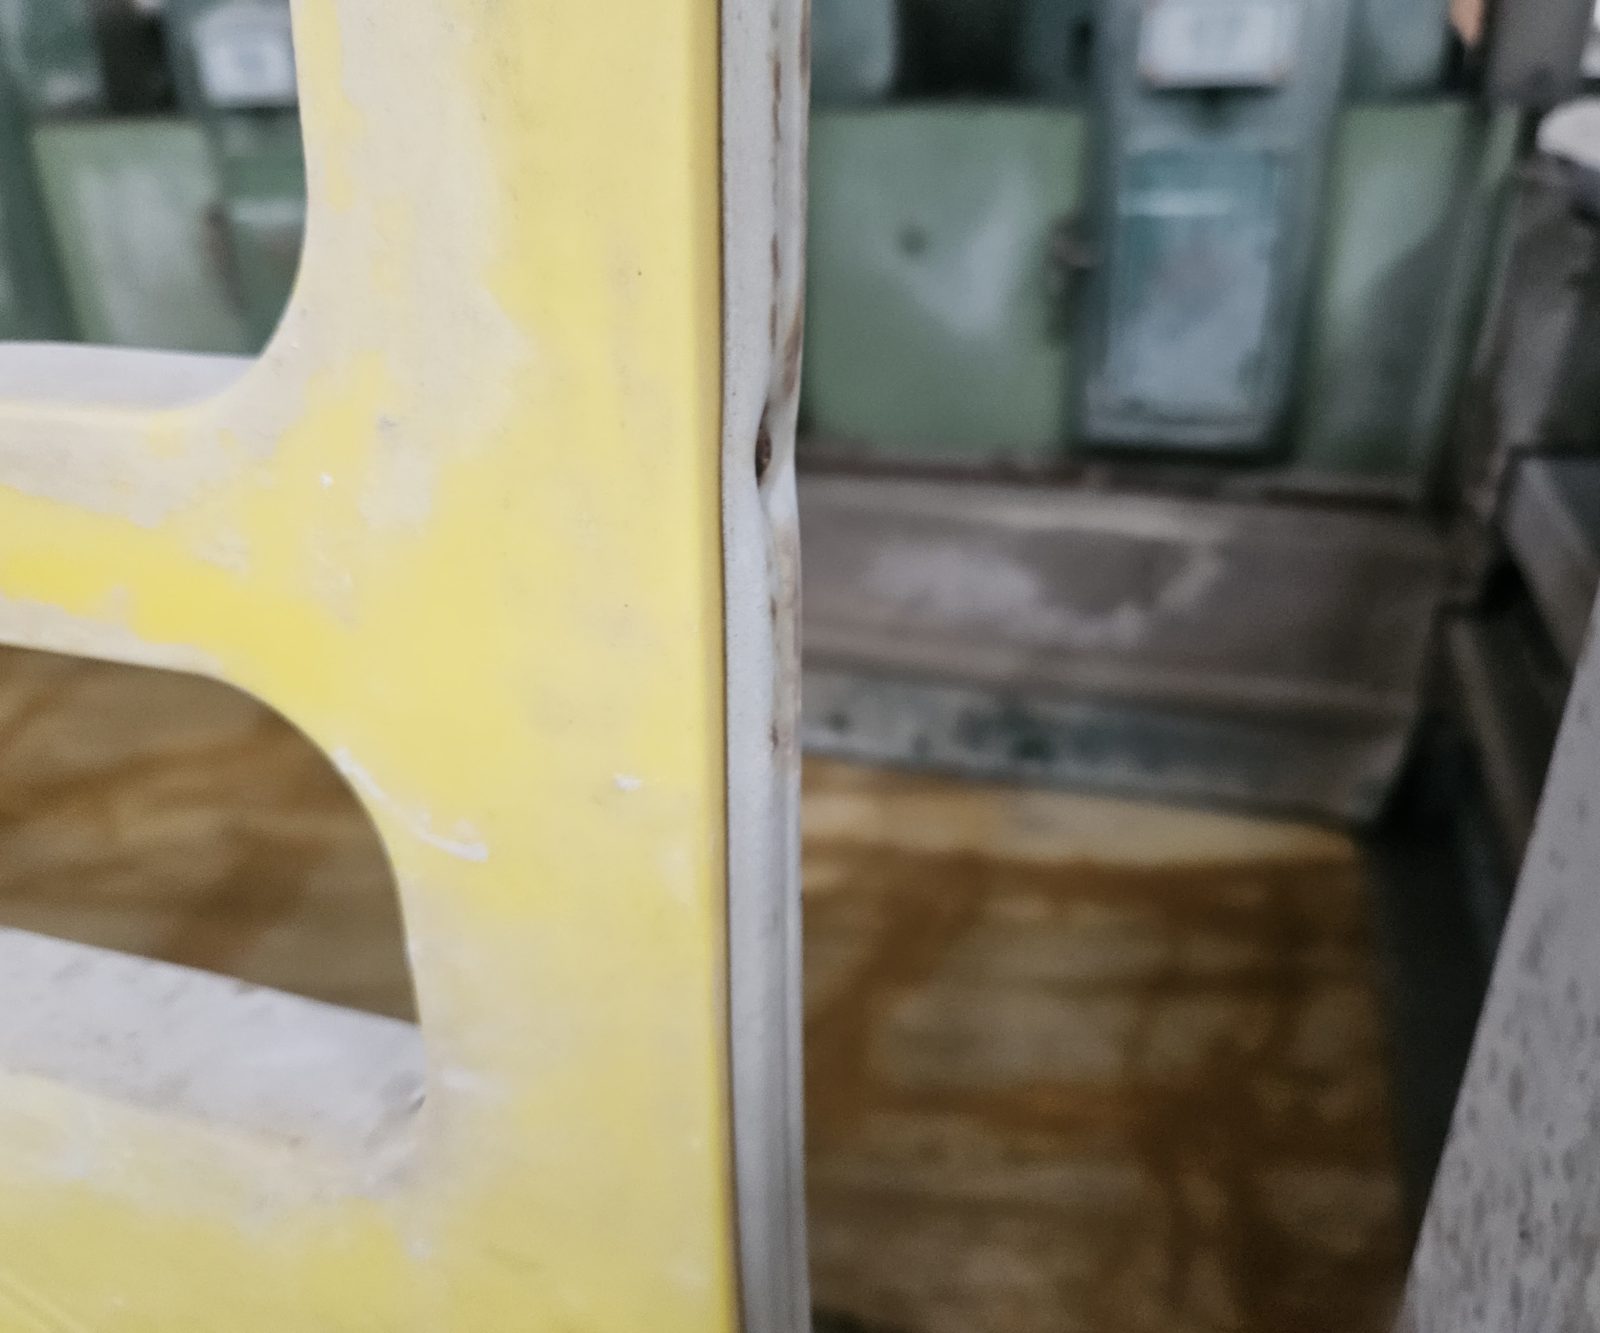
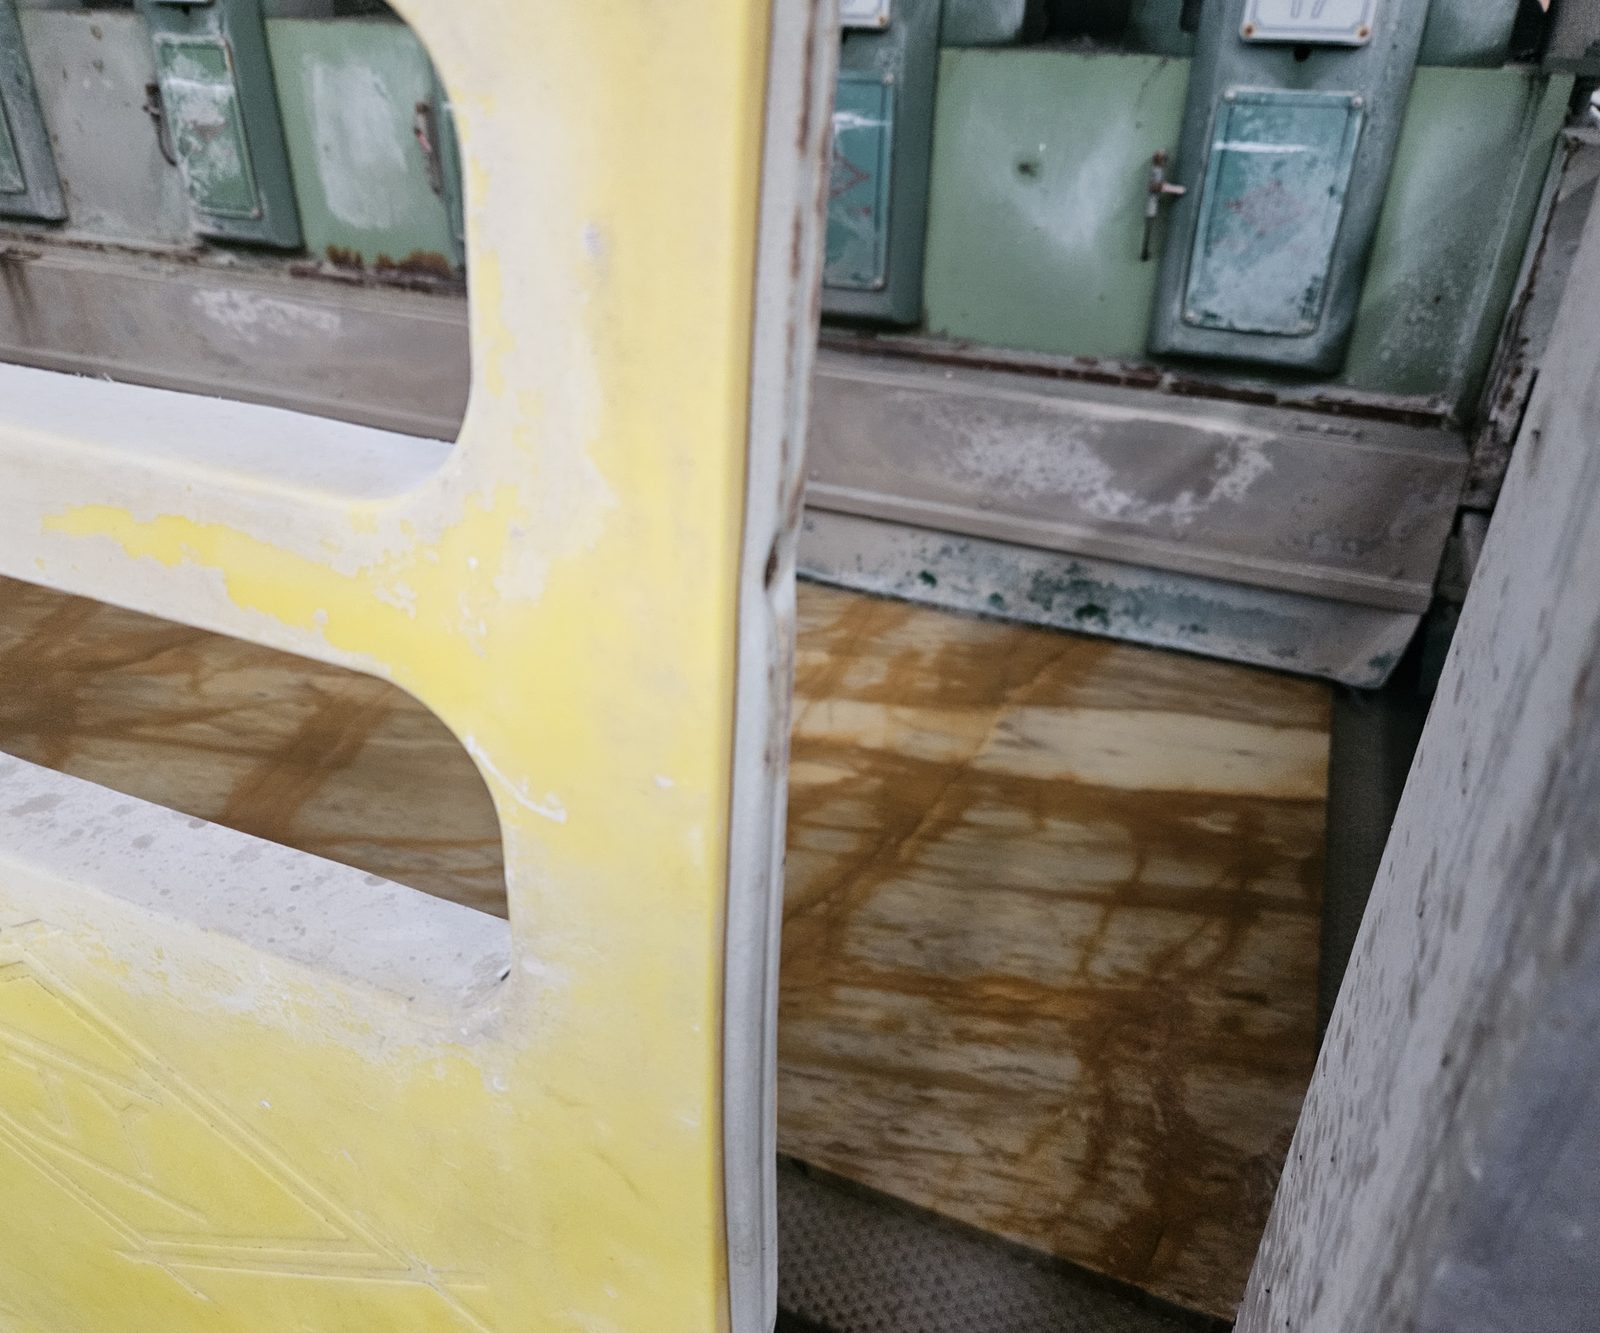
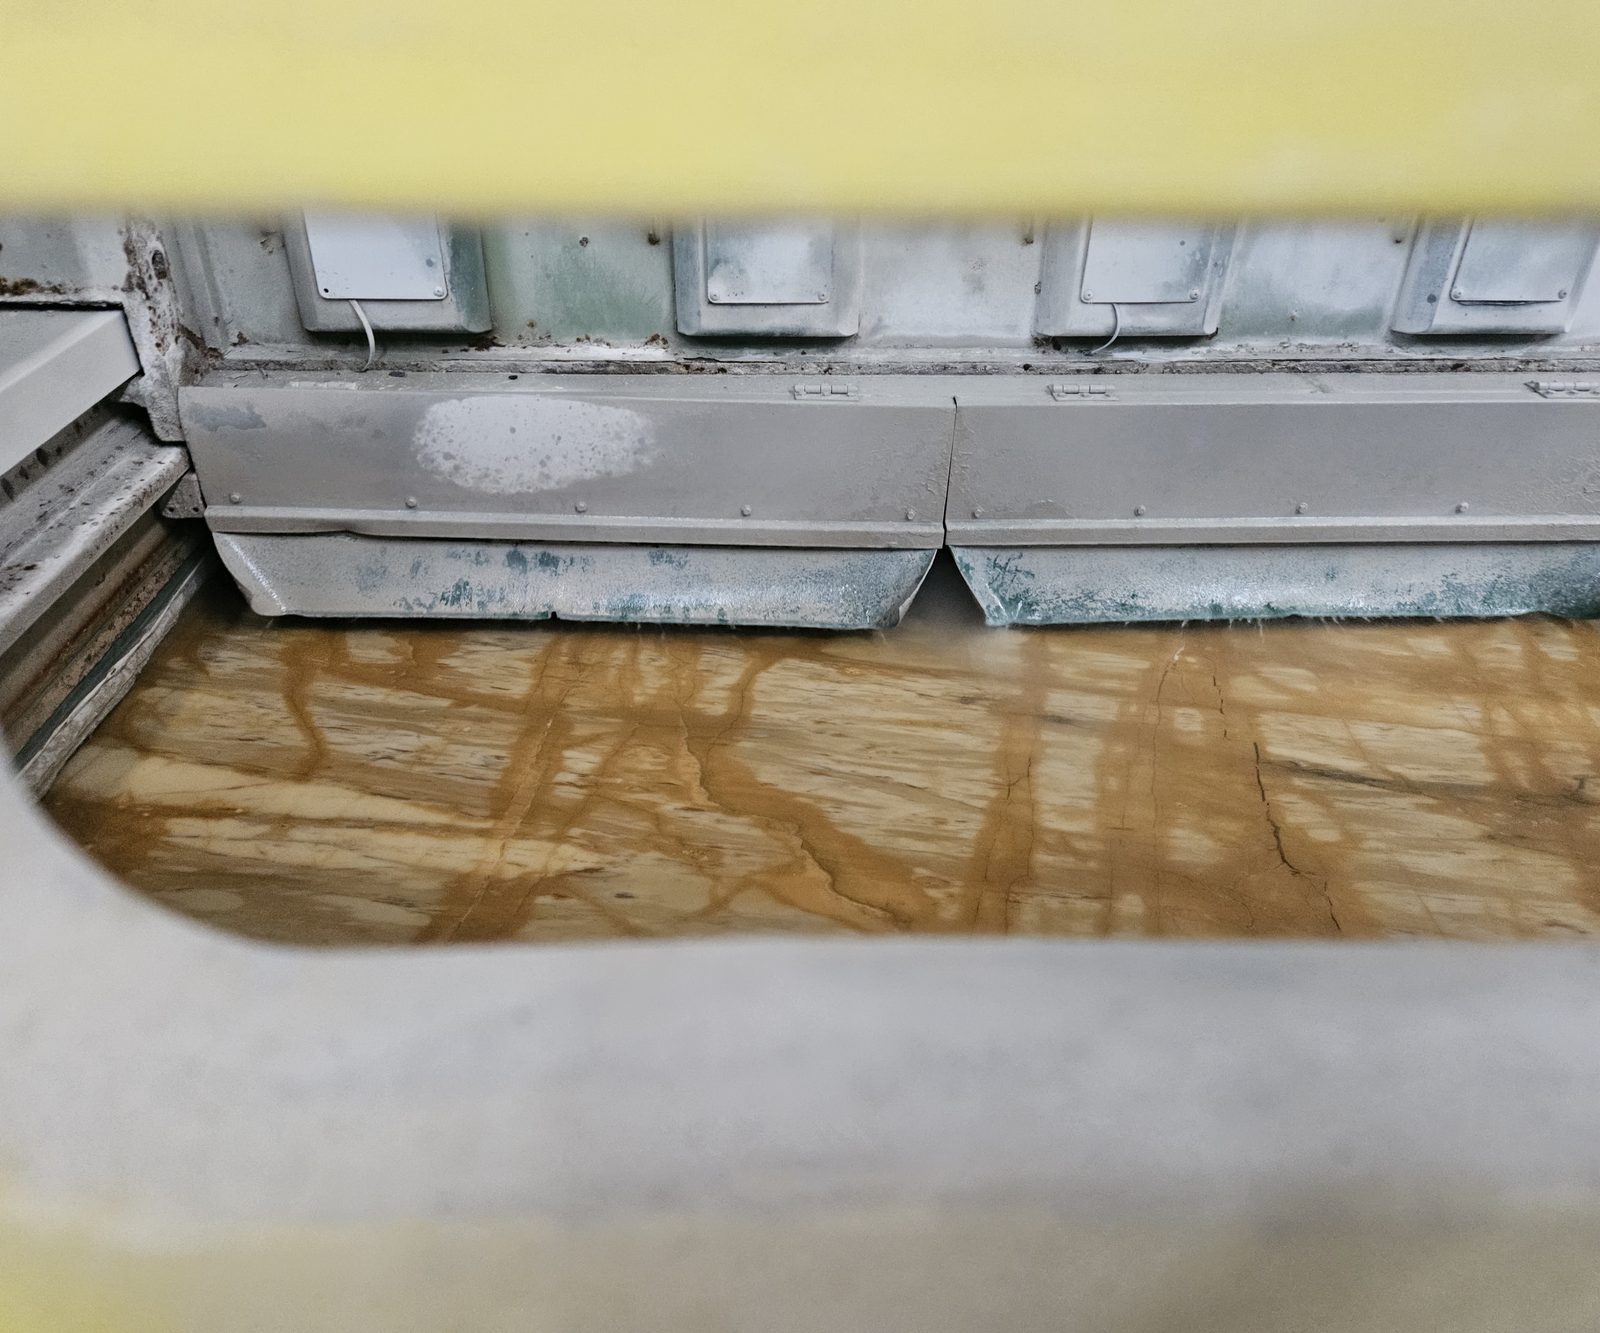
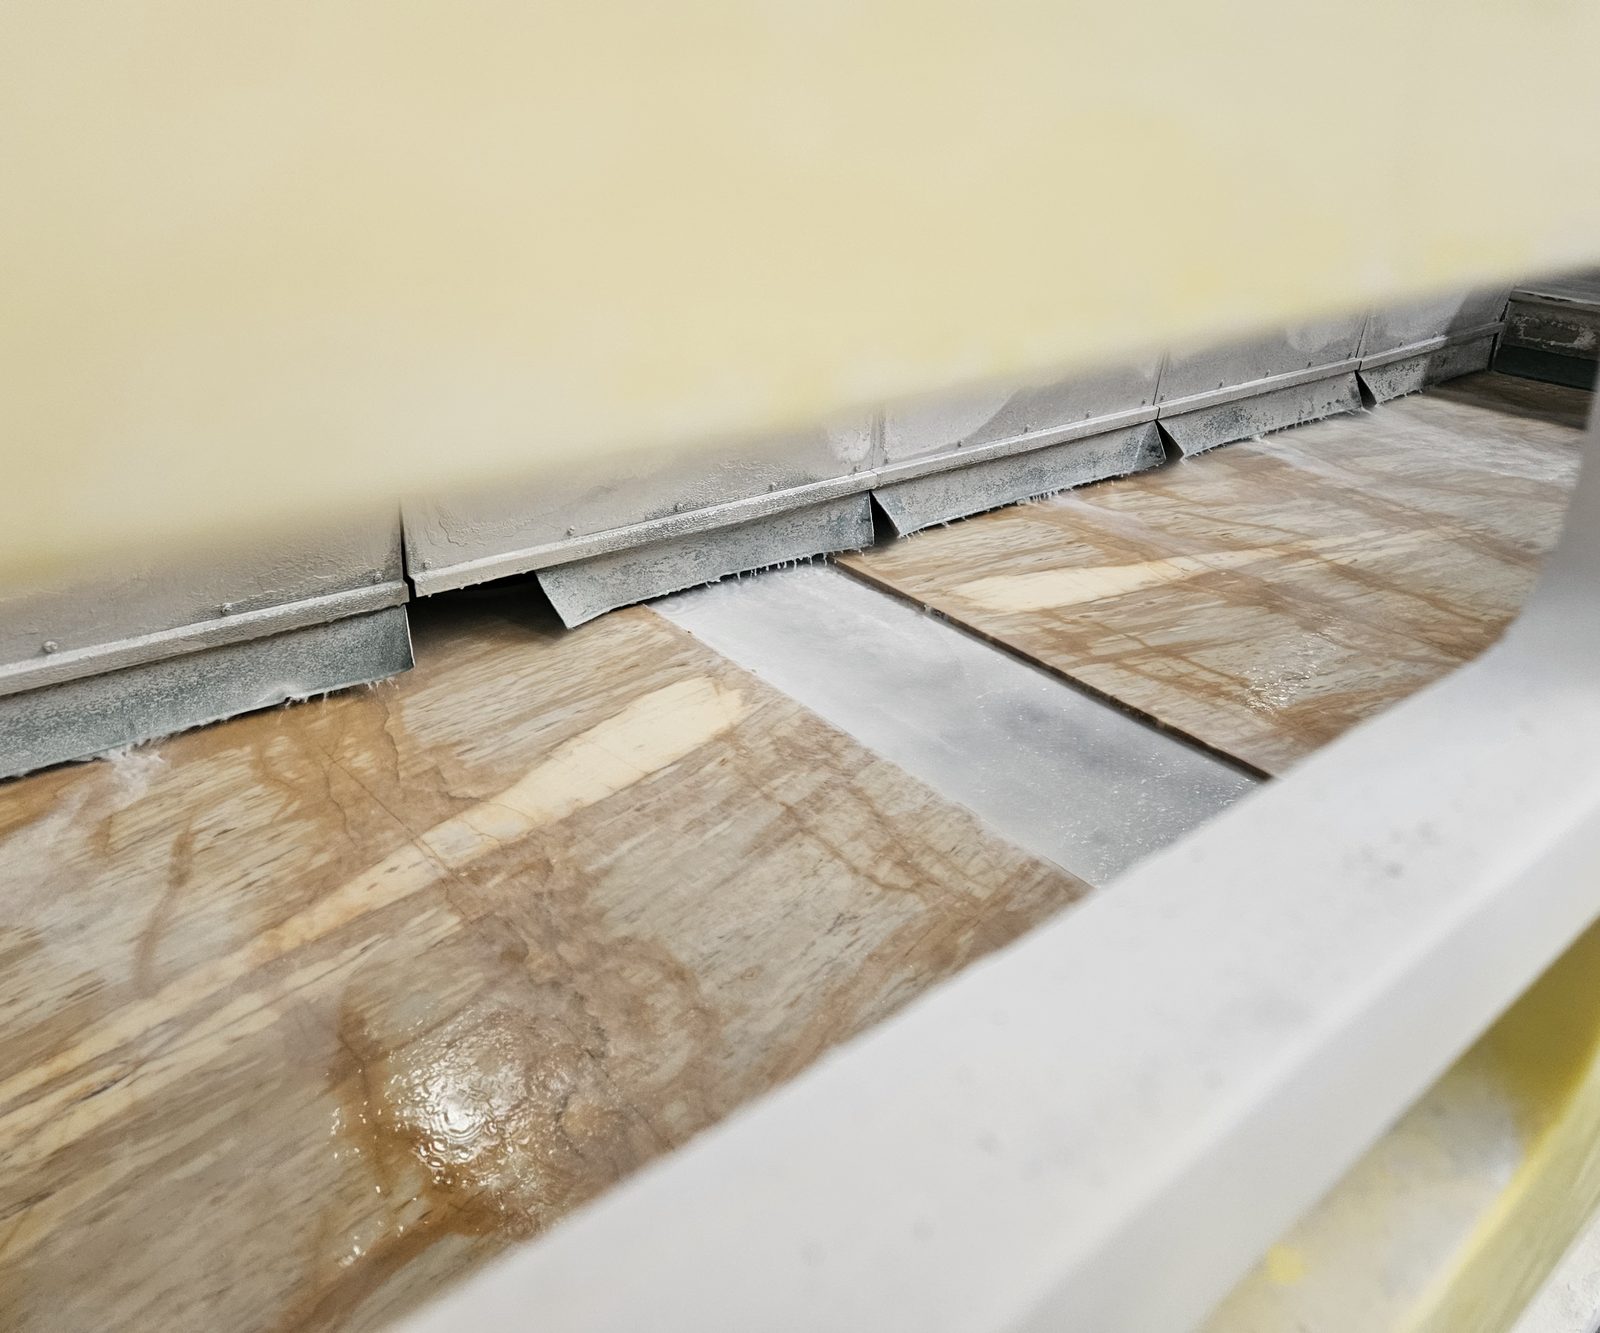
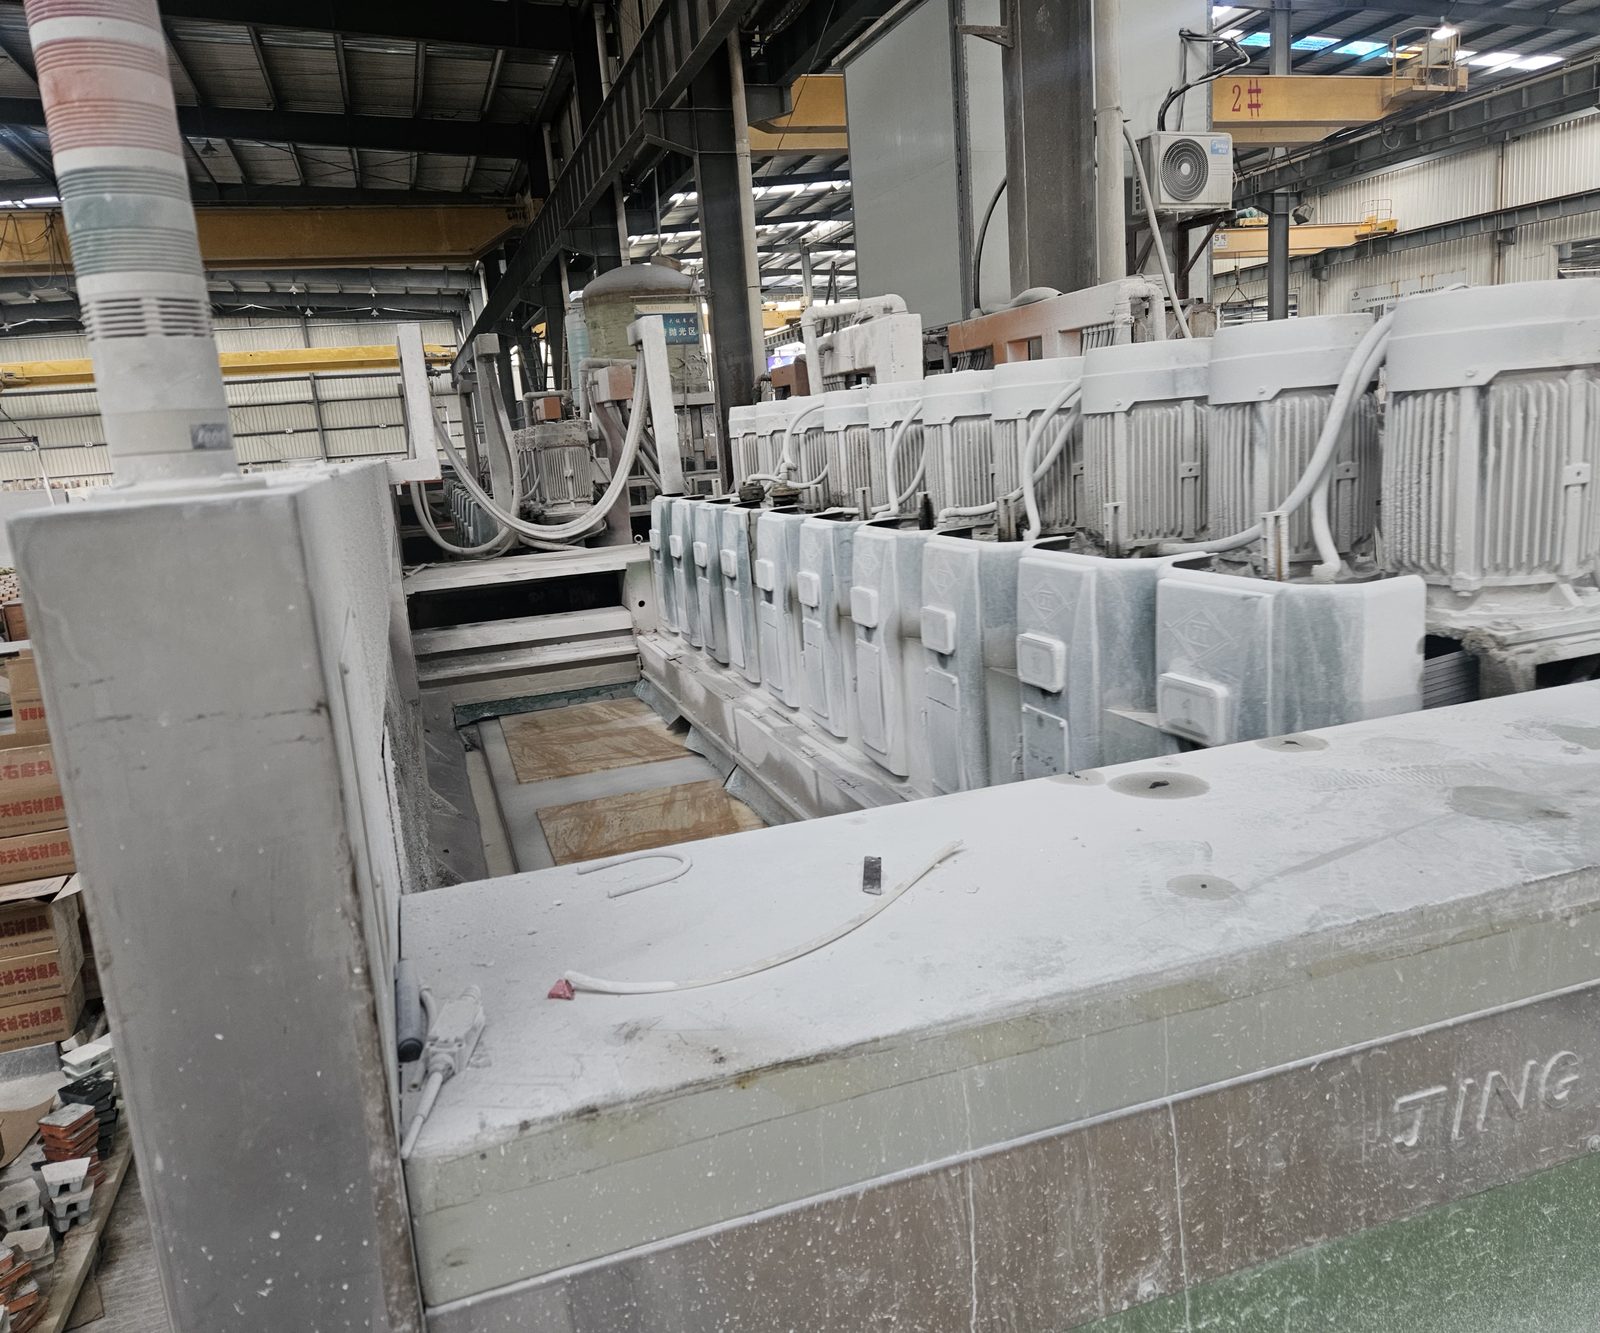
The face is worked in stages: grinding to take the saw marks out, then progressively finer abrasives until the surface is a polish. This stone is brecciated - it is made of fragments re-cemented together - so the white calcite lines running through it are seams, and a polisher follows them rather than cutting across them.
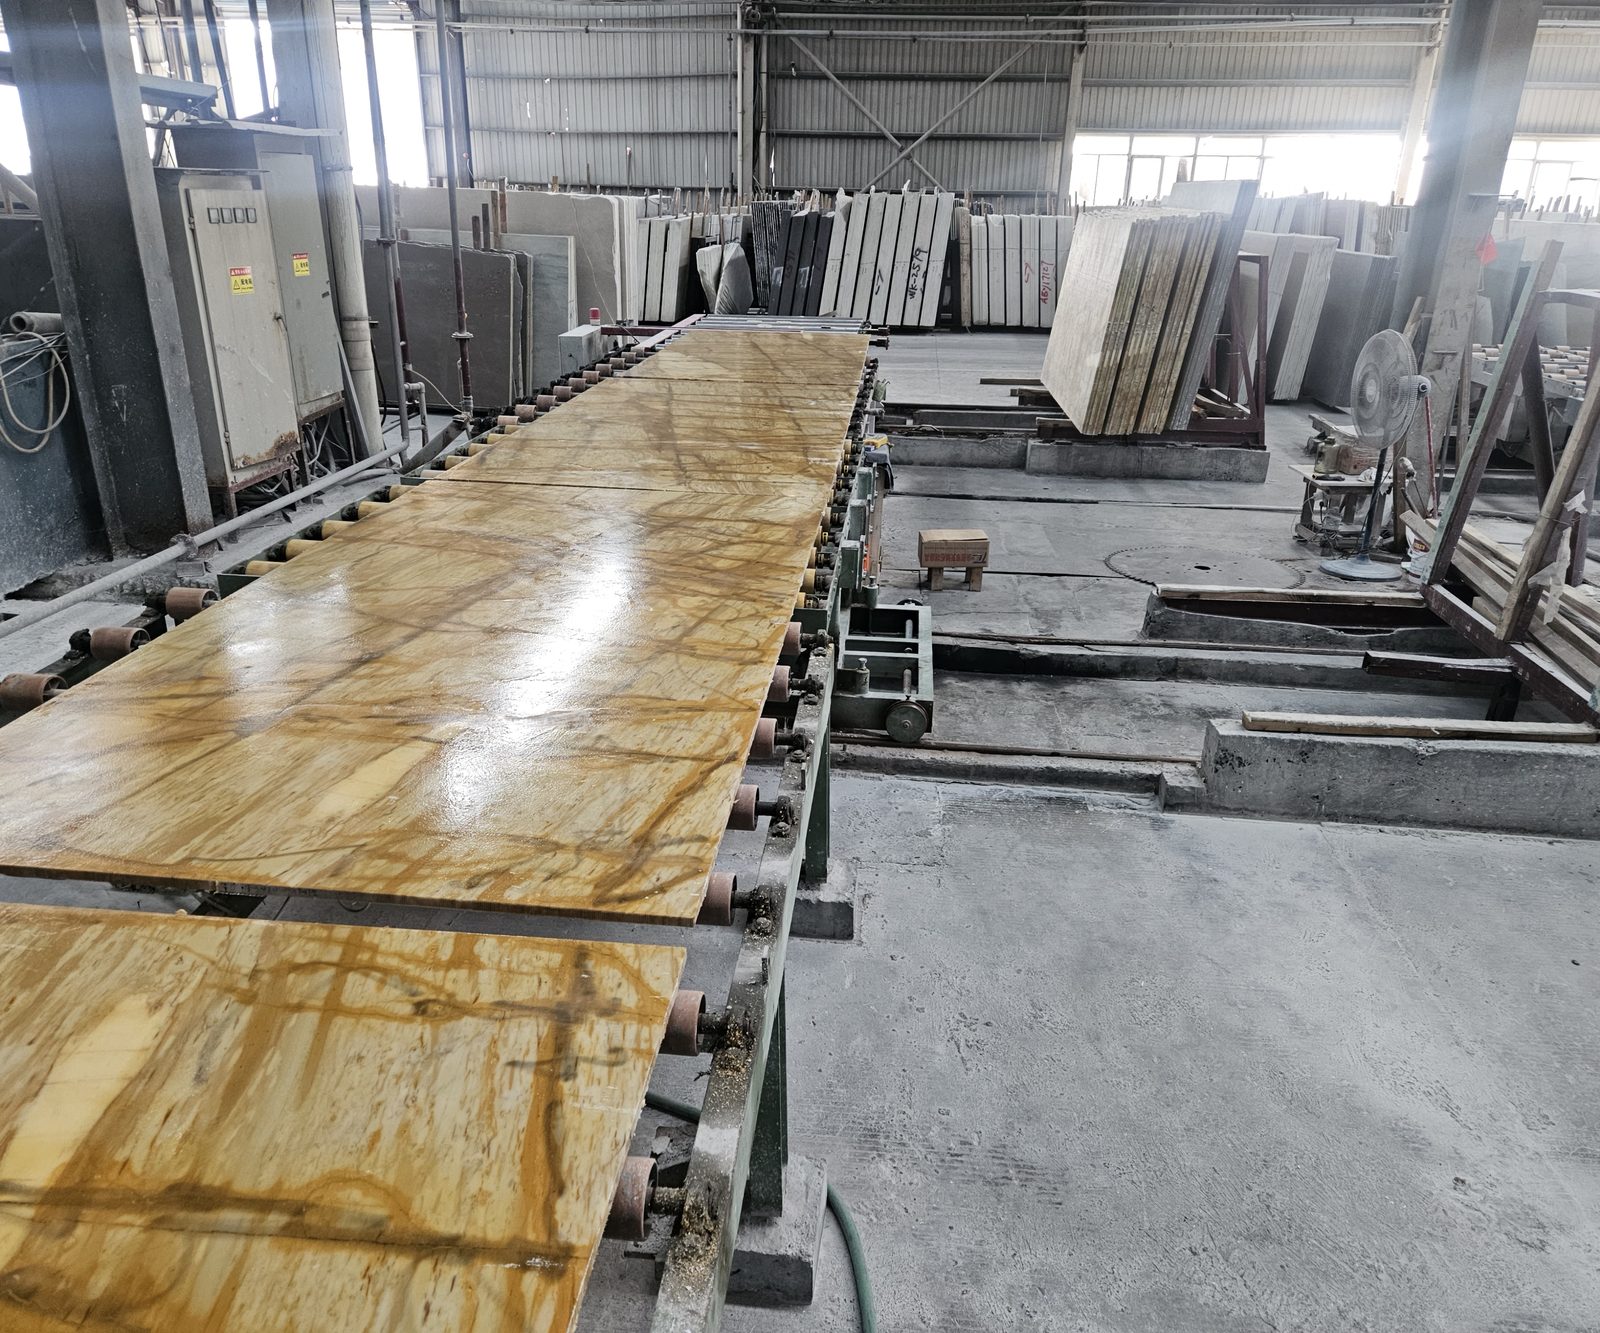
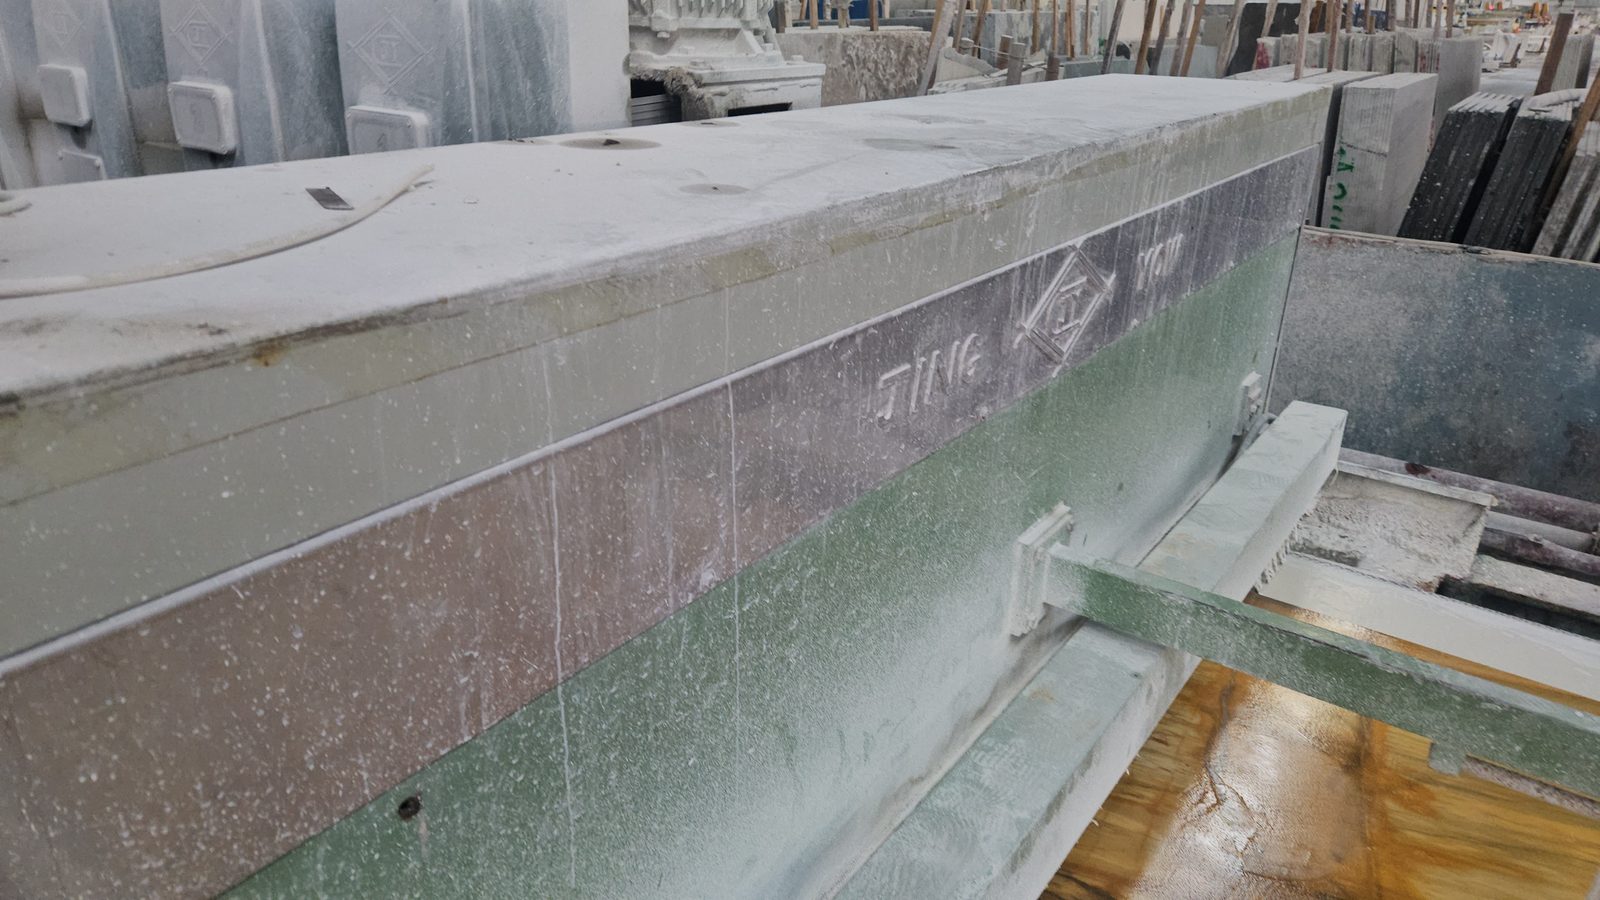
Raising the slab
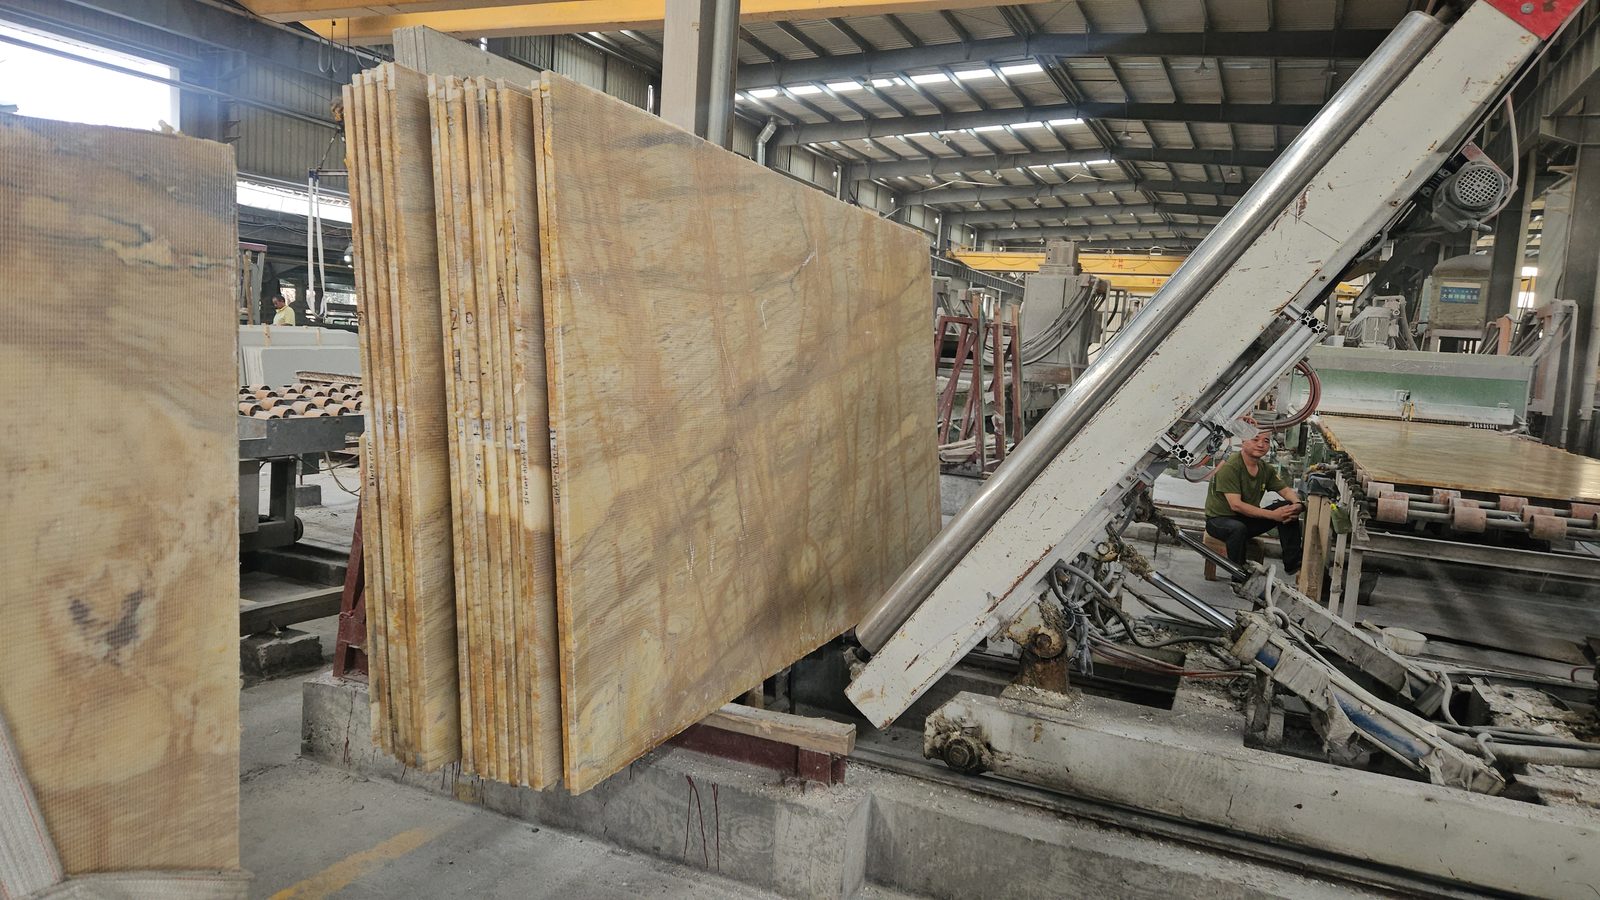
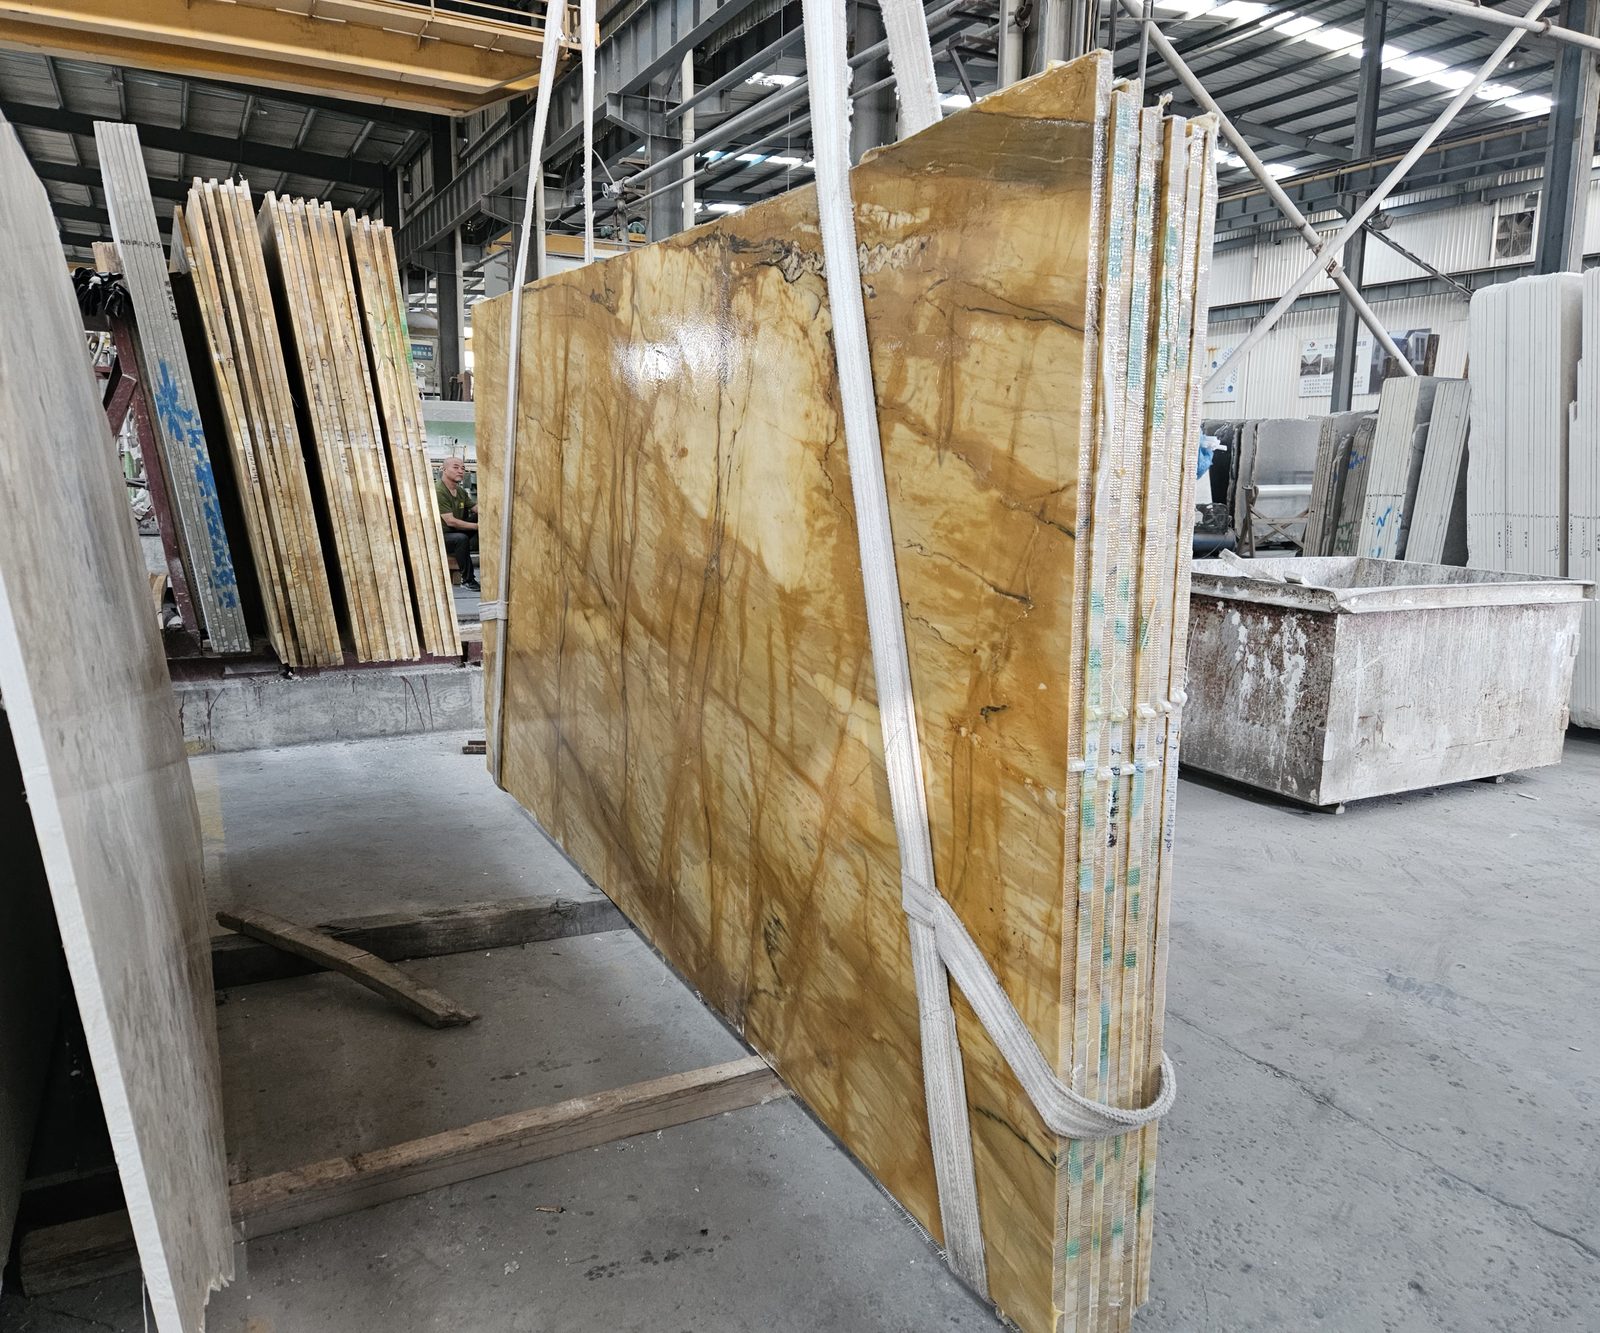
A slab of this size weighs more than a person can lift, so it is raised on a tilting frame and taken out of the bed upright. This is the moment a slab stops being a piece of a block and becomes a piece of stone with a face, a back, and an edge.
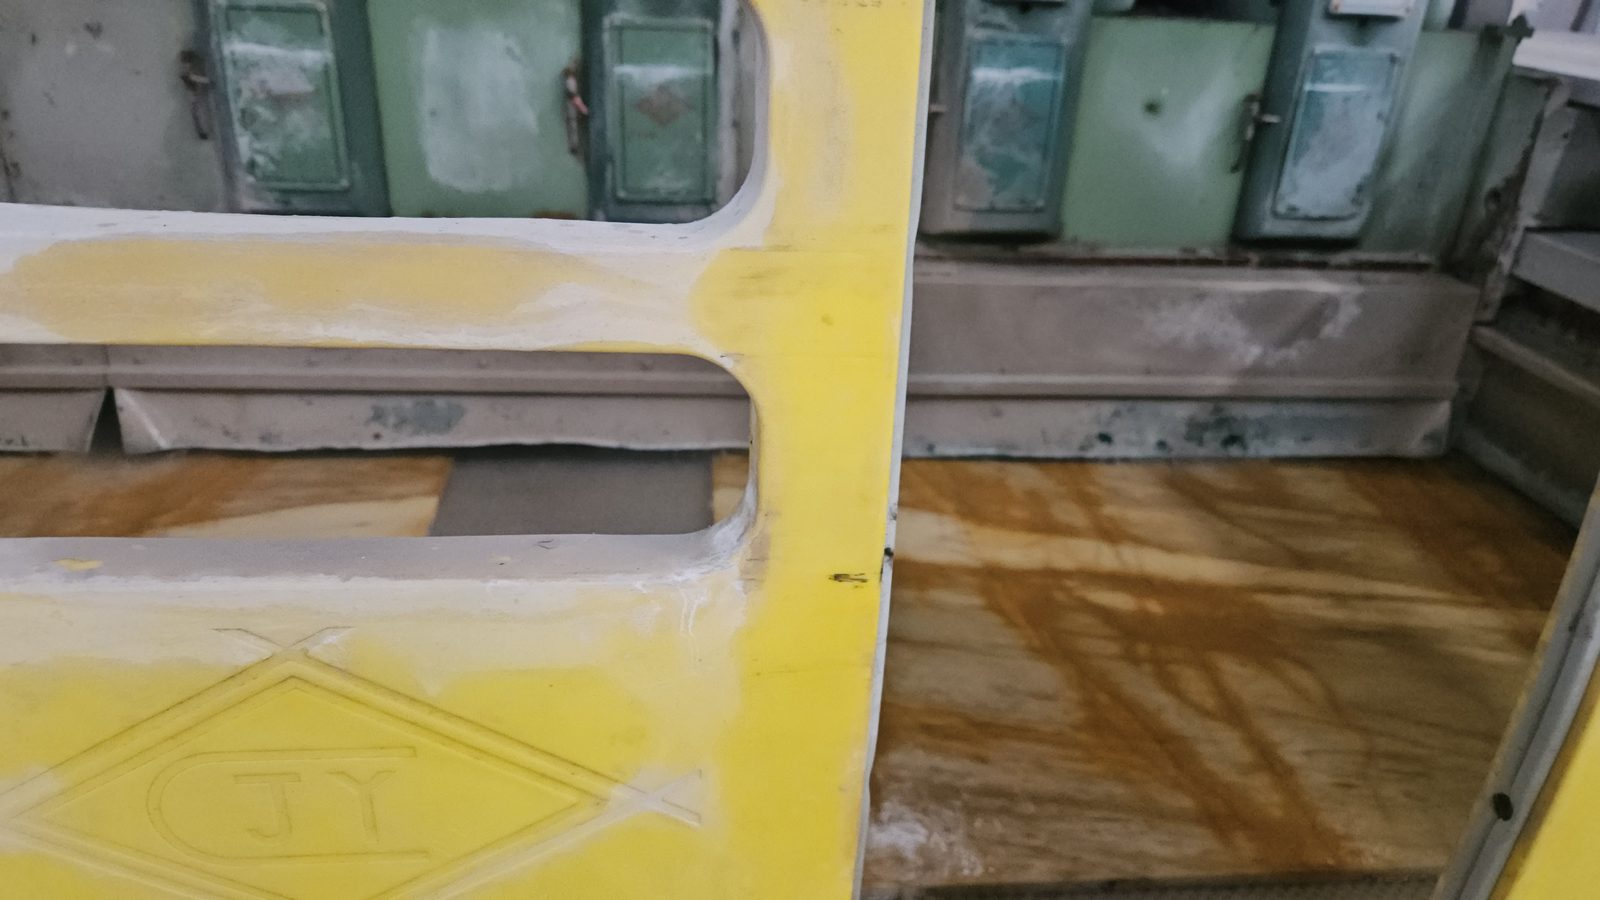
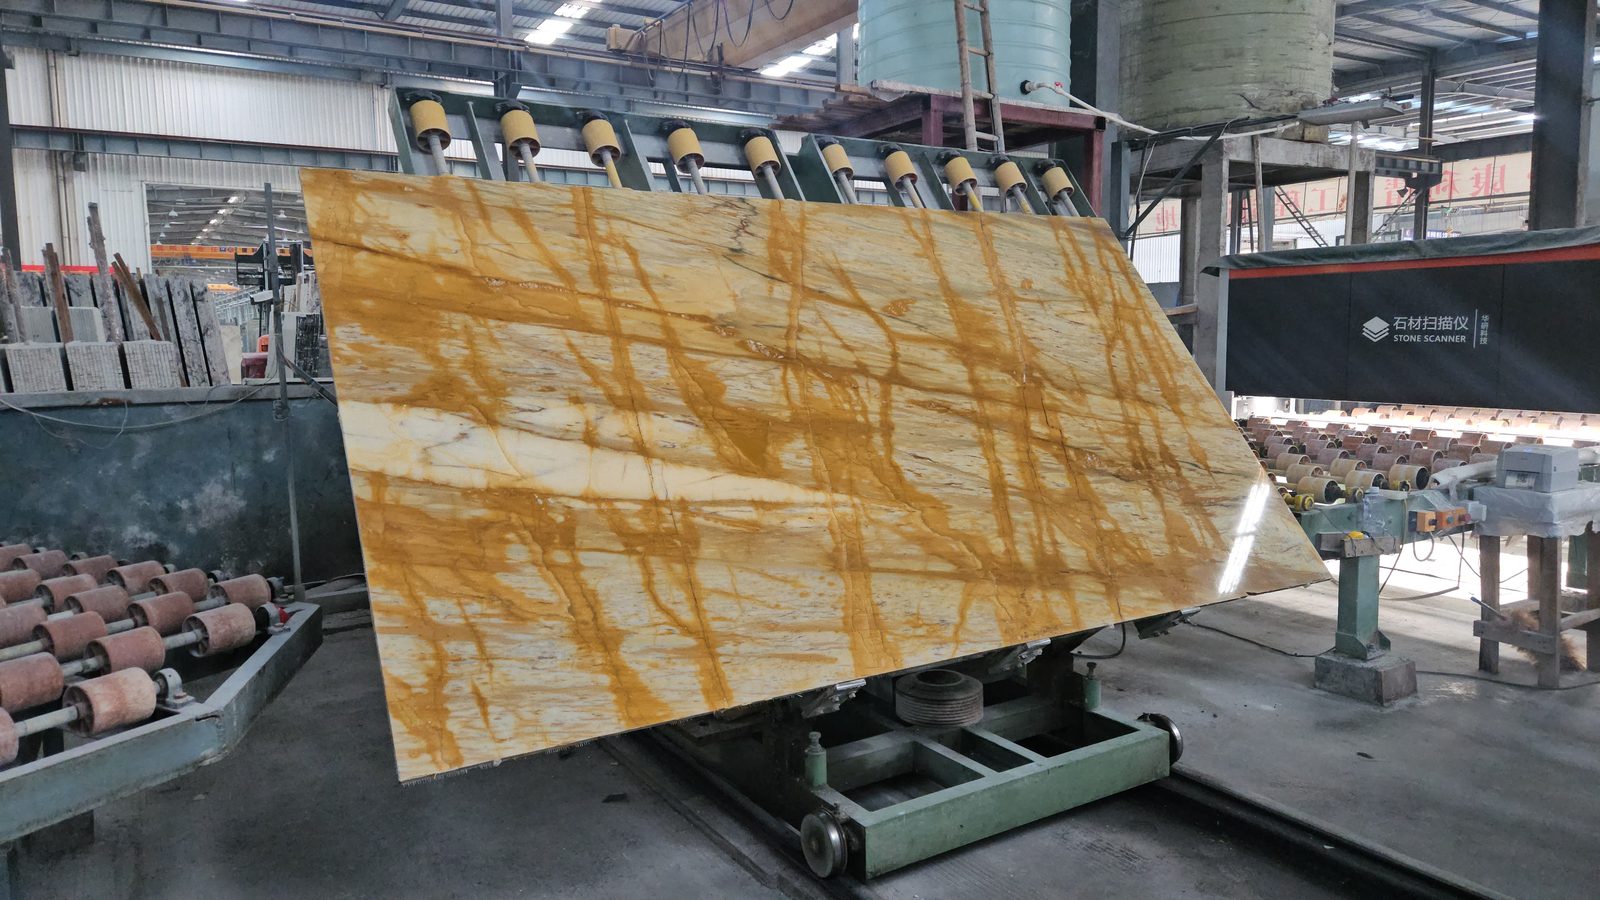
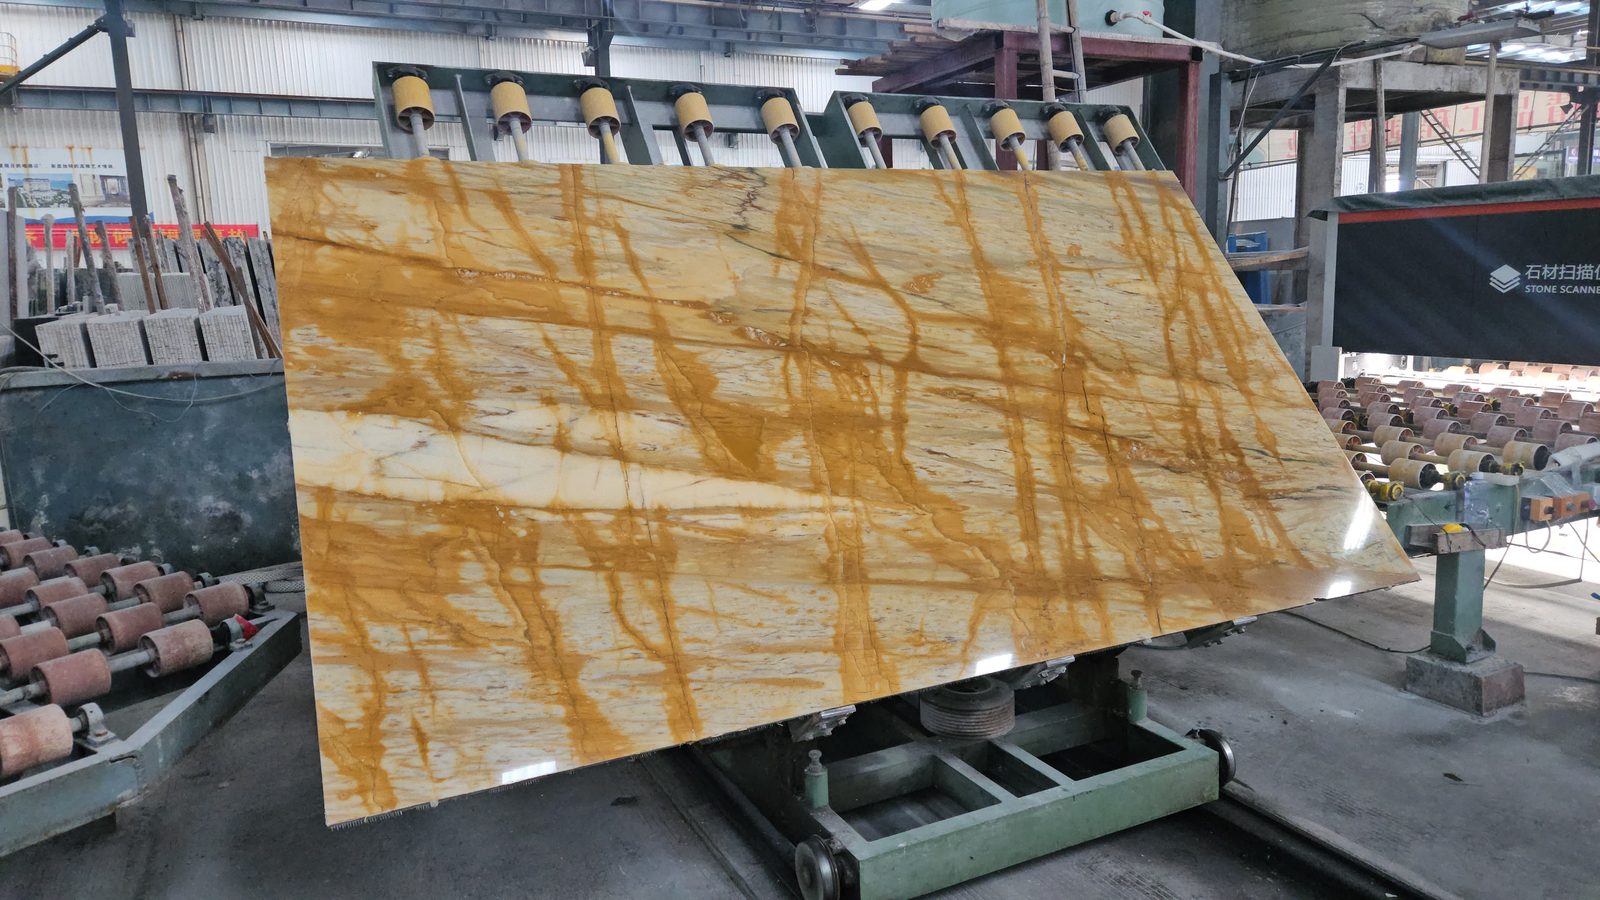
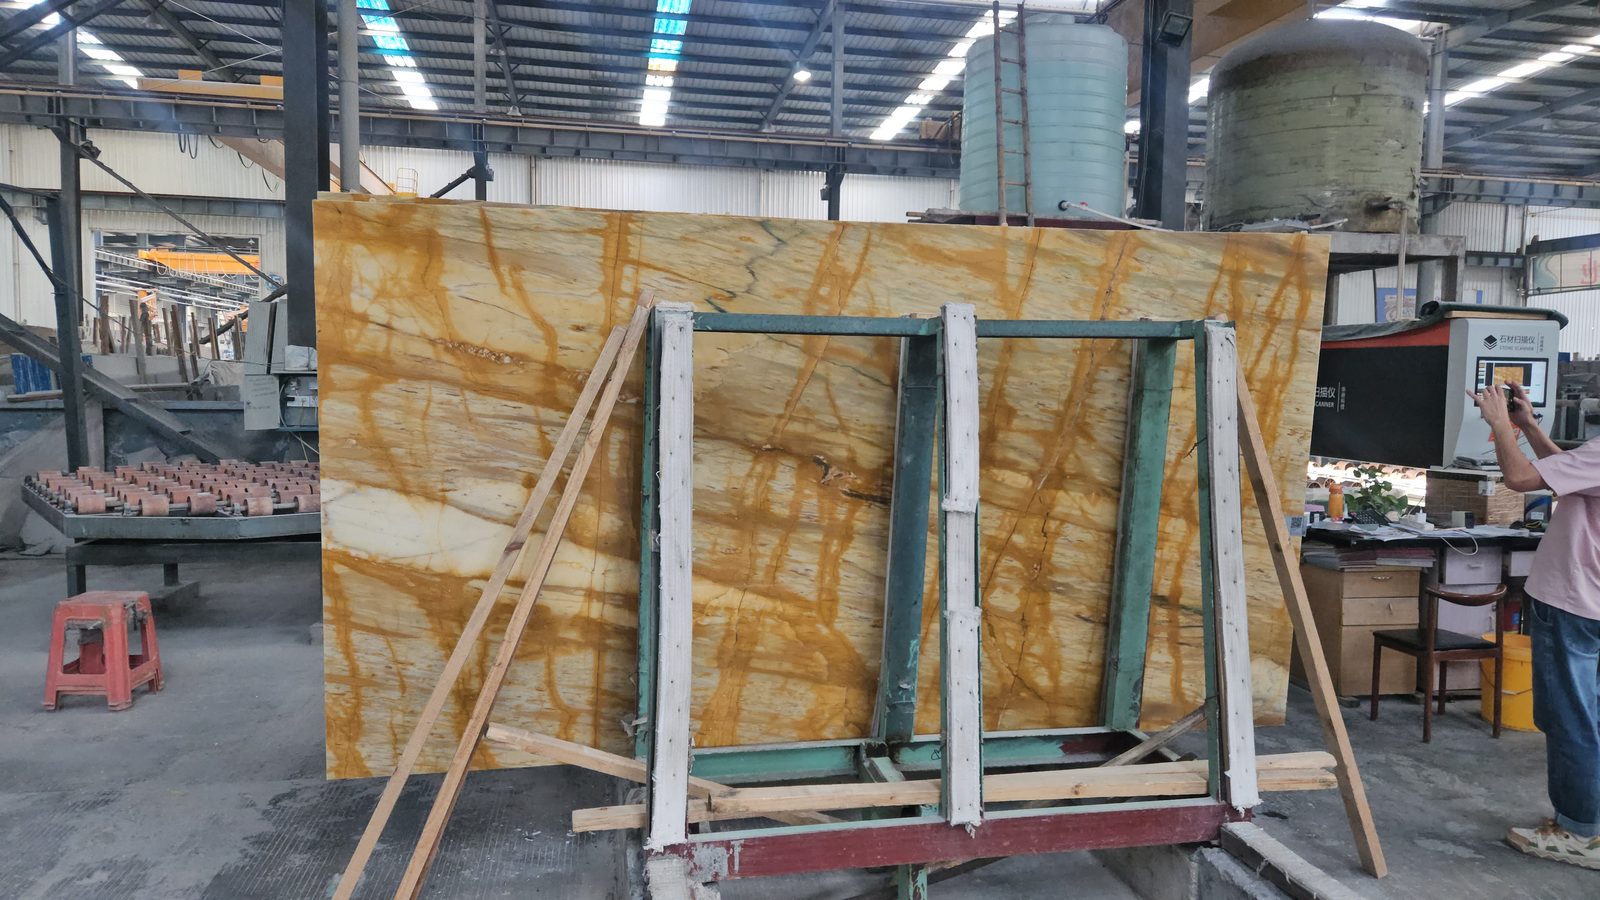
Packing for shipment
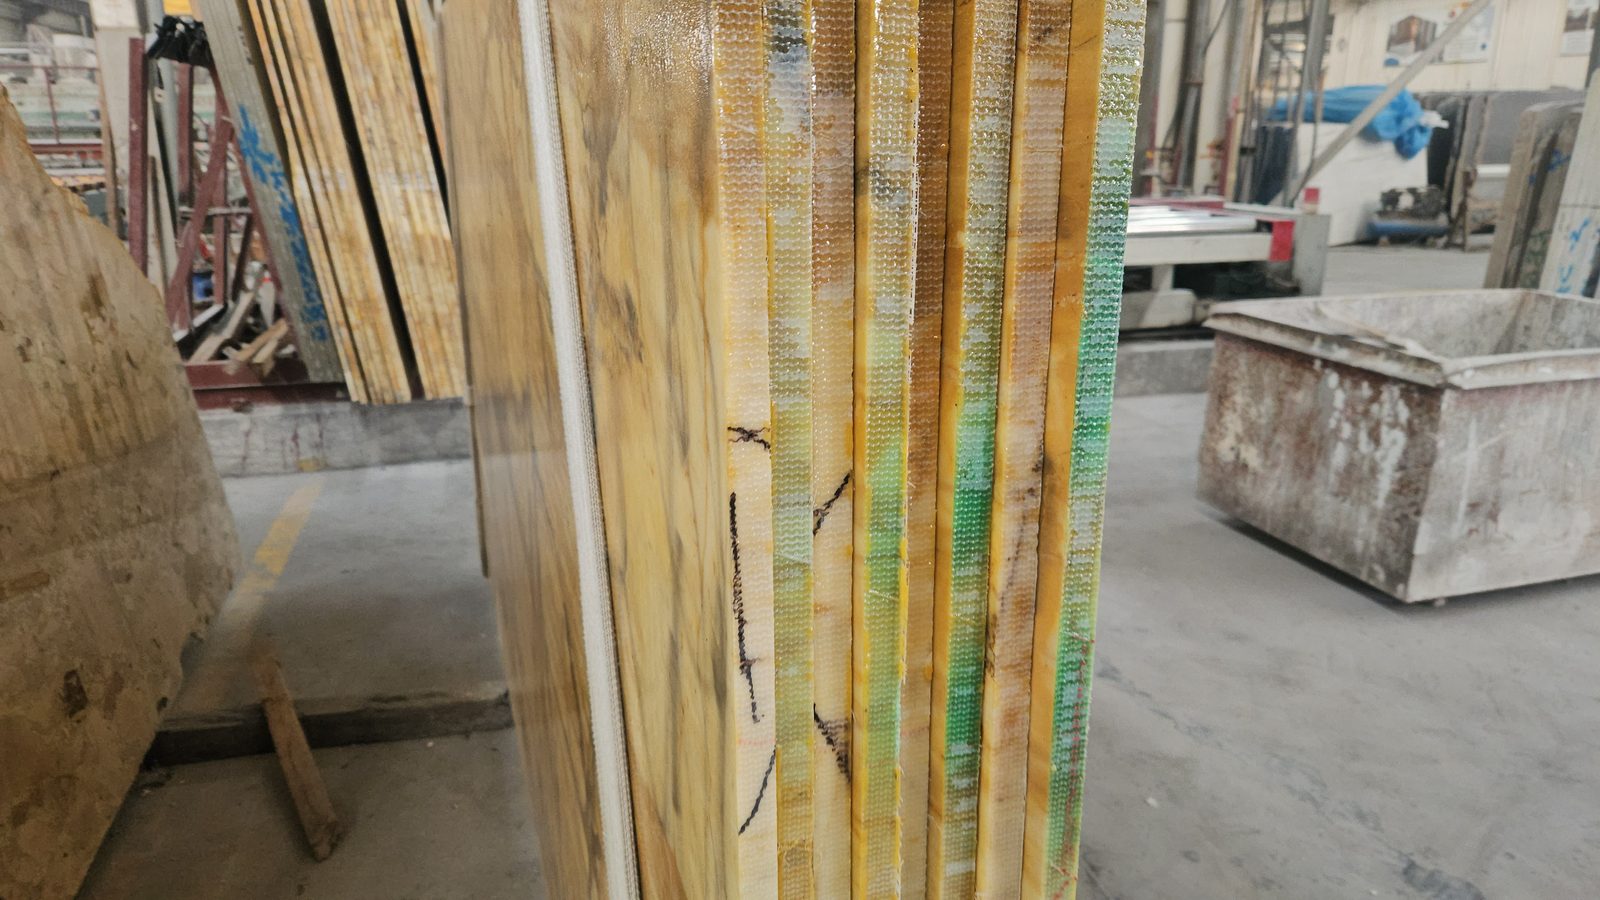
The slabs are stacked, the faces interleaved, the edges banded, and the bundle crated. The packing is not decoration: it is what protects a polished face from the vibration of a container, and a stone that arrives with a broken corner is a stone that was packed wrongly.
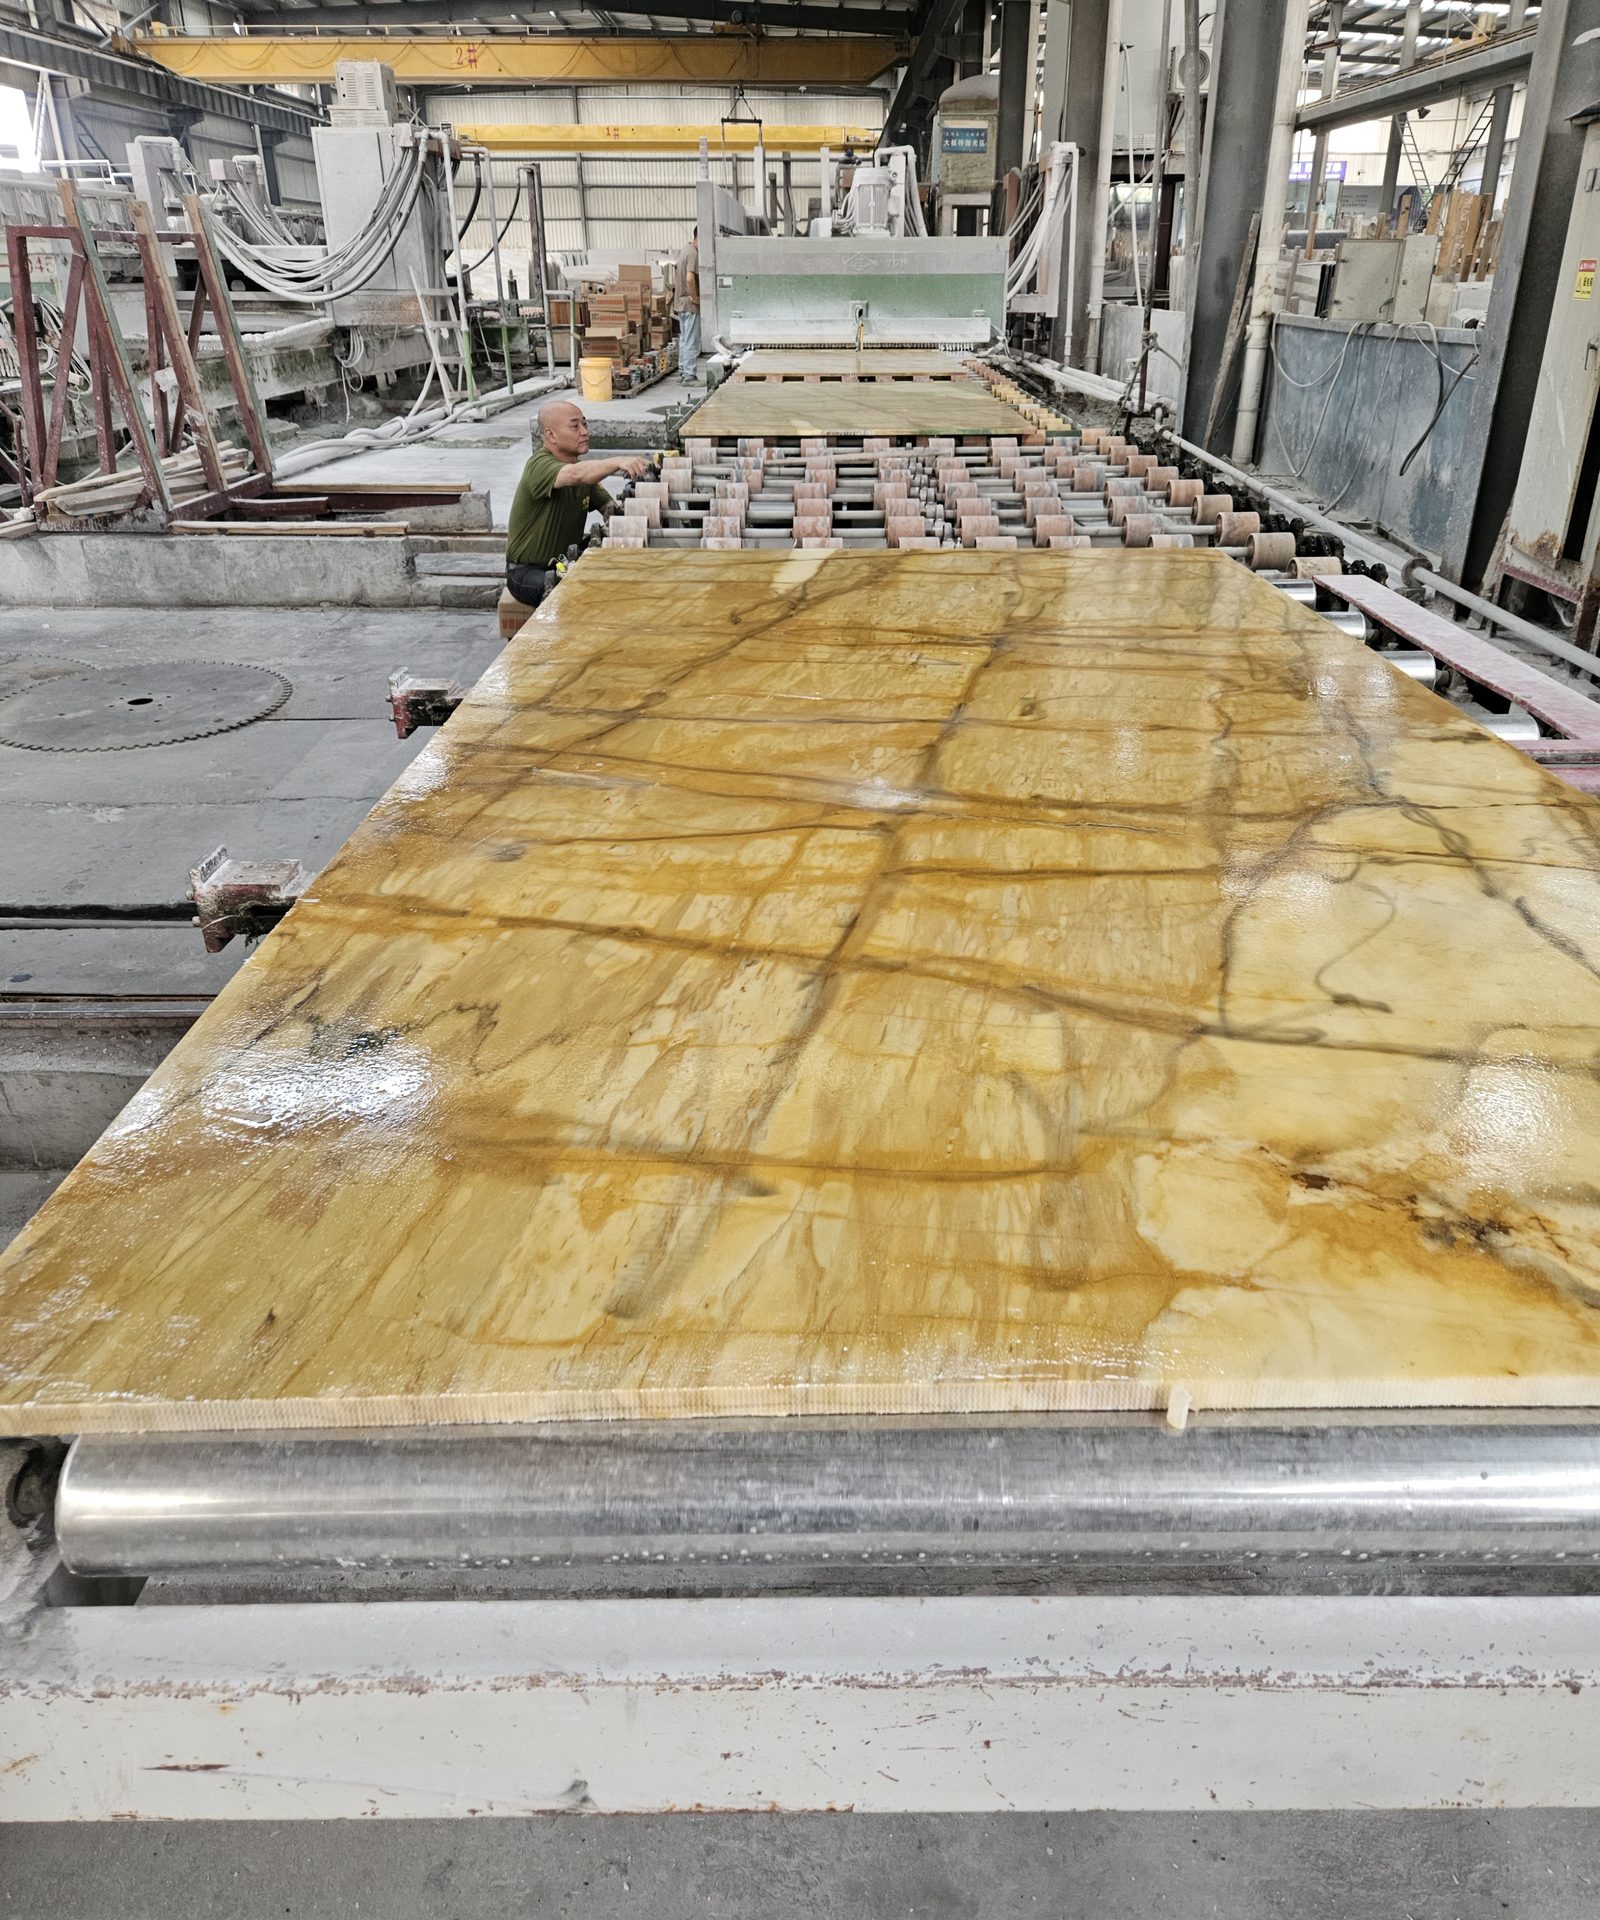
A stone is worth what the handling is worth. The slab that arrives with a crisp edge, a flat face and a corner that has not chipped is the product of a process where every one of these steps was done properly, and the pictures below are the record of that.